
Corvette V8-6.0L VIN U (2005)
7. Install the EVAP canister access cover.
8. Install the right rear wheelhouse panel.
9. Lower the vehicle.
Evaporative Emission (EVAP) System Hoses/Pipes Replacement - Engine (Tank/Tank)
EVAPORATIVE EMISSION (EVAP) HOSES/PIPES REPLACEMENT - ENGINE (TANK/TANK)
Tool Required
J 34730-1A Fuel Pressure Gage
REMOVAL PROCEDURE
1. Disconnect the negative battery cable.
2. Relieve the fuel system pressure. Refer to the Fuel Pressure Relief Procedure.
3. Drain the fuel tanks below the level of the fuel tank crossover hose. Refer to Fuel Tank Draining Procedure.
4. For vehicles equipped with automatic transmission, remove the left and right muffler.
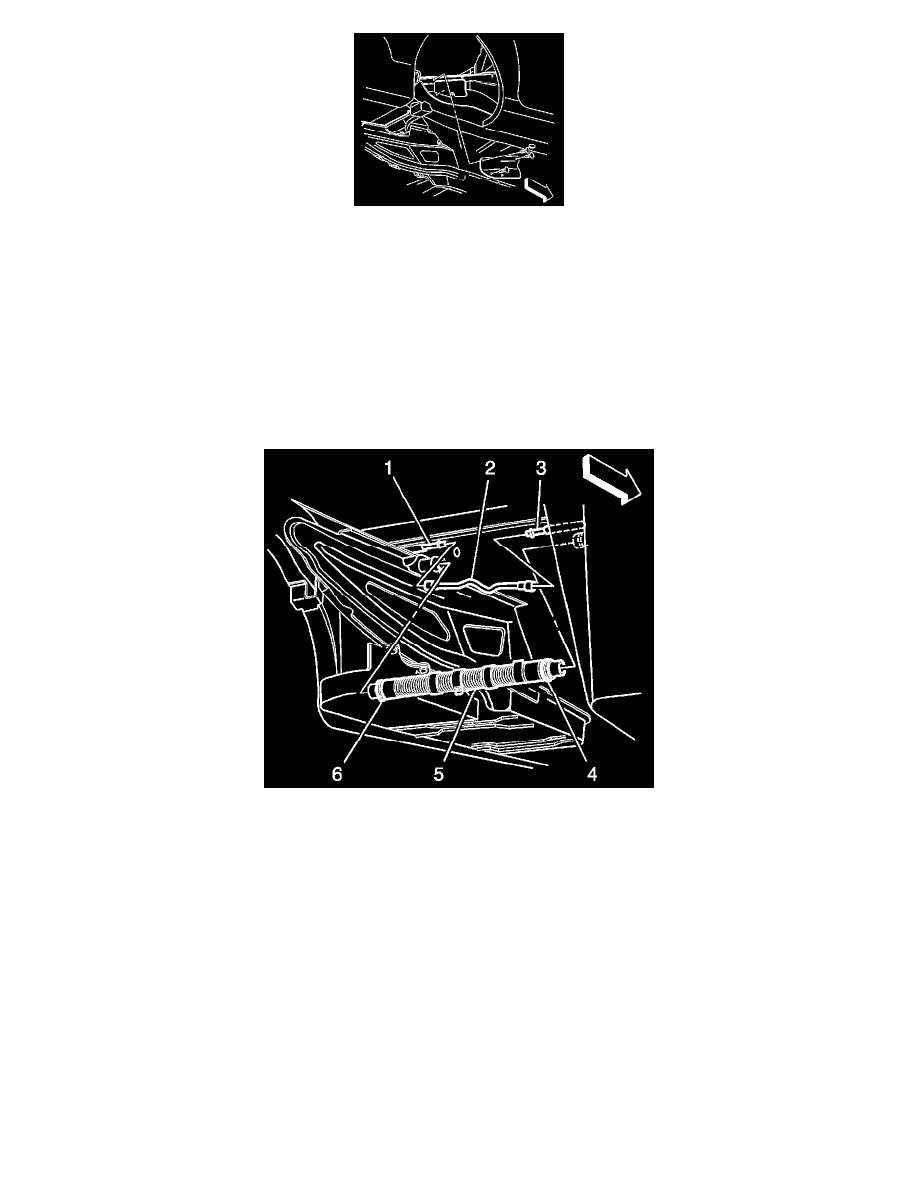
5. Disconnect the tank crossover hose (5) at the right fuel tank and the left fuel tank.
6. Disconnect the evaporative emission (EVAP) pipe (2) at the right tank EVAP pipe (3) and the left tank EVAP pipe (1).
7. Remove the rear EVAP pipe (2).
8. Cap the open pipes in order to prevent possible contamination.
INSTALLATION PROCEDURE