
Corvette V8-6.0L VIN U (2005)
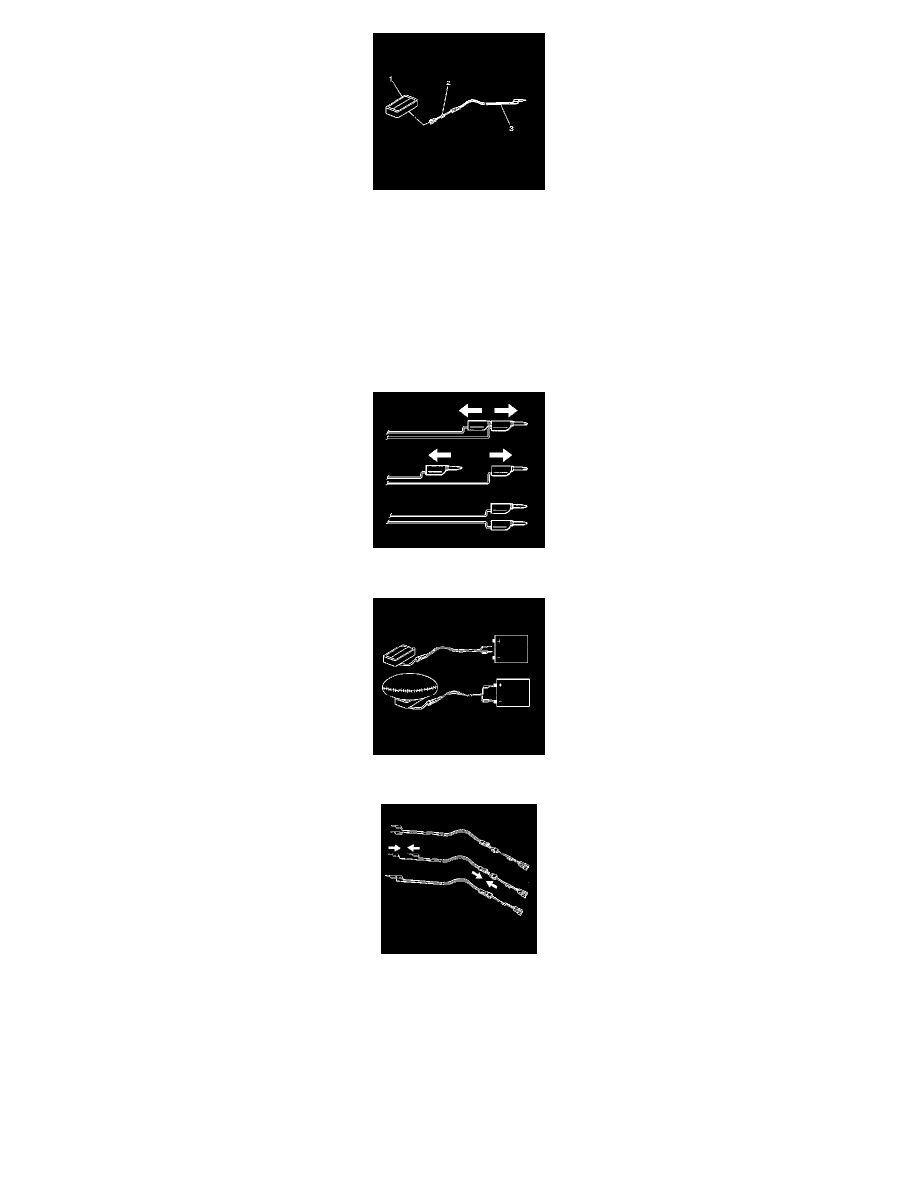
14. Connect the inflator module to the adapter (2) on the SIR deployment harness (1).
15. Place a 12 V minimum/2 A minimum power source (i.e., vehicle battery) near the shorted end of the harness.
16. Clear the area of people.
IMPORTANT:
-
The rapid expansion of gas involved with deploying an inflator module is very loud. Notify all the people in the immediate area that you intend to
deploy the inflator module.
-
When the inflator module deploys, the deployment fixture may jump about 30 cm (1 ft) vertically. This is a normal reaction of the inflator module
due to the force of the rapid expansion of gas inside the inflator module.
-
If you are deploying a dual stage inflator module with stage 1 already deployed, the fixture may not move and the noise may have been reduced.
17. Separate the 2 banana plugs on the SIR deployment harness.
18. Connect the SIR deployment harness wires to the power source. Inflator module deployment will occur when contact is made.
19. Disconnect the SIR deployment harness from the power source after the inflator module deploys.
20. If the inflator module did not deploy, disconnect the adapter and discontinue the procedure. Contact the Technical Assistance Group. Otherwise,
proceed to the following steps.
21. Seat one banana plug into the other in order to short the deployment harness leads.
CAUTION: Refer to SIR Deployed Inflator Modules Are Hot Caution in Service Precautions.