
Corvette V8-6.0L VIN U (2005)
Torque Tube: Service and Repair
Driveline Support Assembly Replacement (Automatic Transmission)
Driveline Support Assembly Replacement (Automatic Transmission)
^
Tools Required
-
J 42055 Drivetrain Support Fixture
Removal Procedure
Notice: Failure to follow the proper removal and installation procedures may result in damage to the engine crankshaft thrust bearing.
Notice: When lowering and removing the rear of the driveline, observe the clearance between the rear of the transaxle assembly and the underbody to
prevent damage.
Notice: When tilting down the rear of the driveline, observe the clearance between the rear of the engine and the composite dash panel. Do not allow
the engine to rest unsupported against the composite dash panel, or vehicle damage may result.
1. Disconnect the negative battery cable.
Caution: Refer to Battery Disconnect Caution in Service Precautions.
2. Raise and support the vehicle. Refer to Vehicle Lifting.
3. Remove the rear tire and wheel assemblies.
4. Remove the catalytic converters.
5. Tie off the LH muffler assembly to the underbody to support the muffler out of the way.
6. Remove the RH muffler assembly.
7. Remove the driveline tunnel closeout panel.
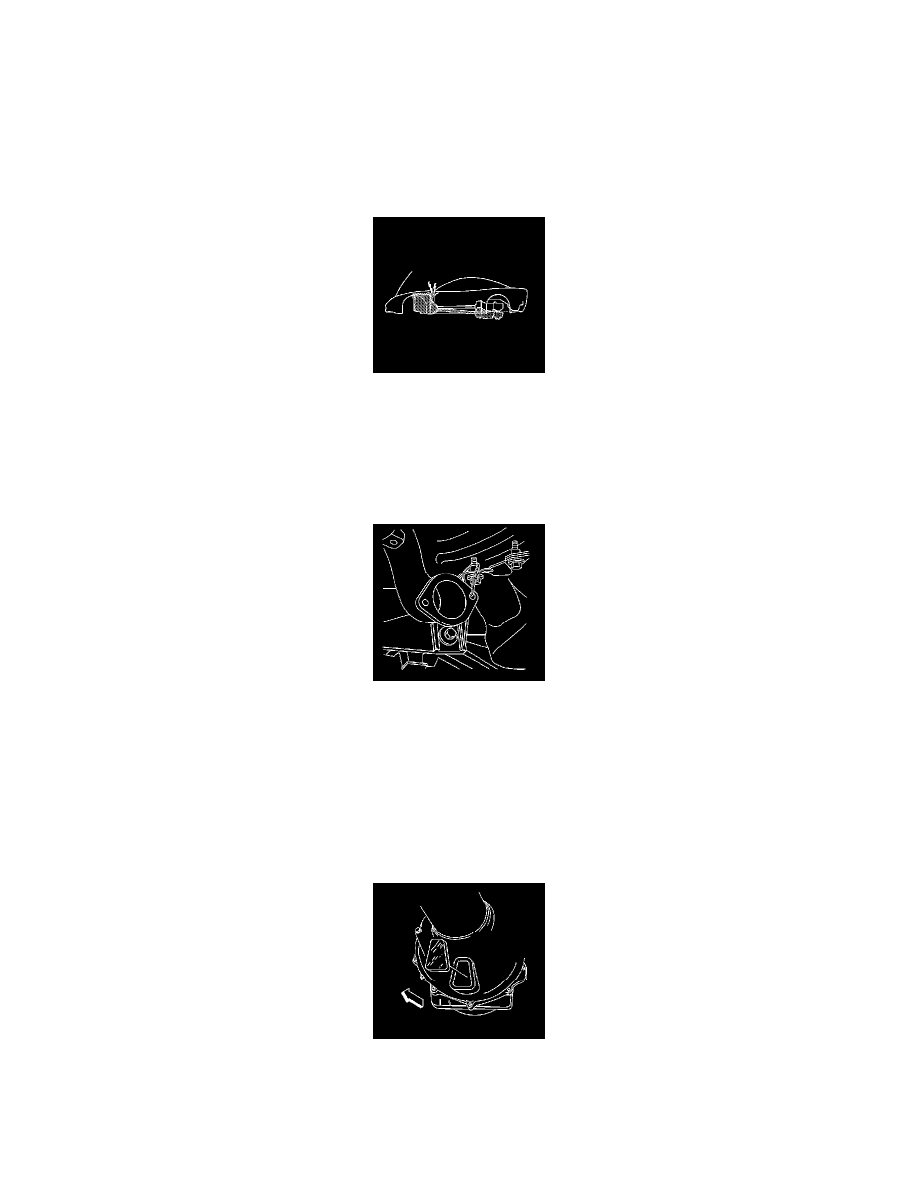
8. Using a flat bladed screwdriver, remove the rear bellhousing access plug.
9. Matchmark the transmission flexplate to the transmission torque converter through the access hole in the rear bellhousing.
Important: The following step must be performed to assure proper torque converter balance during installation.