
Corvette V8-6.0L VIN U (2005)
10. Remove the transmission flexplate to transmission torque converter bolts.
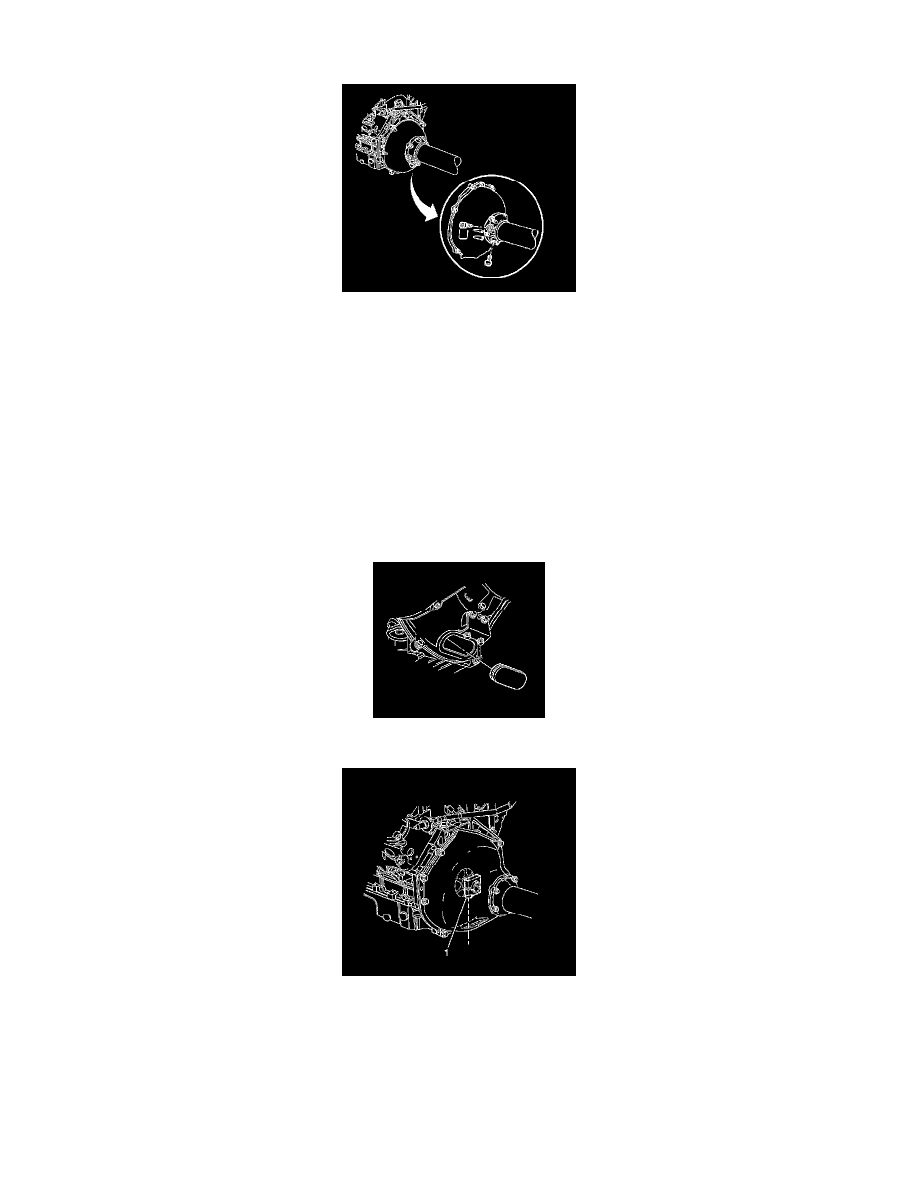
11. Remove the 2 plastic plugs from the front of driveline support assembly.
12. Install 2 bolts, M10 - 1.5 X 55 mm, or longer, in place of the plastic plugs.(The long bolts are used to maintain the propeller input shaft front
bearing in original position during removal and installation.)
^
Tighten the propeller input shaft front bearing positioning bolts to 35 Nm (26 ft. lbs.).
Notice: Refer to Fastener Notice in Service Precautions.
Important:
^
The propeller input shaft front bearing positioning bolts are intended to remain torqued to specification and in place UNTIL INSTRUCTED in
the installation procedure.
^
The bolts are to be removed, and the plastic plugs reinstalled after the installation is complete.
^
Failure to use the minimum length fastener specified will prevent proper retention of the propeller input shaft front bearing during disassembly
or installation.
13. Using a flat bladed screwdriver, remove the engine flywheel housing access plug.
14. Loosen the propeller shaft hub clamp bolt (1). Rotate the engine at the flywheel, if necessary for alignment.