
Corvette V8-6.0L VIN U (2005)
13. Using the lifting device, raise the driveline off the workbench and position the driveline with the J 42055 onto a transmission jack.
Important: The aid of an assistant will be necessary for the following steps until the driveline is installed into the vehicle.
14. Connect the J 42055 to the transmission jack.
15. Remove the lifting device from the driveline.
16. Position the driveline under the vehicle.
17. Begin to raise the driveline at the approximate angle used during removal.
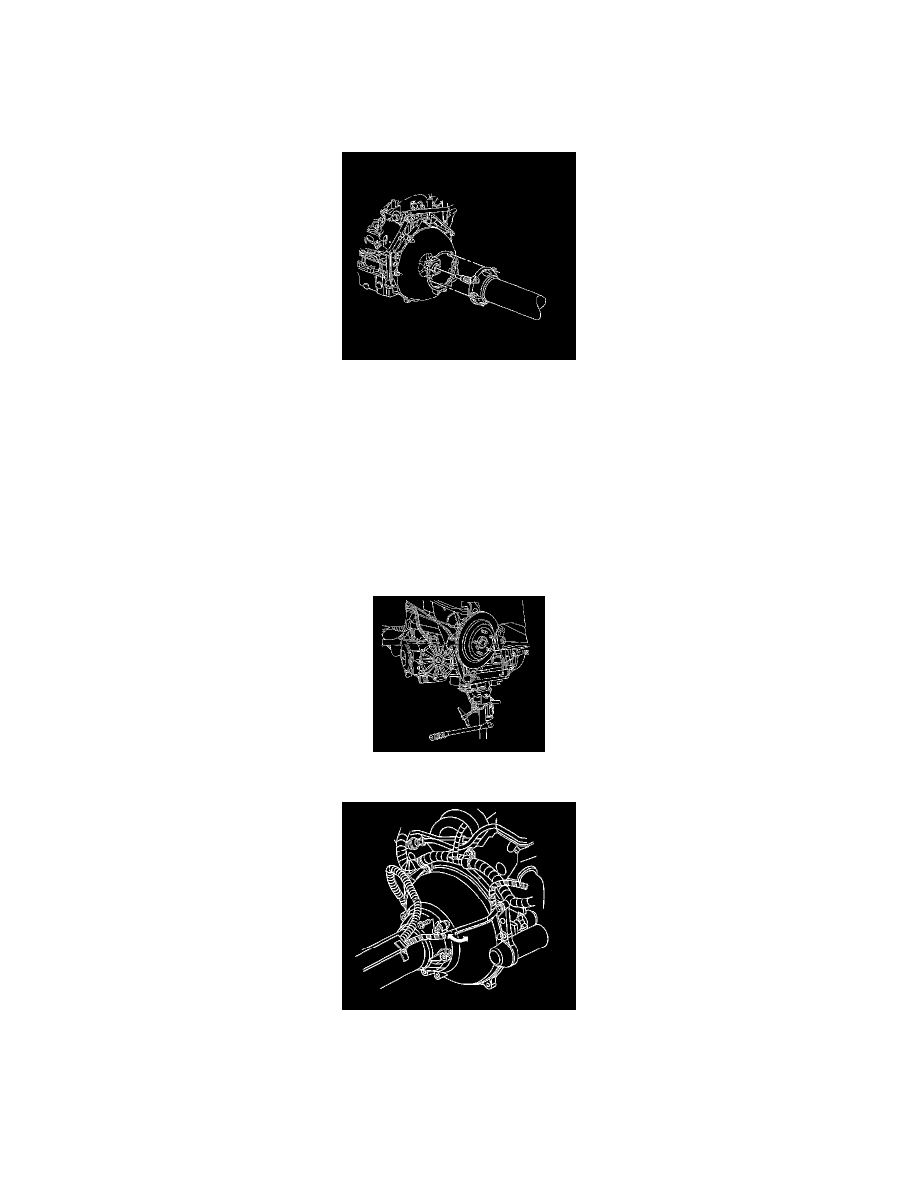
18. Position the wiring harness along the driveline support assembly and LOOSELY install the harness into the harness retaining slots.
19. Have an assistant guide the front of the driveline so the propeller input shaft is just to the rear of the engine flywheel housing, then raise the
driveline to the PROPER HEIGHT and the PROPER ANGLE to install to the engine.
20. Have an assistant begin to insert the propeller input shaft into the propeller shaft hub while maintaining the proper angle of the driveline, if
necessary use a screwdriver to rotate the shaft slightly to position and align the splines.
Important: Use care not to use too much force to install the propeller input shaft into the propeller shaft hub. The propeller input shaft front
bearing positioning system is designed to withstand an insertion force not greater than 582 N (130 lb).
21. SLOWLY seat the driveline to the engine flywheel housing while maintaining the proper angle of the driveline.
22. Reposition the wiring harness bracket to the driveline support assembly bolt hole.