
Corvette V8-6.0L VIN U (2005)
66. Remove the transmission oil cooler pipes.
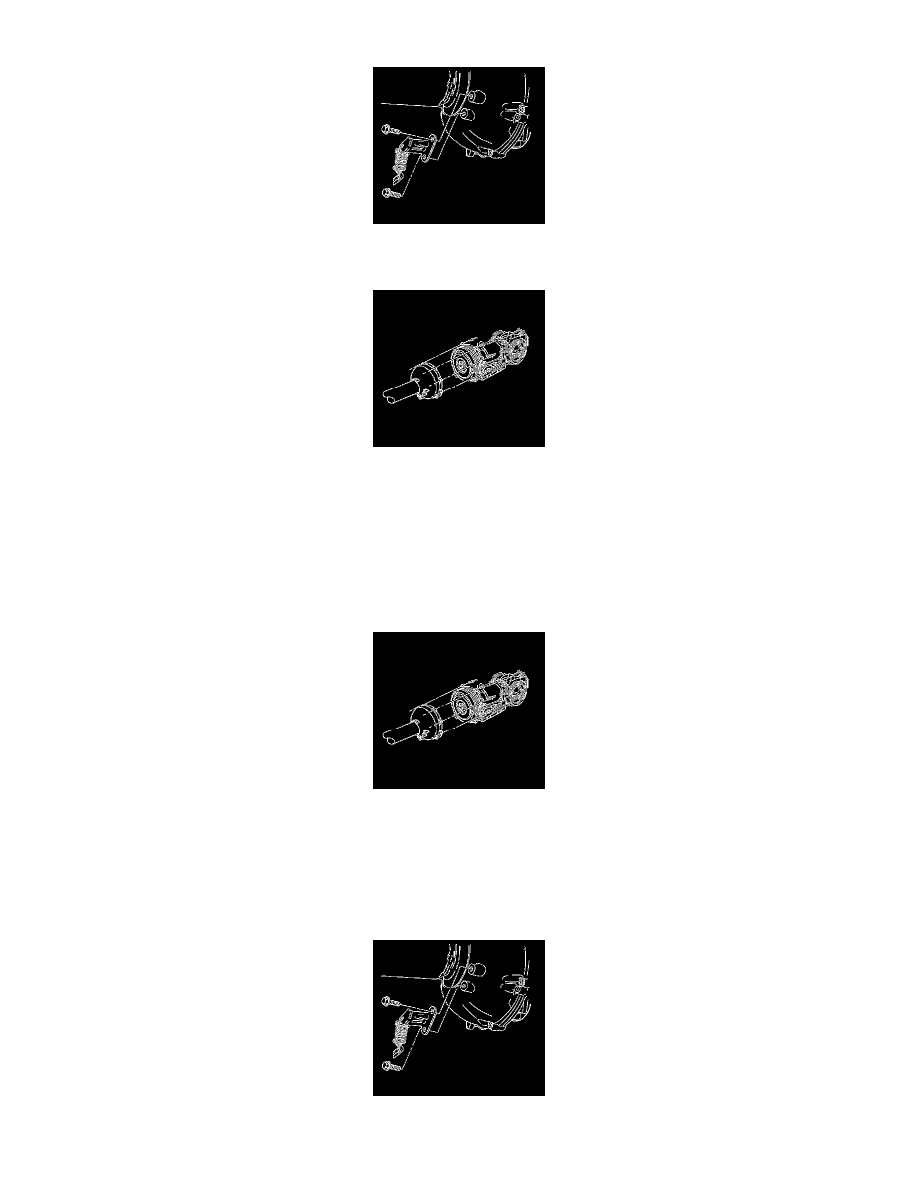
67. Remove the rear exhaust hanger mounting bolts.
68. Remove the rear exhaust hangers from the driveline support assembly.
69. Remove the transmission to driveline support assembly bolts/studs.
70. Insert a flat bladed screwdriver, or similar tool, between the edge of the driveline support assembly and the transmission, then begin to pry the
driveline support assembly loose from the transmission.
71. Slowly slide the driveline support assembly away from the transmission while supporting the transmission torque converter.
72. Using a strap positioned from side to side, secure the transmission torque converter to the transmission.
Installation Procedure
Notice: Failure to follow the proper removal and installation procedures may result in damage to the engine crankshaft thrust bearing.
1. Remove the strap retaining the transmission torque converter.
2. Slowly slide the driveline support assembly to the transmission, while supporting the transmission torque converter.
3. Install the transmission to driveline support assembly bolts/studs.
^
Tighten the transmission to driveline support assembly bolts/studs to 50 Nm (37 ft. lbs.).
Notice: Refer to Fastener Notice in Service Precautions.
4. Install the rear exhaust hangers to the driveline support assembly.
5. Install the rear exhaust hanger mounting bolts.