
Corvette V8-6.0L VIN U (2005)
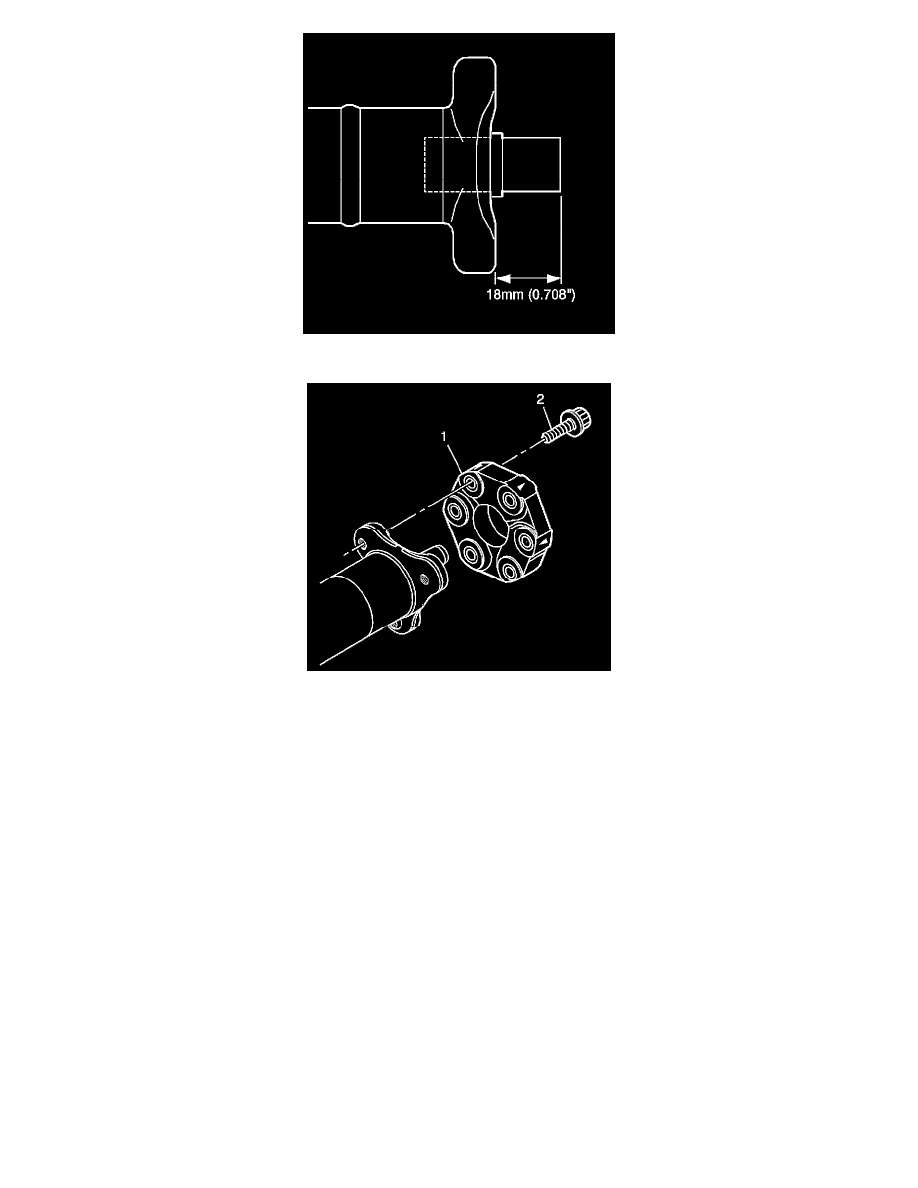
2. Inspect the bushing for proper installation. A properly installed bushing will protrude 18 mm (0.708 inch) from the face of the hub.
3. Apply threadlock GM P/N 12345382 (Canadian P/N 10953489) or equivalent to the threads of the coupling bolts.
4. Install the rear coupling (1), bolts (2), and washers to the propeller shaft.
^
Tighten the coupling bolts - Automatic Transmission to 70 Nm (52 ft. lbs.).
^
Tighten the coupling bolts - Manual Transmission to 90 Nm (66 ft. lbs.).
Notice: Refer to Fastener Notice in Service Precautions.
Important: If the coupling orientation mark has been lost during the cleaning or disassembly process, the coupling MUST be installed with the
directional arrow pointed toward the flange to which it mounts.