
Corvette V8-6.0L VIN U (2005)
15. Position the cage and inner race so they are level.
Important: The larger radius corners of the cage windows should be positioned up and the grooved surface of the inner race should be visible.
16. Align the cage windows and inner race ball tracks with the outer race ball tracks. Rotate the appropriate component(s).
17. Position a cage window and inner race ball track for ball installation.
1. Press down on the cage following one of the outer race ball tracks. The opposing cage window and inner race ball track will be accessible for
ball installation.
2. After you install the first ball, you will need to use a brass drift and a hammer to tap gently on the cage, in order to drive the cage and inner
race down completely.
18. Insert a ball through the cage window onto the inner race ball track. Tap the ball lightly with a plastic tipped hammer.
Important: No gap should exist between the ball and the inner race ball track.
19. Position the cage and inner race so they are level.
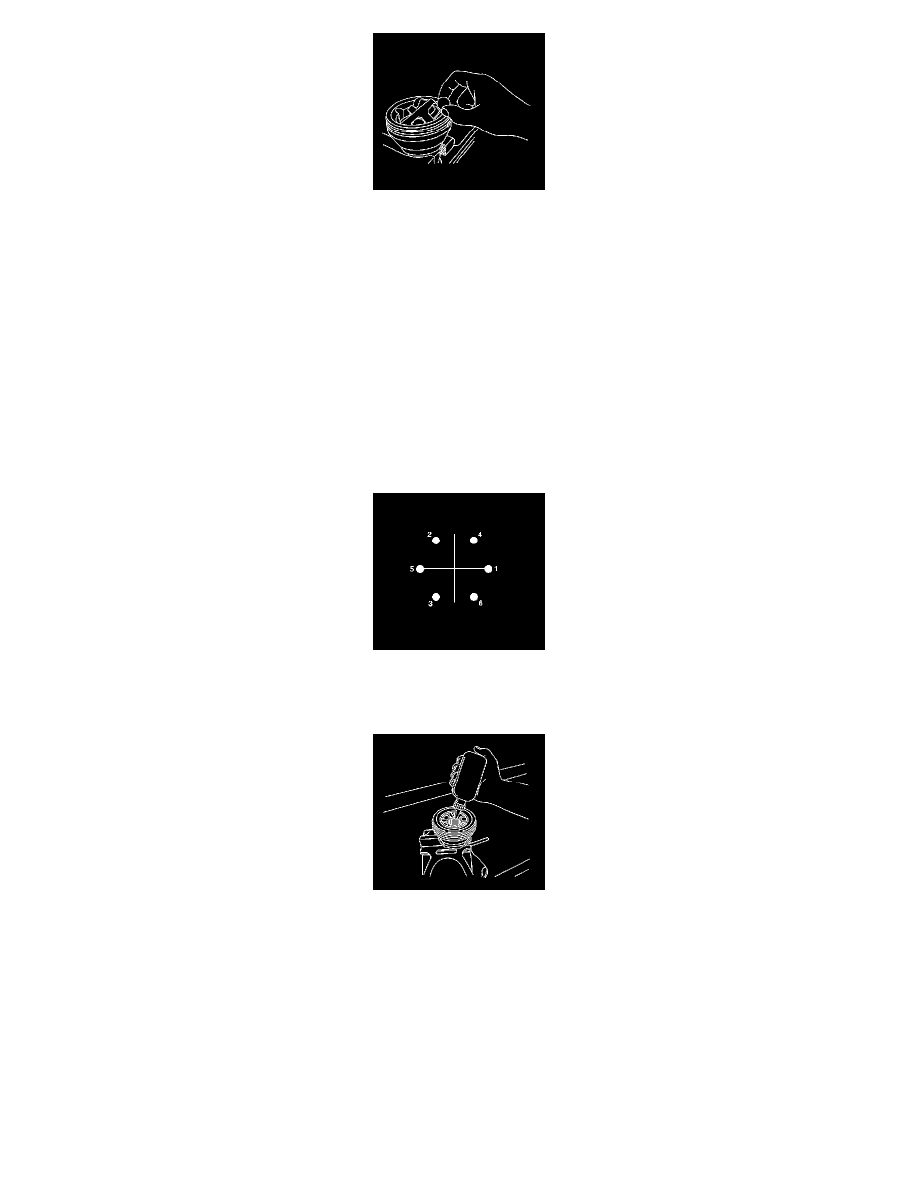
20. Repeat steps 17 through 19 in the installation sequence as shown until you install all six balls.
Important: The ball installation sequence must be followed as shown.
21. Insert approximately 60 percent of the grease from the service kit into the outer joint.
1. Spread the grease onto the ball tracks, the balls, the cage and the inner race.
2. Spread the remainder of the grease into the bottom of the outer race.
22. Remove the outer joint from the bench vise.