
Corvette V8-6.2L (2008)
Note
Note that the retainer bracket's bottom screw also retains the long headliner string's second D-ring and end eyelet, on each side.
9. Remove the three headliner retaining screws (1) and remove the retainer bracket (2) from the right and left sides.
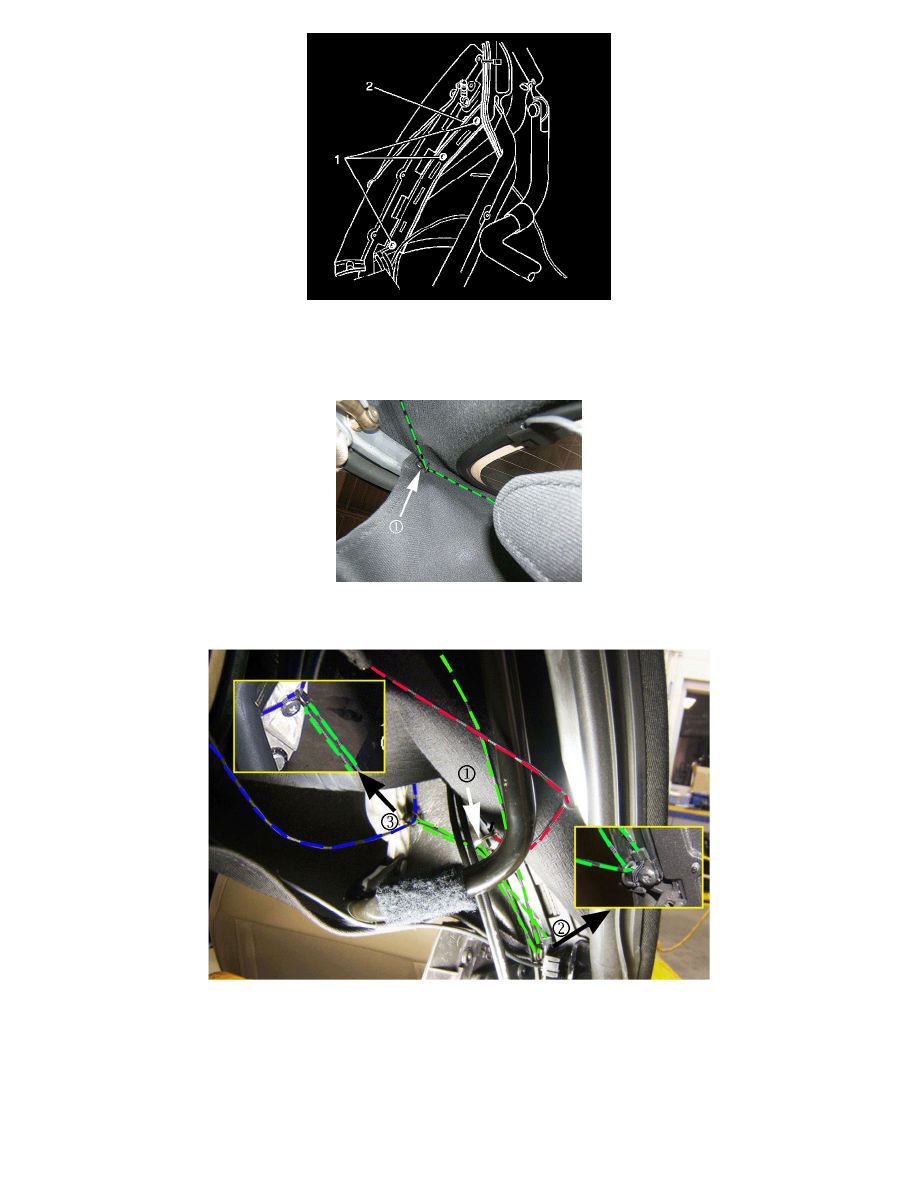
10. Start removing the long headliner string (shown in green above) by removing the screw (1) from the first D-ring on the underside of the #5 bow,
on the right and left side.
11. Next, remove the screw holding the second D-ring and the string's end eyelet (position 2 above) to the rear side rail, from the right and left side.
Important
After removal of the third D-ring, slide the metal key ring (1) off the string and retain for installation of the new headliner.
12. Remove the third D-ring (position 3 above) from the right and left side, following the appropriate steps below:Figure 3 - First Design Side Rail
Link