
Corvette V8-6.2L (2008)
Radiator: Service and Repair
Radiator Replacement
Radiator Replacement
Tools Required
*
J 38185 Hose Clamp Pliers
*
J 39400-A Halogen Leak Detector
Removal Procedure
1. Recover the refrigerant from the A/C system. Refer to Refrigerant Recovery and Recharging (See: Heating and Air Conditioning/Service and
Repair/Procedures/Refrigerant Recovery and Recharging) .
2. Drain the cooling system. Refer to Cooling System Draining and Filling (GE 47716) (See: Service and Repair)Cooling System Draining and
Filling (Static Fill) (See: Service and Repair) .
3. Remove the condenser. Refer to Condenser Replacement (See: Heating and Air Conditioning/Condenser HVAC/Service and Repair) .
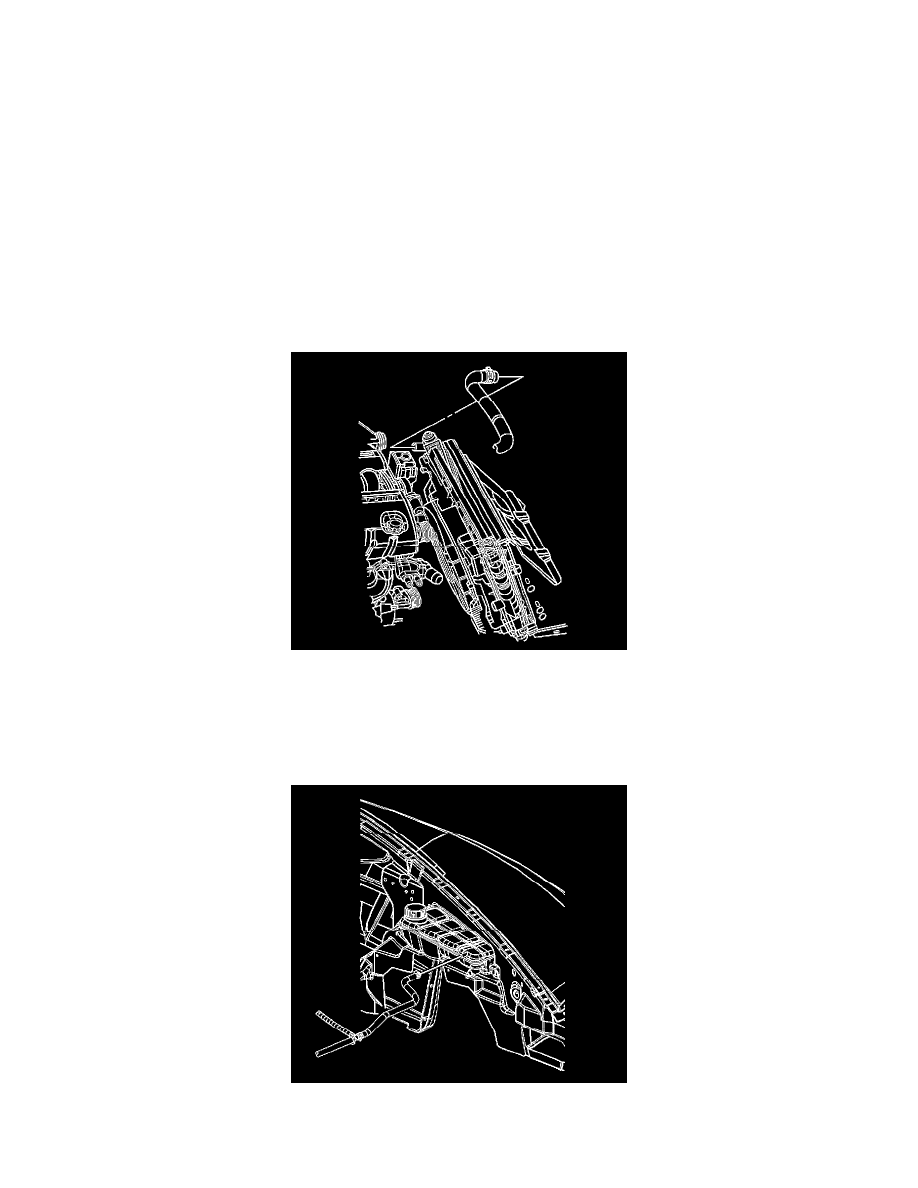
4. Disengage tension on the radiator inlet hose clamp at the radiator using J 38185 .
5. Disconnect the radiator inlet hose from the radiator.
Important: Lift up on the cooling fan and shroud assembly to disengage the tabs from the radiator slots.
6. Remove the cooling fan and shroud assembly from the radiator. Refer to Cooling Fan and Shroud Replacement (See: Radiator Cooling
Fan/Service and Repair) .
7. Disengage tension and reposition the surge tank inlet hose clamp at the radiator.
8. Disconnect the surge tank inlet hose from the radiator.
9. Vehicles equipped with a transmission oil cooler, disconnect the upper transmission oil cooler line from the radiator. Refer to Transmission Fluid