
Corvette V8-6.2L (2008)
Important: Align the tapered legs of the tool with the machined alignment surfaces on the front cover.
5. Install the J 41476 .
6. Install the crankshaft balancer bolt.
1. Tighten the crankshaft balancer bolt by hand until snug. Do not overtighten.
2. Tighten the J 41480 .
3. Tighten the engine front cover bolts to 25 N.m (18 lb ft).
7. Remove the tools.
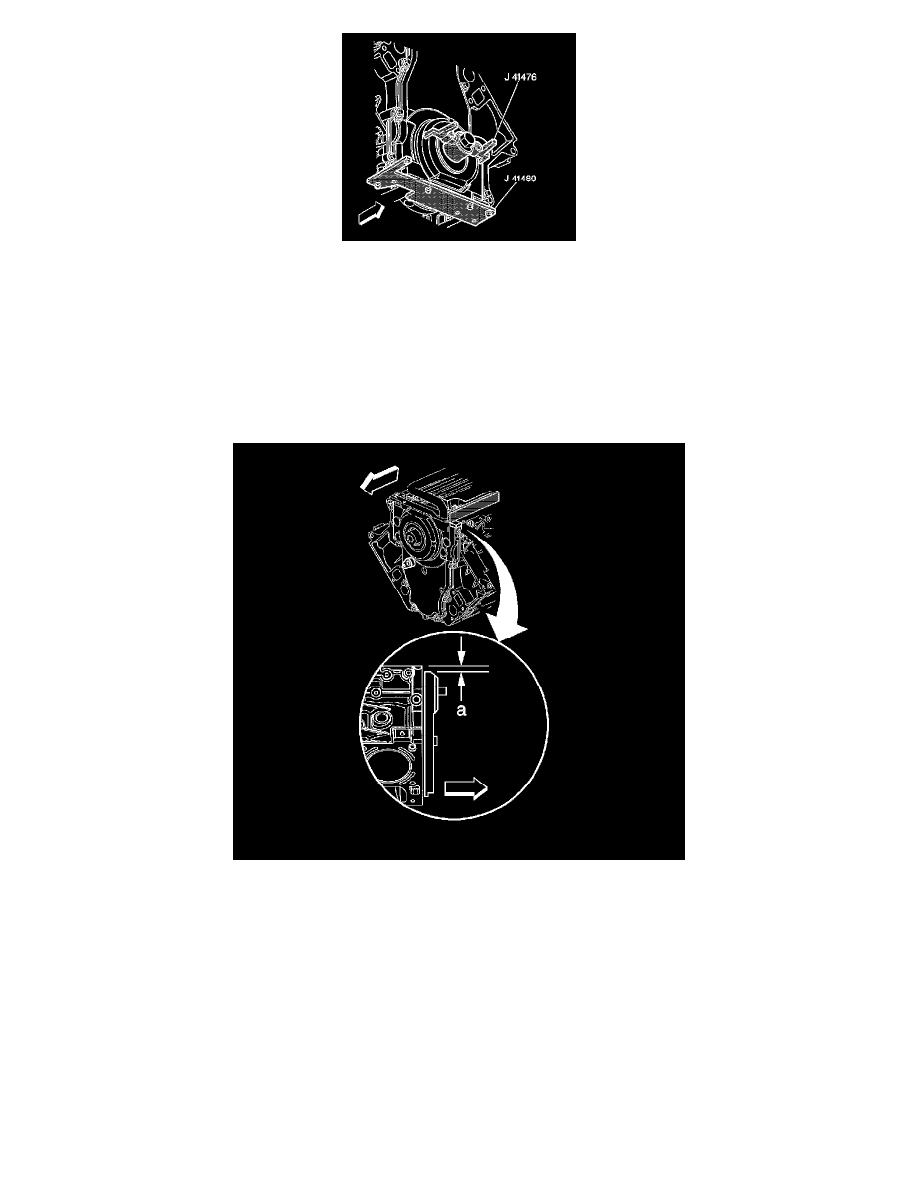
8. Measure the oil pan surface flatness, front cover-to-engine block.
1. Place a straight edge across the engine block and front cover oil pan sealing surfaces.
Avoid contact with the portion of the gasket that protrudes into the oil pan surface.
2. Insert a feeler gage between the front cover and the straight edge tool. The cover must be flush with the oil pan surface, or no greater than 0.5
mm (0.02 in) (a) below flush.
9. If the front cover-to-engine block oil pan surface alignment is not within specifications, repeat the cover alignment procedure.
10. If the correct front cover-to-engine block alignment cannot be obtained, replace the front cover.