
Corvette V8-6.2L (2008)
35. Connect the defogger upper outlet duct.
36. Install the retainers to the upper defogger duct.
37. Install the I/P assembly. Refer to Instrument Panel Assembly Replacement (See: Body and Frame/Interior Moulding / Trim/Dashboard /
Instrument Panel/Service and Repair) .
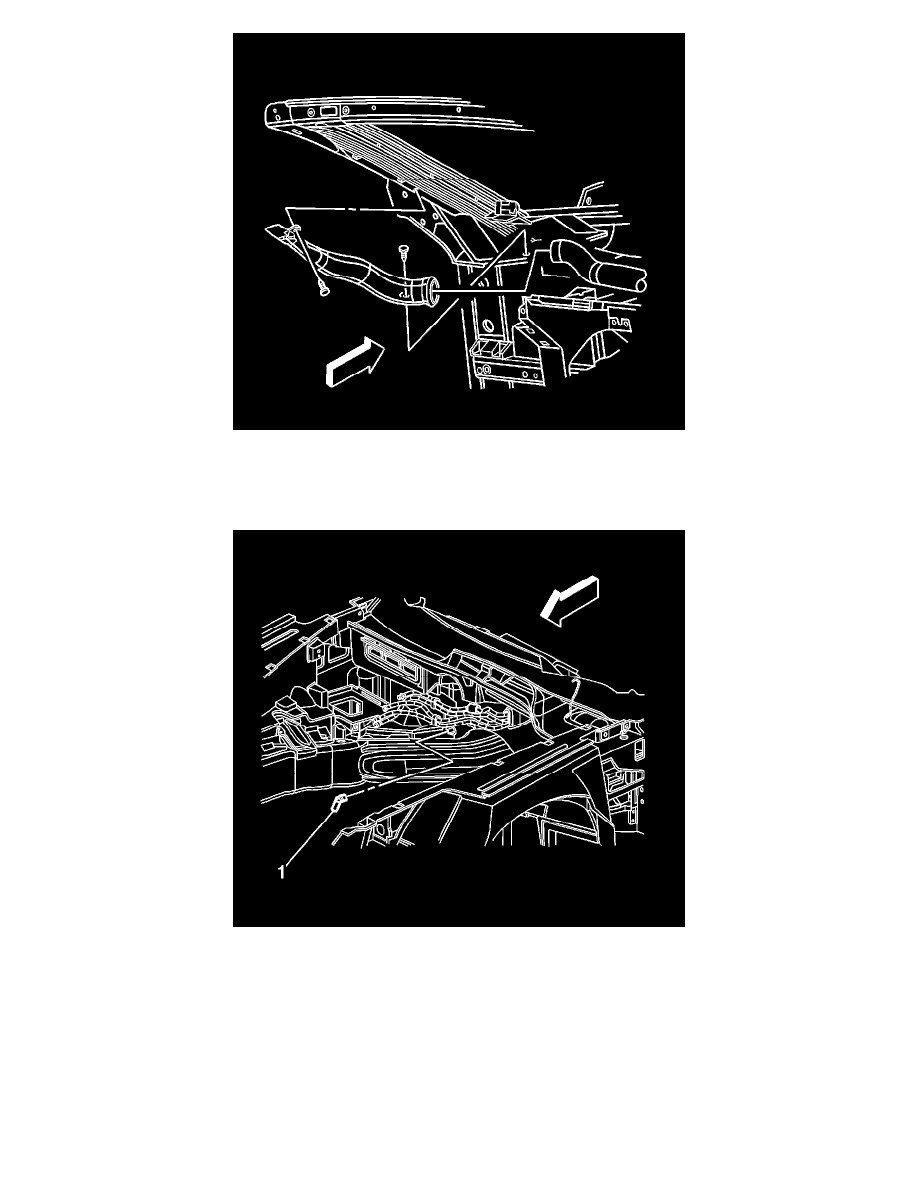
Important: Ensure that the evaporator drain tube is fully seated to the HVAC module.
38. Install the evaporator drain tube (1) to the HVAC module.
39. Install the heater pipe assembly . Refer to Heater Pipes Replacement (See: Heater Hose/Service and Repair/Heater Pipes Replacement) .
40. Fill the cooling system. Refer to Cooling System Draining and Filling (GE 47716) (See: Engine, Cooling and Exhaust/Cooling System/Service
and Repair)Cooling System Draining and Filling (Static Fill) (See: Engine, Cooling and Exhaust/Cooling System/Service and Repair) .
41. Evacuate and recharge the A/C system. Refer to Refrigerant Recovery and Recharging (See: Service and Repair/Procedures/Refrigerant Recovery
and Recharging) .
42. Use J 39400-A to leak test the fittings of the component .