
Corvette V8-6.2L (2008)
6. Disconnect and remove the A/C tube connectors from the evaporator rear line assembly. Refer to Air Conditioning Line/Tube Connector
Removal/Replacement (See: Air Conditioning Line/Tube Connector Removal/Replacement) .
Important: Immediately cap or tape the open A/C components in order to prevent contamination.
7. Disconnect the front evaporator inlet line from the evaporator rear line assembly.
8. Remove and discard O-rings.
9. Cap or tape the front evaporator inlet line.
10. Disconnect the A/C compressor line from the evaporator rear line assembly.
11. Remove and discard the O-rings.
12. Cap or tape the front evaporator line and A/C compressor line.
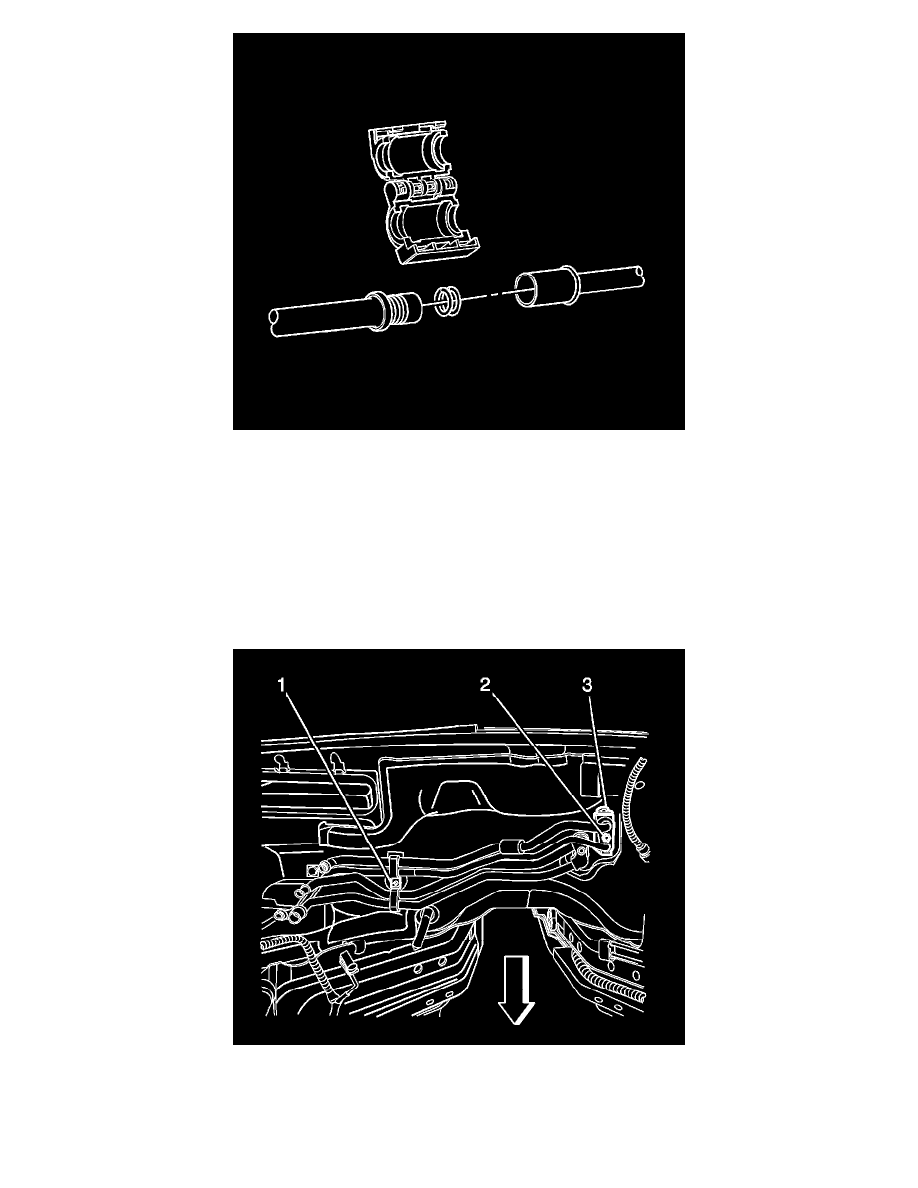
13. Remove the heater pipe bracket retaining nut (1) from the cowl stud.
14. Remove the thermal expansion valve (TXV) block fitting nut (2).
15. Disconnect the evaporator rear line assembly from the TXV (3).
16. Disconnect the evaporator rear line assembly from the retainer bracket stud.
17. Remove the rear evaporator line assembly from the vehicle.