
Corvette V8-6.2L (2008)
Notice: Refer to Fastener Notice (See: Service Precautions/Vehicle Damage Warnings/Fastener Notice) .
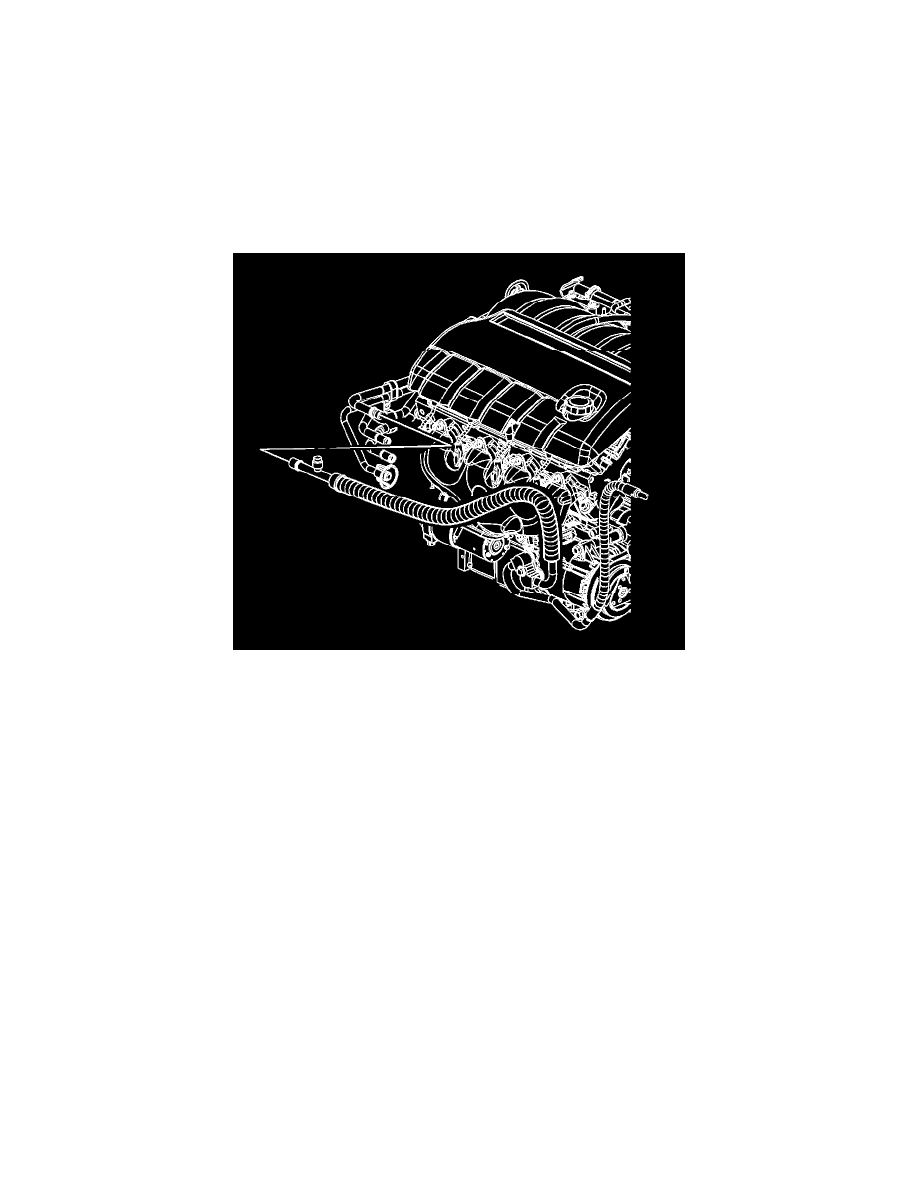
5. Install the A/C compressor hose assembly to A/C compressor retaining bolt.
Tighten the bolt to 20 N.m (15 lb ft).
6. For the 7.0L only, reposition the compressor and install the bolts and nuts. Refer to Compressor Replacement (See: Compressor HVAC/Service
and Repair) .
7. Install the right front tire and wheel assembly to the vehicle. Refer to Tire and Wheel Removal and Installation (See: Maintenance/Wheels and
Tires/Service and Repair) .
8. Lower the vehicle.
9. Remove cap or tape from the evaporator outlet tube.
10. Install a new O-rings onto the evaporator outlet tube. Refer to O-Ring Replacement (See: Coupler HVAC/A/C Coupler O-ring/Service and
Repair/O-Ring Replacement) .
11. Connect the evaporator outlet tube to the A/C compressor hose assembly.
12. Install the A/C tube connector to the evaporator outlet tube and A/C compressor hose assembly. Refer to Air Conditioning Line/Tube Connector
Removal/Replacement (See: Air Conditioning Line/Tube Connector Removal/Replacement) .