
Corvette V8-6.2L (2008)
Fuse Block: Service and Repair
Instrument Panel Electrical Center or Junction Block Replacement
Instrument Panel Electrical Center or Junction Block Replacement
Removal Procedure
1. Disconnect the negative battery cable. Refer to Battery Negative Cable Disconnection and Connection (6.0L) (See: Starting and
Charging/Battery/Battery Cable/Service and Repair)Battery Negative Cable Disconnection and Connection (7.0L) (See: Starting and
Charging/Battery/Battery Cable/Service and Repair) .
2. Remove the right door sill plate. Refer to Door Sill Plate Replacement (See: Body and Frame/Interior Moulding / Trim/Scuff Plate/Service and
Repair) .
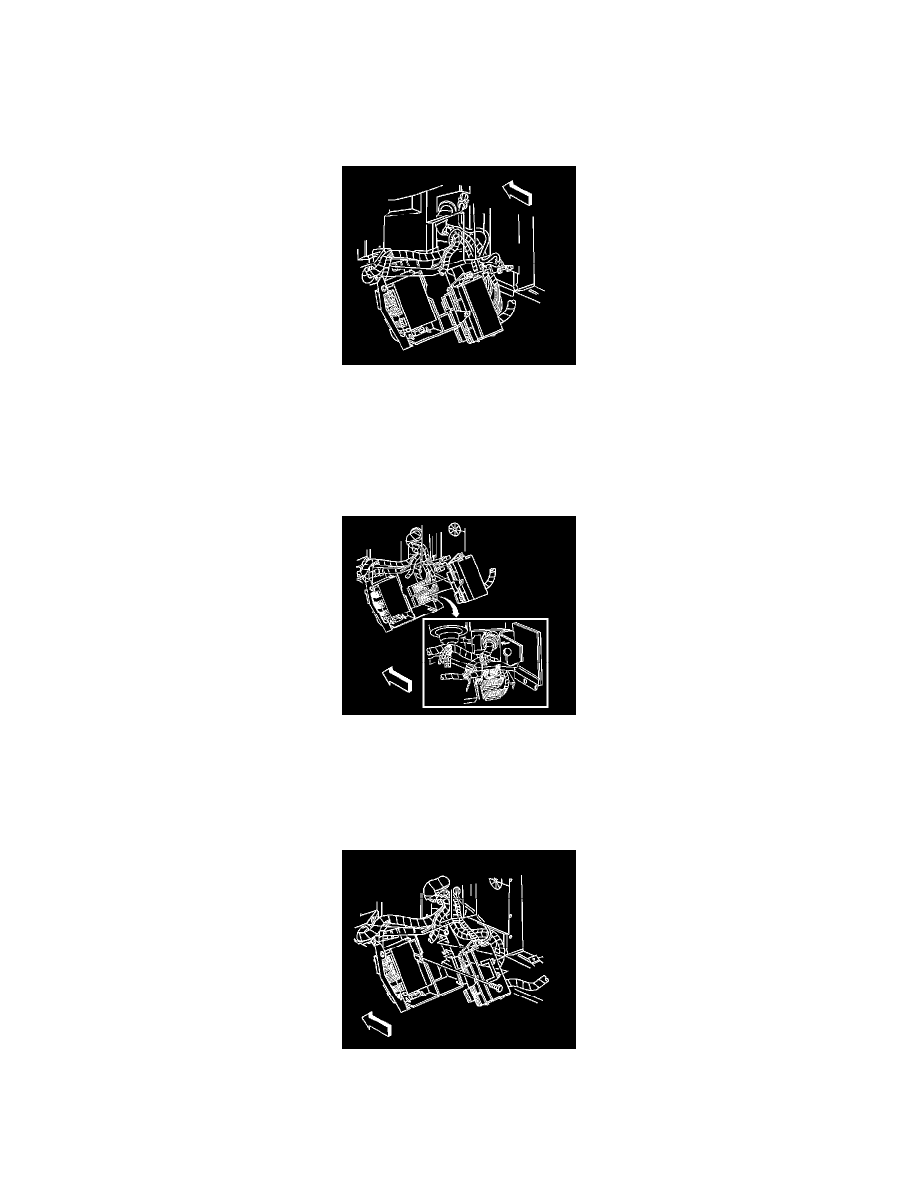
3. Fold the passenger side carpet back to expose the multi-use bracket.
4. Remove the retaining bolt which secures the multi-use bracket to the electrical wiring junction block.
5. Disengage the retaining clip from the outboard side, twist the electrical wiring block, and pull outward.
6. Remove the battery cable lead.
7. Disconnect three 64-way block connectors and 3 I/P wiring harness connectors.
8. Transfer all fuses and relays as required.
Installation Procedure
1. Position the electrical wiring junction block and connect 3 I/P wiring harness connectors and three 64-way block connectors.
2. Install the electrical wiring junction block to the multi-use bracket with the retaining bolt.
3. Install the battery cable lead.
4. Install the passenger side carpet to its original position.
5. Install the right door sill plate. Refer to Door Sill Plate Replacement (See: Body and Frame/Interior Moulding / Trim/Scuff Plate/Service and