
Corvette V8-6.2L (2008)
Knock Sensor: Service and Repair
Knock Sensor Replacement (Left)
Knock Sensor Replacement (Left)
Removal Procedure
1. Disconnect the negative battery cable. Refer to Battery Negative Cable Disconnection and Connection (6.0L) (See: Starting and
Charging/Battery/Battery Cable/Service and Repair)Battery Negative Cable Disconnection and Connection (7.0L) (See: Starting and
Charging/Battery/Battery Cable/Service and Repair) .
2. Remove the left catalytic convertor. Refer to Catalytic Converter Replacement - Left Side (6.0L) (See: Emission Control Systems/Catalytic
Converter/Service and Repair/Catalytic Converter Replacement - Left Side (6.2L))Catalytic Converter Replacement - Left Side (7.0L) () .
3. Remove the left exhaust manifold. Refer to Exhaust Manifold Replacement - Left Side (7.0L) ()Exhaust Manifold Replacement - Left Side (6.0L)
(See: Engine, Cooling and Exhaust/Exhaust System/Exhaust Manifold/Service and Repair/Exhaust Manifold Replacement - Left Side (6.0L)) .
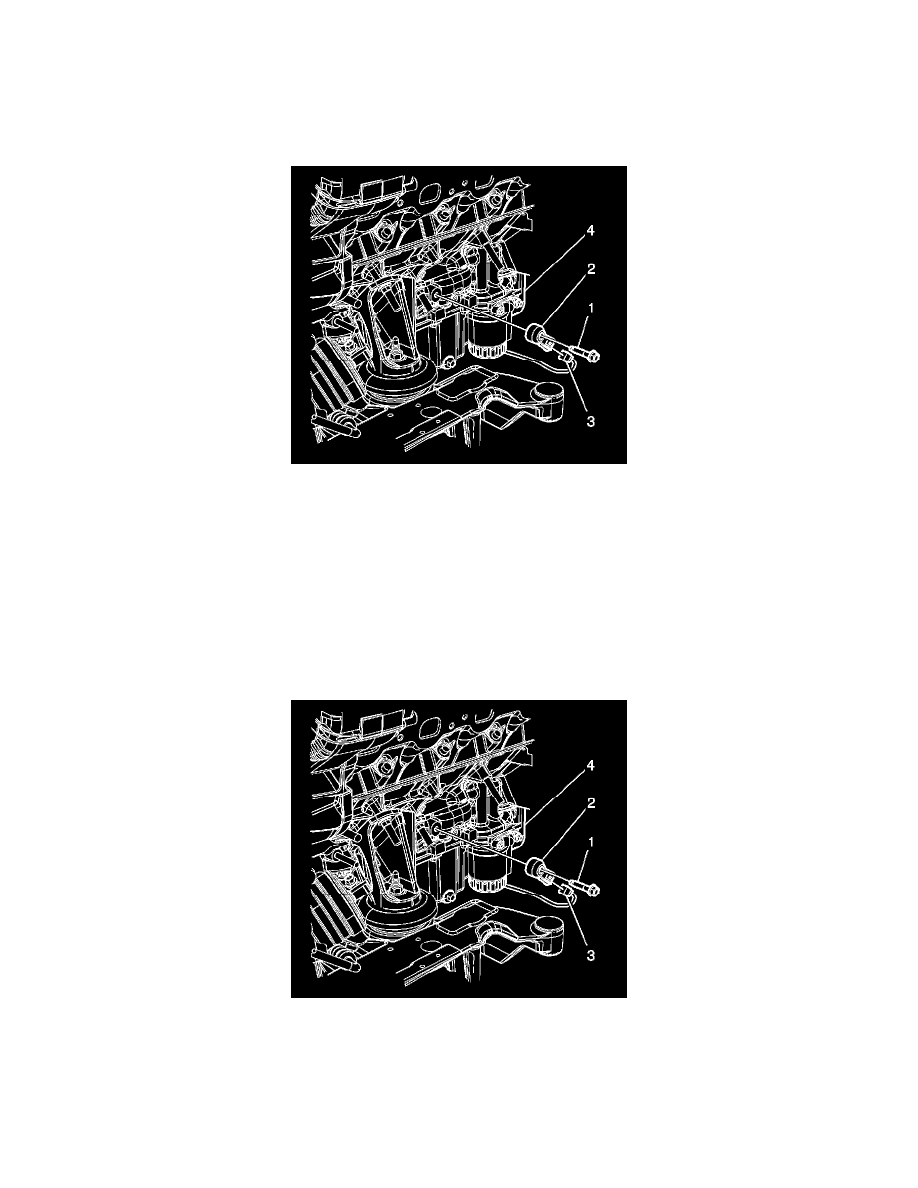
4. Remove the mounting bolt for the knock sensor 1.
5. Disconnect the electrical connector of the knock sensor from the engine harness (3).
6. Remove the knock sensor (2) from the engine block (4).
Installation Procedure
1. Reconnect the engine harness (3) and the knock sensor (2) electrical connectors.
2. Position the knock sensor 2 on the engine block (4).
3. Install the mounting bolt (1) for the knock sensor 2.
Notice: Refer to Fastener Notice (See: Service Precautions/Vehicle Damage Warnings/Fastener Notice) .
4. Tighten the knock sensor mounting bolt (1).