
Corvette V8-6.2L (2008)
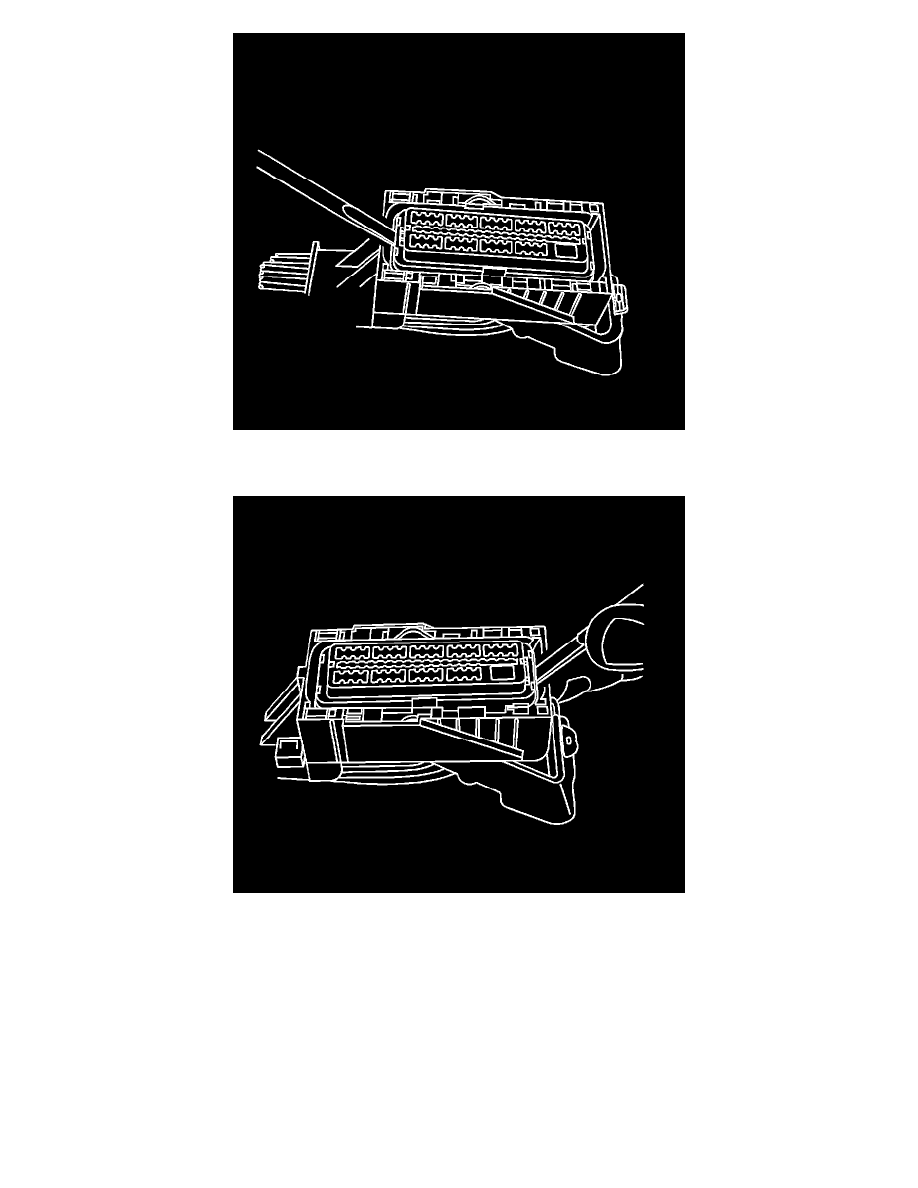
7. Use a small flat-blade tool to pry one side of the nose piece up to the pre-stage position. When the nose piece is in the pre-staged position, the nose
piece will be raised above the connector body the length of the step in the nose piece.
8. Use a small flat-blade tool to pry the other side of the piece to the pre-stage position. If the nose piece is higher than the first step in the nose piece,
gently push down on the nose piece until it meets with resistance from the connector body, you should feel the nose piece click into position.