
Corvette V8-6.2L (2008)
Positive: Service and Repair
Battery Positive Fuse Block Cable Replacement
Battery Positive Fuse Block Cable Replacement
Removal Procedure
1. Remove the battery tray. Refer to Battery Tray Replacement (See: Battery Tray/Service and Repair) .
2. Open the stud cover on the fuse/relay center cover.
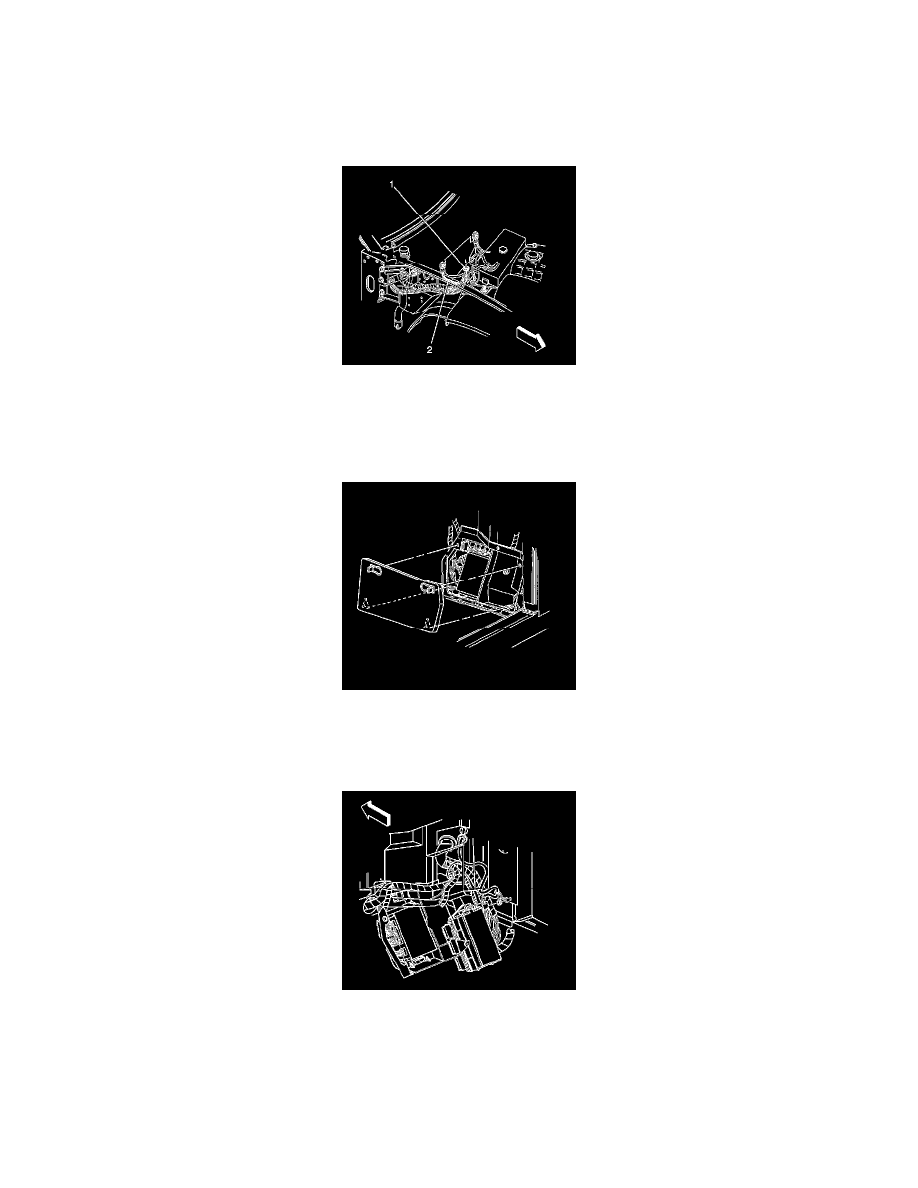
3. Remove the positive battery cable nut (1).
4. Remove the positive battery cable lead from the stud.
5. Remove the battery positive fuse block cable from the stud.
6. Disengage the kick-up panel latches inside the vehicle.
7. Open the panel.
8. Lift the panels bottom edge up and out of the slots in the multi-use relay bracket.
9. Remove the kick-up panel.
10. Unsnap the junction block from the bracket.
11. Reposition the junction block nut boot.
12. Remove the instrument panel (I/P) wiring harness junction block nut.
13. Remove the battery positive fuse block cable from the stud.
14. Route the fuse block cable through the front of dash and remove the cable.
Installation Procedure