
Corvette V8-6.2L (2008)
Installation Procedure
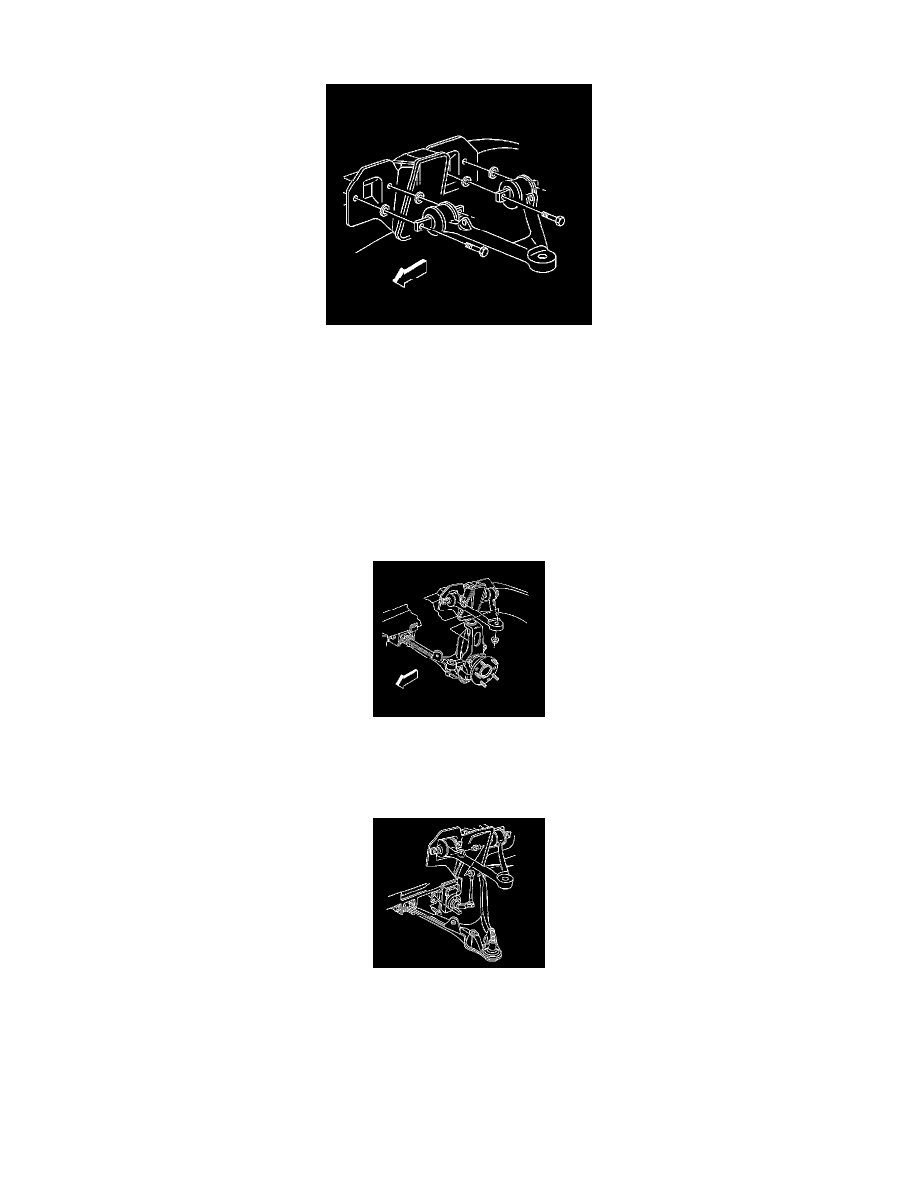
1. Install the upper control arm to the vehicle.
Important: The upper control arm shims will have an effect on the camber and the caster. Make sure to use an equal thickness of shims
on both sides of each individual upper control arm bushing.
2. Install the upper control arm shims.
Notice: Refer to Fastener Notice (See: Service Precautions/Vehicle Damage Warnings/Fastener Notice) .
3. Install the upper control arm mounting bolts to the upper control arm and frame rail.
Tighten the upper control arm mounting bolts to 65 N.m (48 lb ft).
4. Install the upper ball joint stud into the upper control arm. It will be necessary to use an allen wrench to keep the ball joint stud from spinning
while tightening the ball joint stud nut.
Tighten the upper control arm ball joint stud nut to 20 N.m (15 lb ft) plus 250 degrees.
5. Connect the ESC sensor link.
6. Remove the jackstand.
7. Install the tire and wheel assembly. Refer to Tire and Wheel Removal and Installation (See: Wheels and Tires/Service and Repair) .
8. Lower the vehicle.
Lower Control Arm Replacement
Lower Control Arm Replacement