
Corvette V8-6.2L (2008)
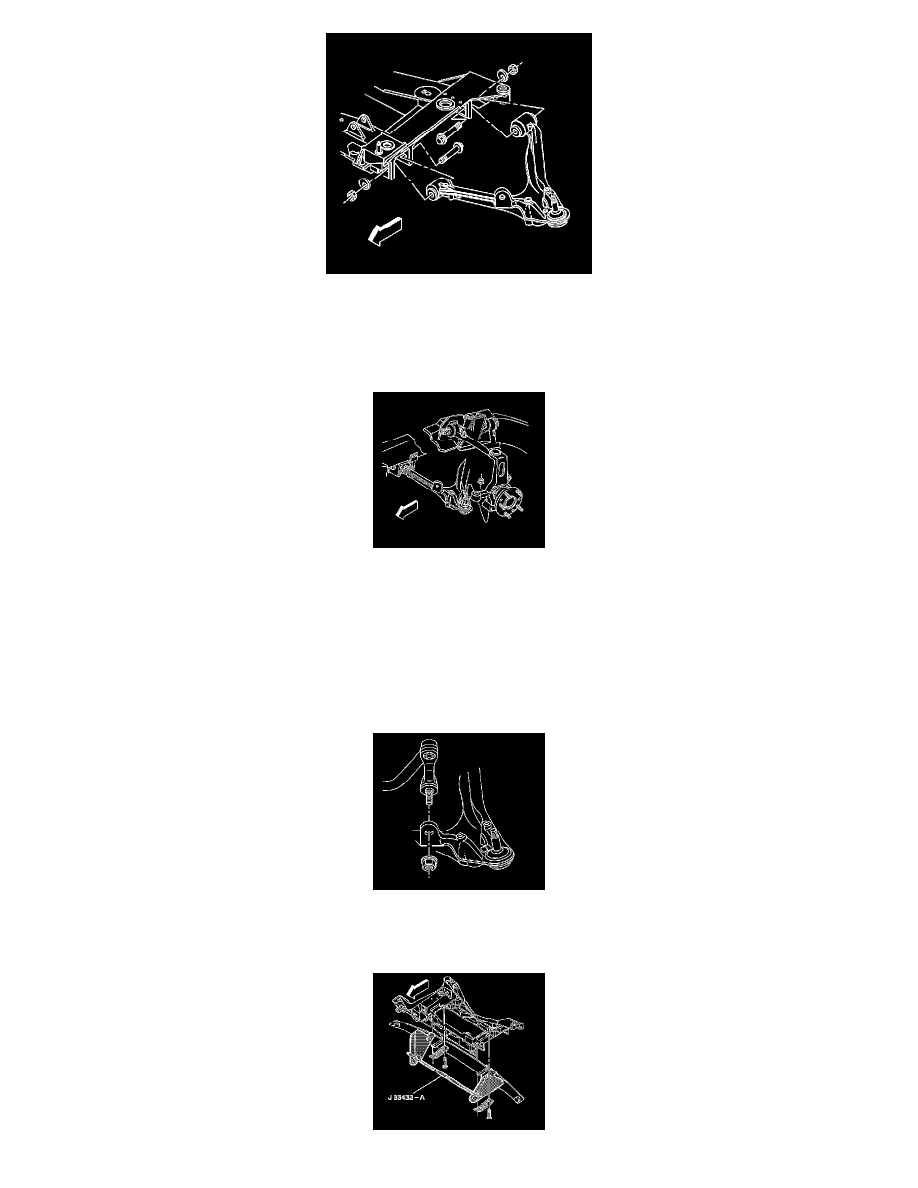
1. Install the lower control arm to the vehicle.
2. Install the cam bolts, washers, and nuts retaining control arm to the crossmember. Z06, use NEW cam bolts.
*
Place the cam bolts at the position marked during disassembly.
*
Due to a required wheel alignment, tighten the cam bolts but do not set to final torque specifications at this time.
3. Support the lower control arm with a jackstand.
4. Install the lower ball joint stud to the steering knuckle.
Notice: Refer to Fastener Notice (See: Service Precautions/Vehicle Damage Warnings/Fastener Notice) .
5. Install the lower control arm ball joint stud nut.
It may be necessary to use an allen wrench to keep the ball joint stud from spinning while tightening the ball joint stud nut.
Tighten the lower control arm ball joint stud nut to 30 N.m (20 lb ft) plus 180 degrees.
6. Install the stabilizer shaft link to the lower control arm.
Tighten the stabilizer shaft link nut to 72 N.m (53 lb ft).