
Corvette V8-6.2L (2008)
Important: Use an Allen wrench in the end of the ball stud to prevent the stud from rotating while removing the nut. Do Not use power
tools.
6. Using HAND TOOLS ONLY loosen, but do not remove the lower ball joint stud nut.
7. Using J 42188 separate the lower ball joint stud from the suspension knuckle.
Support the suspension knuckle assembly.
8. Remove J 42188 and the lower ball joint stud nut from the suspension knuckle.
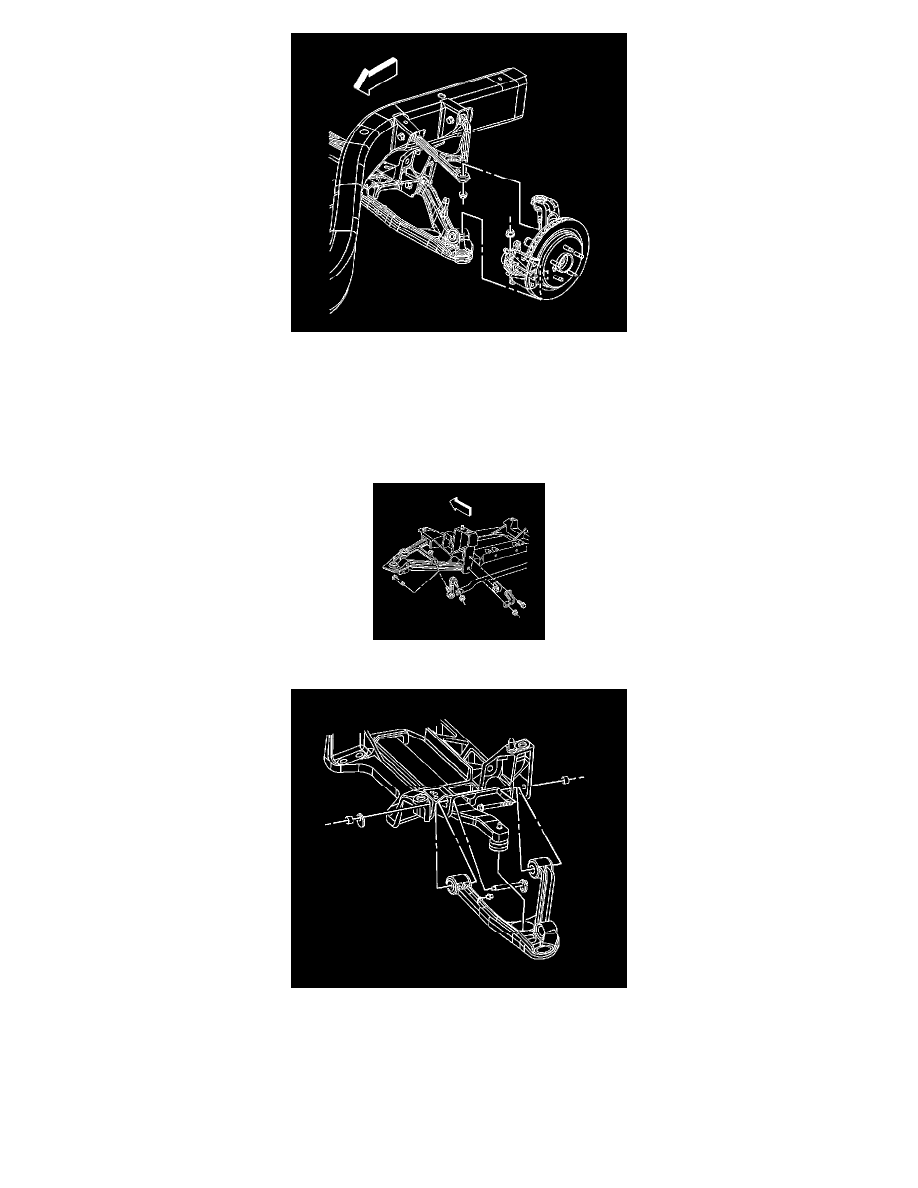
9. Using a back-up wrench to prevent the link stud from rotating, remove the stabilizer shaft link from the lower control arm.
10. Support the lower control arm with a jackstand.
11. Mark the position of, and then remove the cam bolts, washers, and nuts retaining the control arm to the crossmember.
12. Remove the jack stand from under the lower control arm.
13. Remove the lower control arm from the vehicle.
Installation Procedure
Notice: Do not remove the transverse leaf spring compressor tool until after the shock absorber has been installed. The pad on the transverse leaf