
Corvette V8-6.2L (2008)
Important: It may be necessary to use a long pair of 90 degree needle nose pliers to lift the plunger and remove the plug assembly.
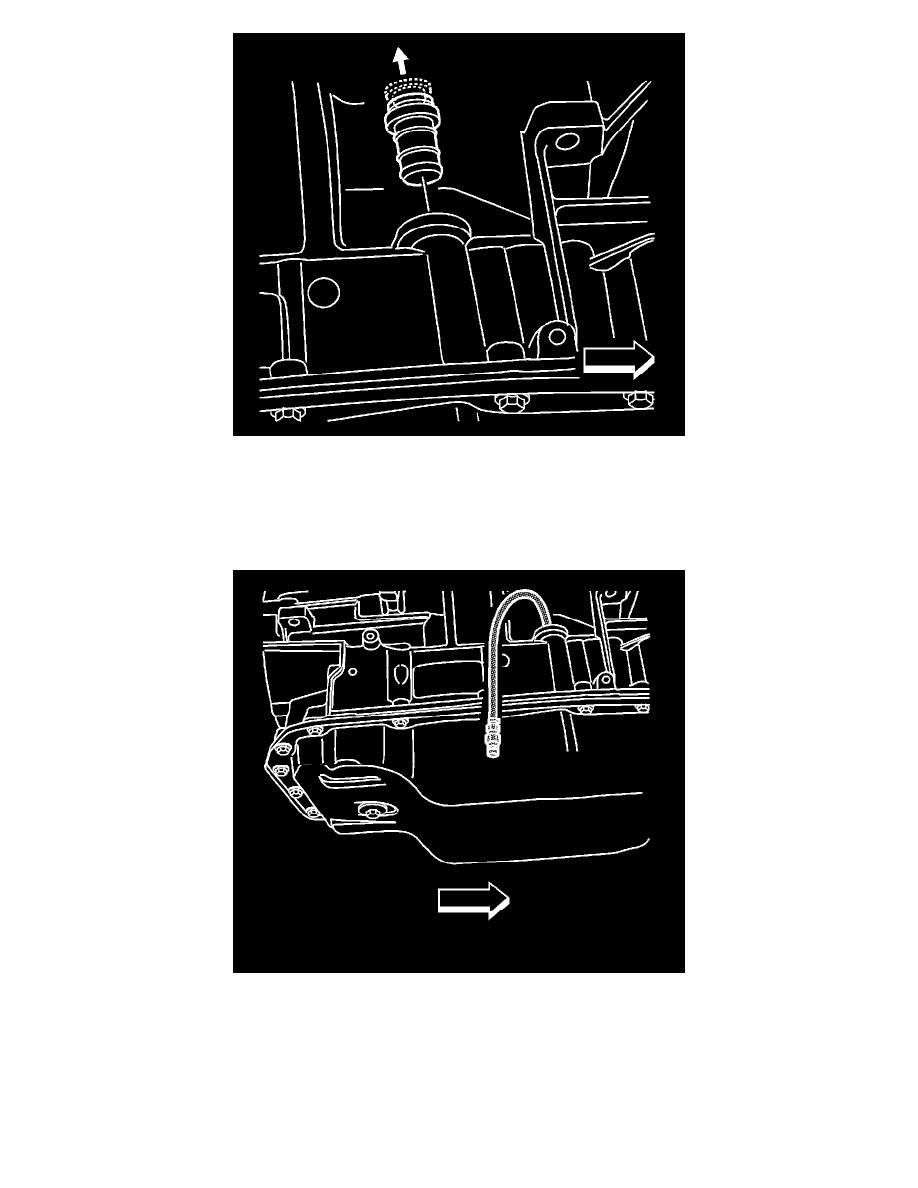
2. Unlock the fill tube plug by lifting the plunger. Once the plunger is lifted, remove the entire plug assembly.
3. Determine the approximate amount of fluid needed to fill the transmission, based on the repair performed. Refer to Fluid Capacity Specifications (
See: Specifications/Capacity Specifications) . To avoid an under-fill condition, slightly overfill the transmission, and then allow the extra fluid to
drain during the fluid checking procedure.
Important: The J 45096 is being utilized as a convenient method to pump the fluid into the bottom pan. A suitable hand pump may also
be used instead. When using the J 45096 , monitor the display panel to determine the amount of fluid being pumped from the tool supply
tank into the transmission.
4. Using the J 45096-40 (1) and the J 45096 (2), or a suitable hand pump, add transmission fluid through the fill tube plug opening. Refer to
Transmission Fluid Cooler Flushing and Flow Test (J 45096) (See: Testing and Inspection/Component Tests and General
Diagnostics/Transmission Fluid Cooler Flushing and Flow Test (J 45096)) for complete J 45096 operating instructions. Use the FLOW position
on the main function switch to pump the fluid.
5. Check the fluid level. Refer to Transmission Fluid Check (See: Testing and Inspection/Component Tests and General Diagnostics/Transmission