
Corvette V8-6.2L (2008)
Tighten the fitting to 18 N.m (13 lb ft).
2. Connect the TOC line to the TOC fitting. Refer to Transmission Fluid Cooler Hose/Pipe Quick-Connect Fitting Disconnection and Connection (
See: ) .
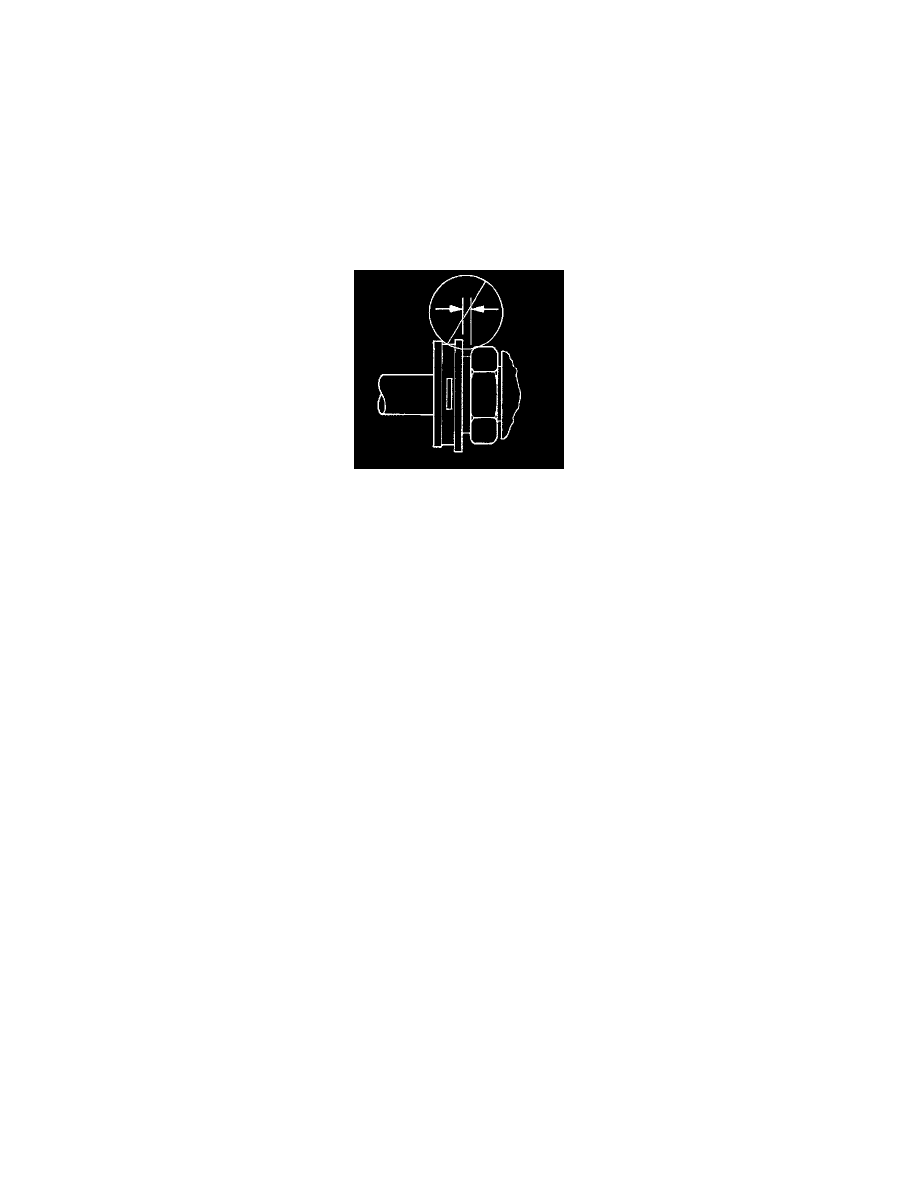
Important: Ensure the cooler line being installed has a plastic cap on the end that connects to the quick connect fitting. If no plastic cap
exists, or the plastic cap is damaged, obtain a new cap. Install the cap on to the cooler line prior to cooler line installation.
Do not manually depress the retaining clip when installing the plastic cap.
3. Snap the plastic cap onto the TOC fitting.
4. Ensure that the plastic cap is fully seated against the fitting.
5. Ensure that no gap is present between the cap and the fitting.
6. Remove the drain pan from under the vehicle.
7. Lower the vehicle.
8. Inspect the fluid level and add fluid if necessary. Refer to Transmission Fluid Check (See: Testing and Inspection/Component Tests and General
Diagnostics/Transmission Fluid Check) .
Transmission Fluid Cooler Hose/Pipe Connector Replacement (Upper Radiator)
Transmission Fluid Cooler Hose/Pipe Connector Replacement (Upper Radiator)
Removal Procedure
1. Remove the radiator support. Refer to Radiator Support Replacement (See: Engine, Cooling and Exhaust/Cooling System/Radiator/Service and
Repair) .
Important: The transmission oil cooler in held into position inside the radiator by the transmission oil cooler (TOC) fittings.
Service one TOC fitting at a time. Removal of both TOC fittings will cause the cooler tank to fall out of position and require radiator
removal to install the TOC fittings.
2. Disengage the plastic cap from the TOC fitting.
Pull the plastic cap back along the pipe.
3. Disconnect the TOC line from the TOC fitting. Refer to Transmission Fluid Cooler Hose/Pipe Quick-Connect Fitting Disconnection and
Connection (See: ) .