
Corvette V8-6.2L (2008)
Shifter A/T: Service and Repair
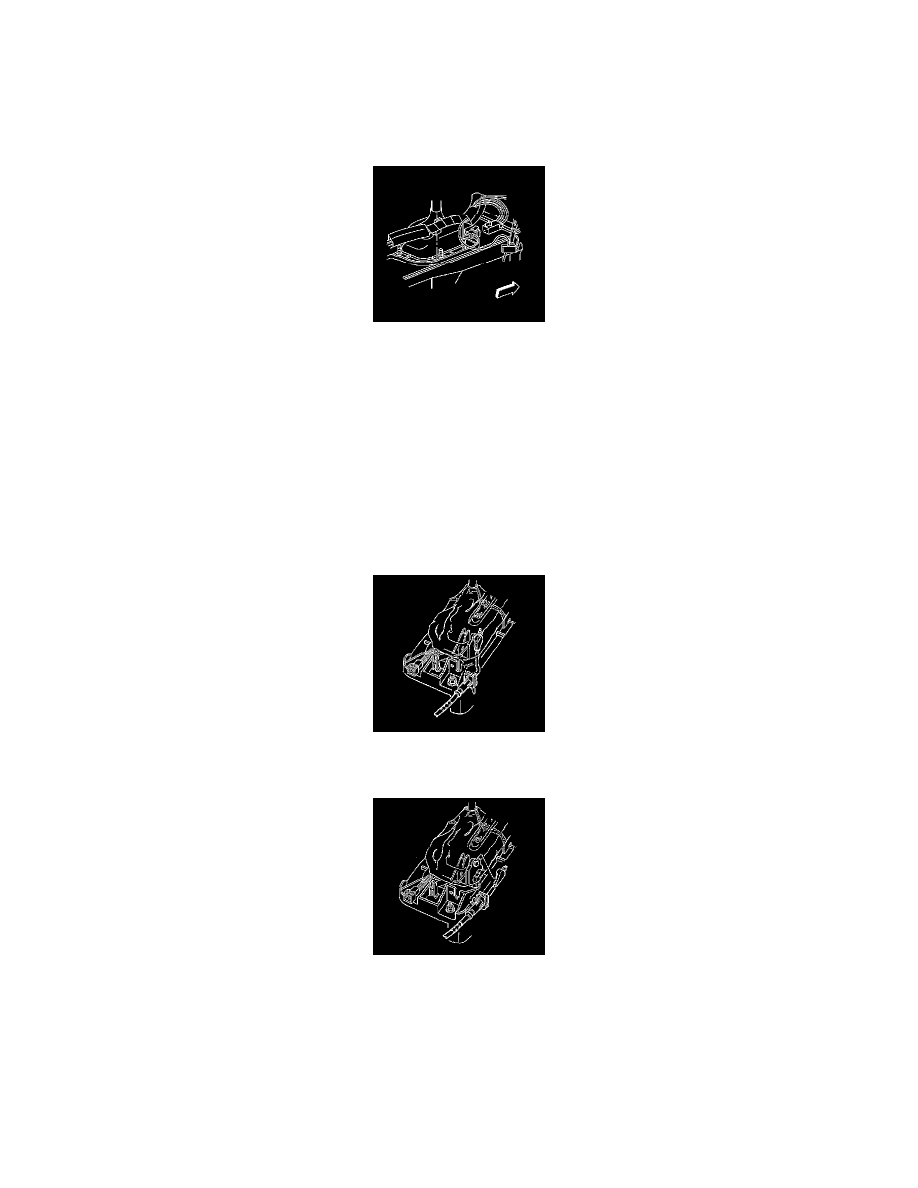
Transmission Control Replacement
Transmission Control Replacement
Removal Procedure
1. Place the vehicle on a level surface.
2. Block the wheels to keep the vehicle from moving.
3. Apply the parking brake.
4. Shift the floor shift control into PARK.
5. Turn the ignition to OFF and remove the ignition key.
Caution: Refer to Battery Disconnect Caution (See: Starting and Charging/Battery/Service Precautions/Technician Safety Information/Battery
Disconnect Caution) .
6. Disconnect the negative battery cable.
7. Remove the console. Refer to Console Replacement (See: Body and Frame/Interior Moulding / Trim/Console/Service and Repair) .
8. Remove the instrument panel (I/P) accessory trim plate. Refer to Instrument Panel Accessory Trim Plate Replacement (See: Body and
Frame/Interior Moulding / Trim/Dashboard / Instrument Panel/Service and Repair) .
9. Disconnect the floor shift control electrical connector.
10. Disconnect the I/P wiring harness retaining clip from the shift control and reposition the harness.
11. Using a small flat-bladed screwdriver or other suitable tool, release the tab retaining the park/lock cable to the slot on the shift control.
12. Lift the park/lock cable out of the shift control slot and reposition the cable.
13. Grasp the cable end and pull rearward in order to unlock the cable from the shifter pivot arm stud, then reposition the cable.