Corvette V8-6.2L (2008)

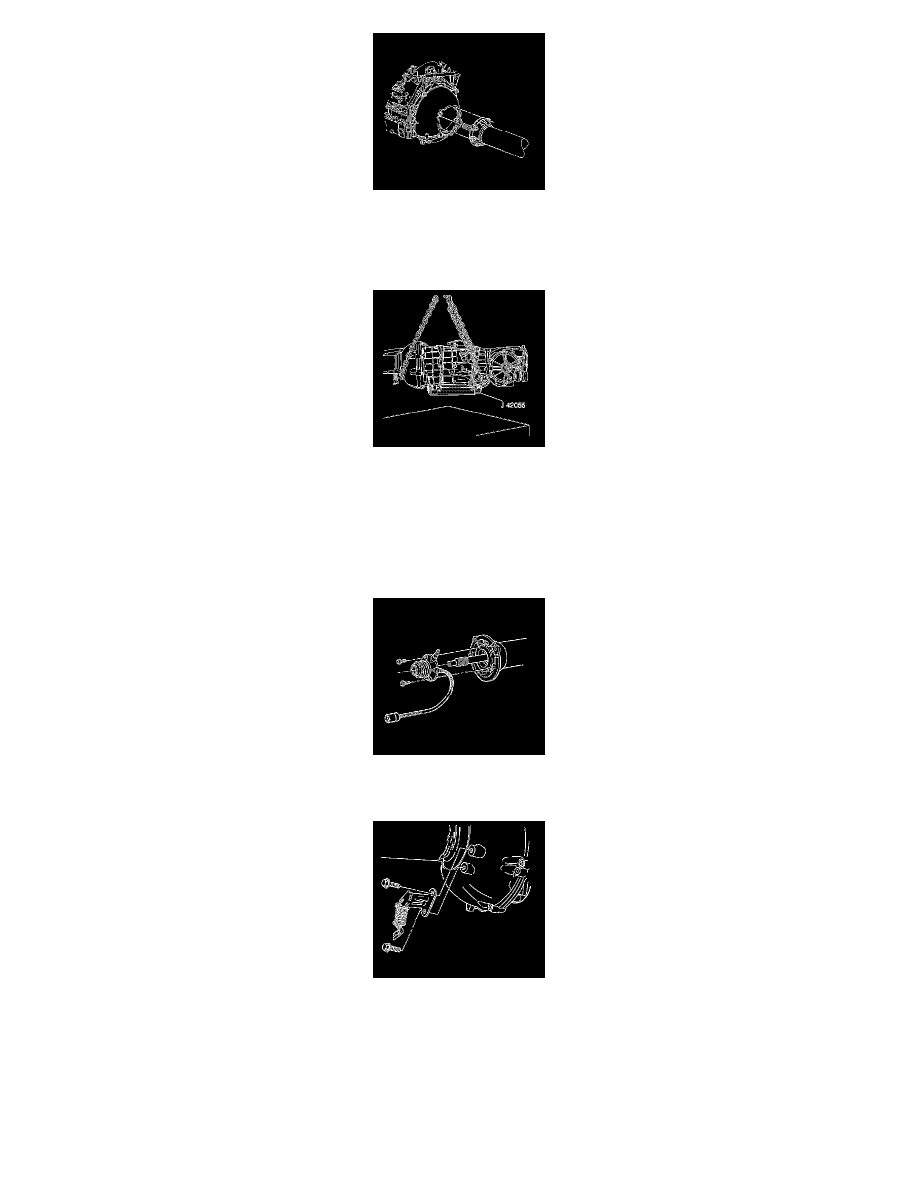
59. Have an assistant guide the front of the driveline during the removal of the driveline from the vehicle.
60. SLOWLY lower the driveline, while simultaneously adjusting the angle of tilt and pulling the driveline away from the engine UNTIL the propeller
input shaft at the front of the driveline support assembly just clears the engine flywheel housing.
61. SLOWLY lower the driveline completely out of the vehicle.
62. Position the chainfall, or equivalent lifting device, in a way which will protect the rear exhaust hangers located on the driveline support assembly.
63. Using the lifting device, raise the driveline to relieve the weight from the transmission jack.
64. Disconnect the J 42055 from the transmission jack ONLY; the J 42055 will provide stability to the driveline components while working on a
bench.
65. Position the driveline on a workbench with the lifting device still attached.
66. Support the driveline support assembly and the differential for additional balance.
67. Remove the lifting device from the driveline.
68. Remove the clutch actuator cylinder mounting bolts.
69. Remove the clutch actuator cylinder from the driveline support assembly.
70. Remove the rear exhaust hanger mounting bolts.
71. Remove the rear exhaust hangers from the driveline support assembly.
