
Corvette V8-6.2L (2008)
72. Remove the transmission to driveline support assembly bolts/studs.
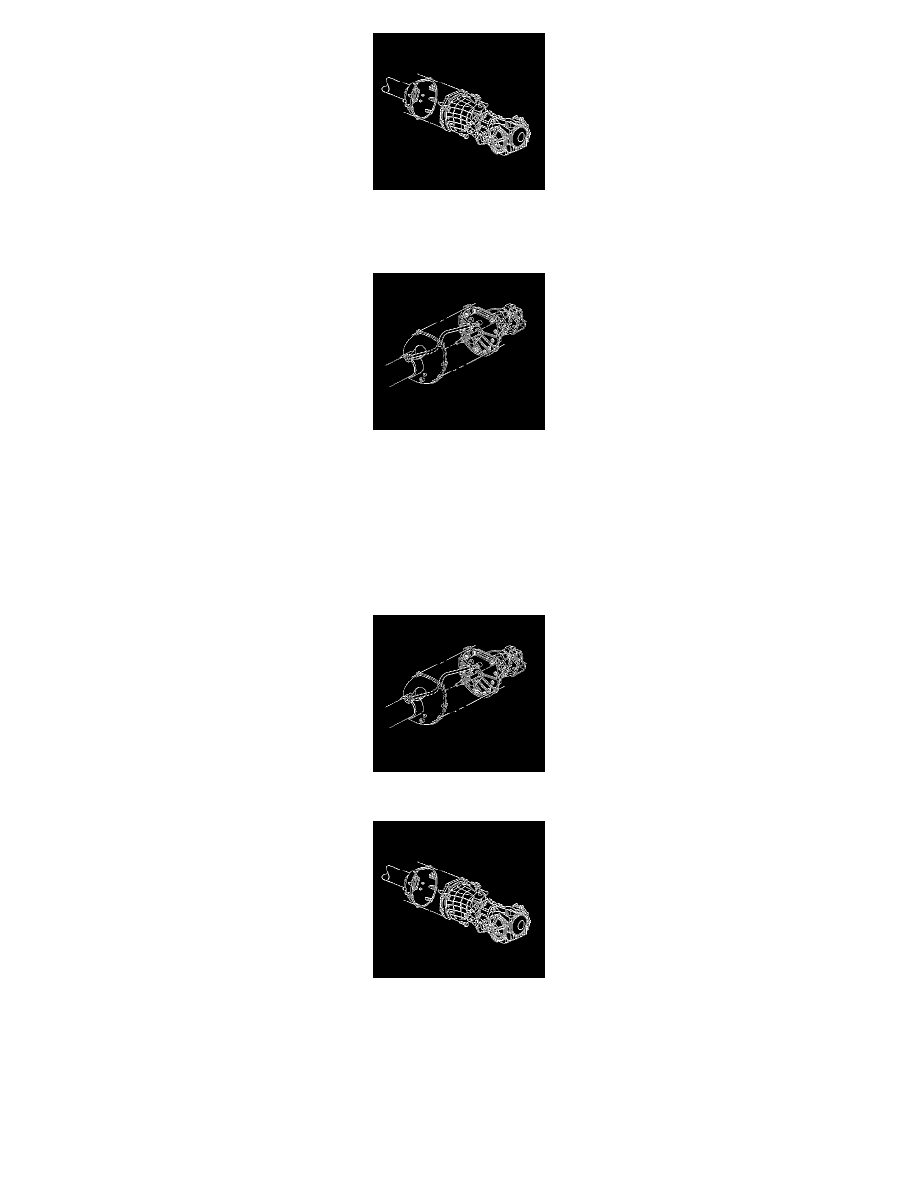
73. Insert a flat-bladed screwdriver, or similar tool, between the edge of the driveline support assembly and the transmission, then begin to pry the
driveline support assembly loose from the transmission.
74. Slowly slide the driveline support assembly away from the transmission while guiding the transmission shift rod through the opening in the
driveline support assembly.
Installation Procedure
Notice: When tilting down the rear of the driveline, insert a putty knife or similar tool between the shift control bracket on the driveline support
assembly and the brake pipe retainer on the driveline tunnel wall to prevent damage.
Notice: Ensure that the clutch hydraulic hoses are positioned away from nearby vehicle components or vehicle damage may result.
1. Slowly slide the driveline support assembly to the transmission, while guiding the shift rod through the opening in the driveline support assembly.
Notice: Refer to Fastener Notice (See: Service Precautions/Vehicle Damage Warnings/Fastener Notice) .
2. Install the transmission to driveline support assembly bolts/studs.
Tighten the transmission to driveline support assembly bolts/studs to 50 N.m (37 lb ft).