
Corvette V8-6.2L (2008)
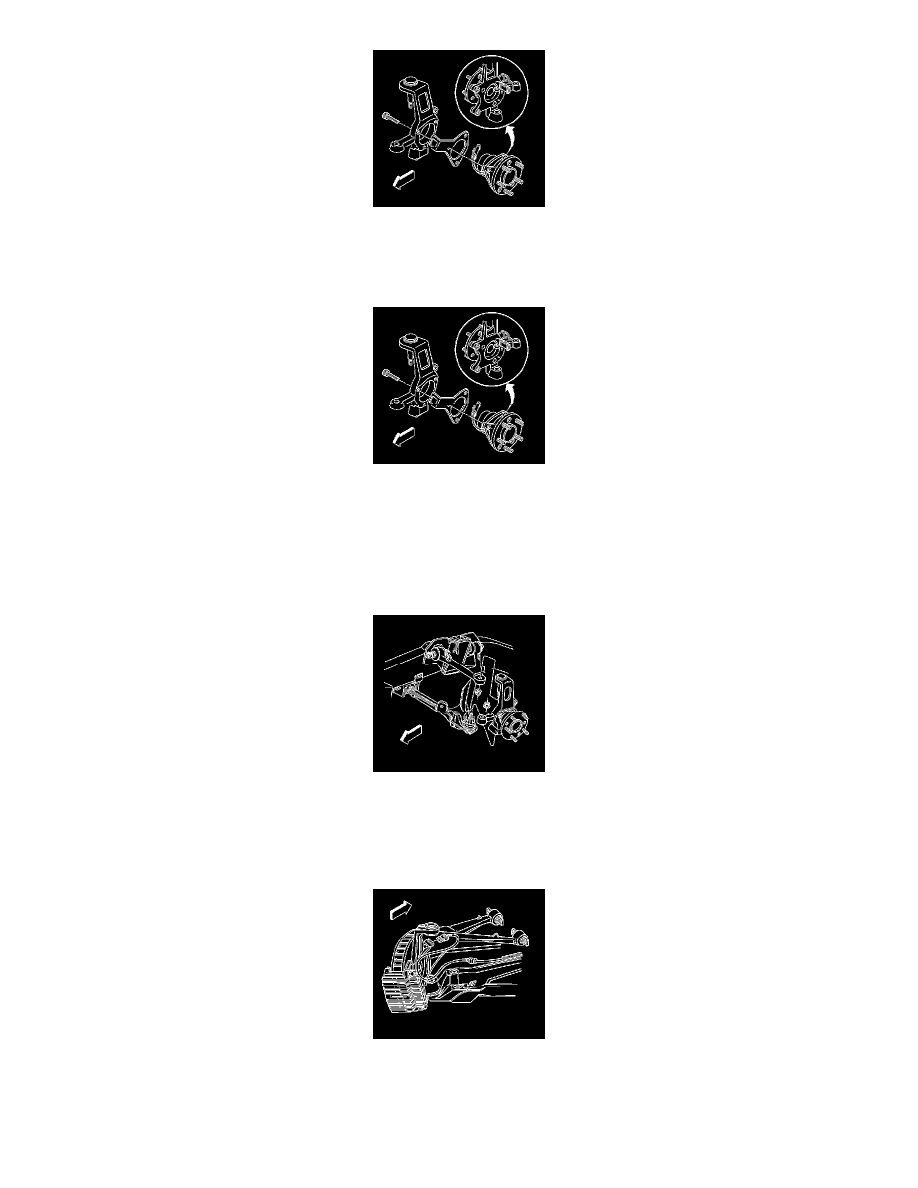
9. Remove the wheel hub mounting bolts.
10. Remove the hub and bearing assembly from the steering knuckle.
Installation Procedure
1. Install the hub and bearing assembly into the steering knuckle.
Notice: Refer to Fastener Notice (See: Service Precautions/Vehicle Damage Warnings/Fastener Notice) .
2. Install the wheel hub mounting bolts.
Tighten the wheel hub mounting bolts to 130 N.m (96 lb ft).
3. Install the lower control arm ball stud to the steering knuckle. Refer to Lower Control Arm Replacement (See: Steering and
Suspension/Suspension/Control Arm/Service and Repair/Front Suspension/Lower Control Arm Replacement) .
4. Remove the jackstand.
5. Install the steering linkage outer tie rod ball stud to the steering knuckle. Refer to Rack and Pinion Outer Tie Rod End Replacement (See: Steering
and Suspension/Steering/Tie Rod/Tie Rod End/Service and Repair) .
6. Connect the wheel speed sensor electrical connector.
7. Install the stabilizer shaft link to the lower control arm. Refer to Stabilizer Shaft Link Replacement (See: Steering and
Suspension/Suspension/Stabilizer Bar/Stabilizer Link/Service and Repair/Front Suspension) .
8. Install the brake rotor and caliper. Refer to Front Brake Rotor Replacement (See: Brakes and Traction Control/Disc Brake System/Brake
Rotor/Disc/Service and Repair/Removal and Replacement/Front Brake Rotor Replacement) and Front Brake Caliper Replacement (J56) (See: