
Corvette V8-6.2L (2008)
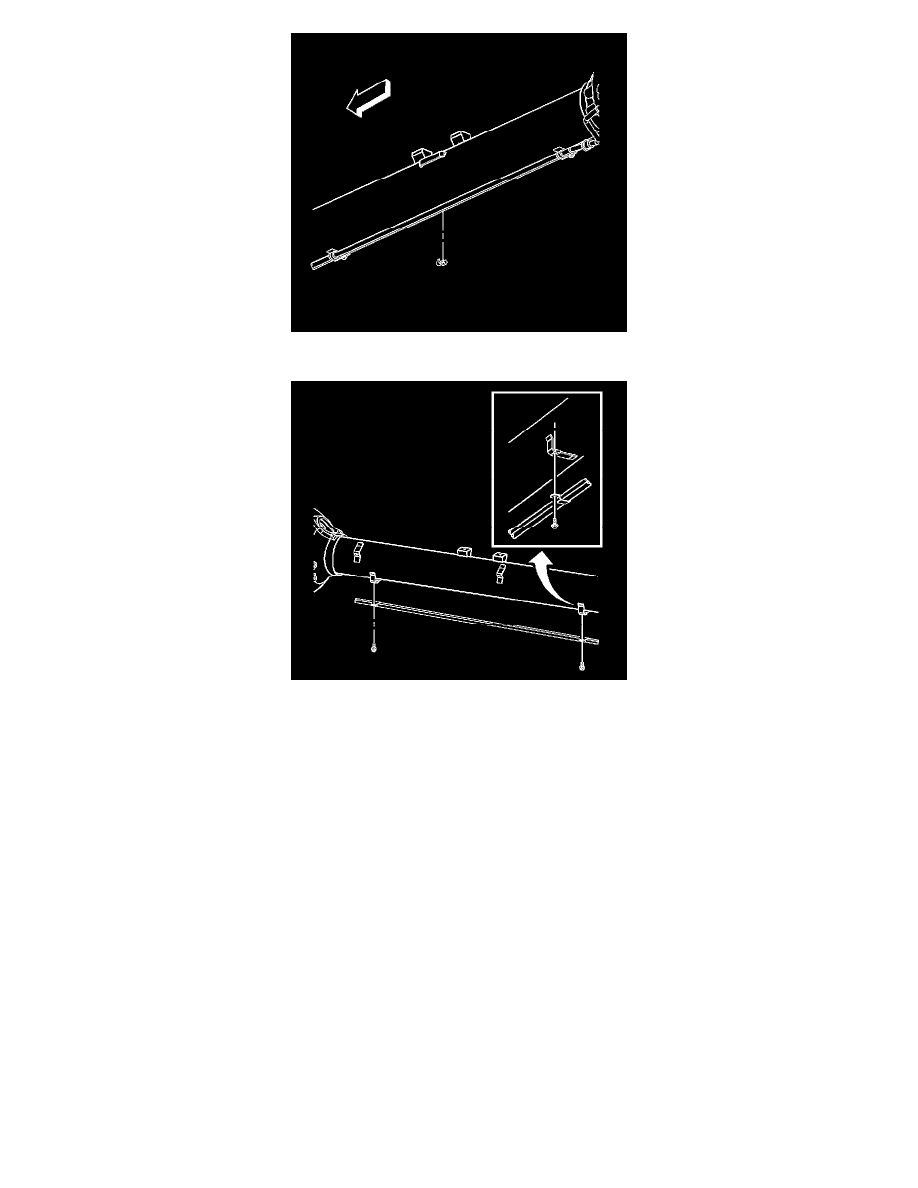
3. Install the transmission fluid cooler pipes clip.
Notice: Refer to Fastener Notice (See: Service Precautions/Vehicle Damage Warnings/Fastener Notice) .
4. Install the transmission fluid cooler pipe retaining bolts to the driveline support.
Tighten the bolt to 12 N.m (9 lb ft).
5. Check the transmission fluid level, add fluid if necessary. Refer to Transmission Fluid Level Inspection (See: Service and Repair/Removal and
Replacement/Transmission Fluid Level Inspection) .
6. Remove the drain pan.
7. Install the floor panel tunnel reinforcement. Refer to Floor Panel Tunnel Panel Reinforcement Replacement (See: Body and Frame/Exterior
Moulding / Trim/Underbody Cover/Service and Repair) .
8. Lower the vehicle. Refer to Lifting and Jacking the Vehicle (See: Maintenance/Service Intervals) .
Transmission Fluid Cooler Lower Pipe Replacement - Intermediate to Transmission
Transmission Fluid Cooler Lower Pipe Replacement - Intermediate to Transmission
Removal Procedure
1. Raise and support the vehicle. Refer to Lifting and Jacking the Vehicle (See: Maintenance/Service Intervals) .
2. Remove the floor panel tunnel reinforcement. Refer to Floor Panel Tunnel Panel Reinforcement Replacement (See: Body and Frame/Exterior
Moulding / Trim/Underbody Cover/Service and Repair) .
3. Install a drain pan under the vehicle.
Important:
*
The front transmission fluid cooler pipes connect to the rear transmission fluid cooler pipes near at the rear of the engine next to the