
Corvette V8-6.2L (2008)
Installation Procedure
Notice: Refer to Fastener Notice (See: Service Precautions/Vehicle Damage Warnings/Fastener Notice) .
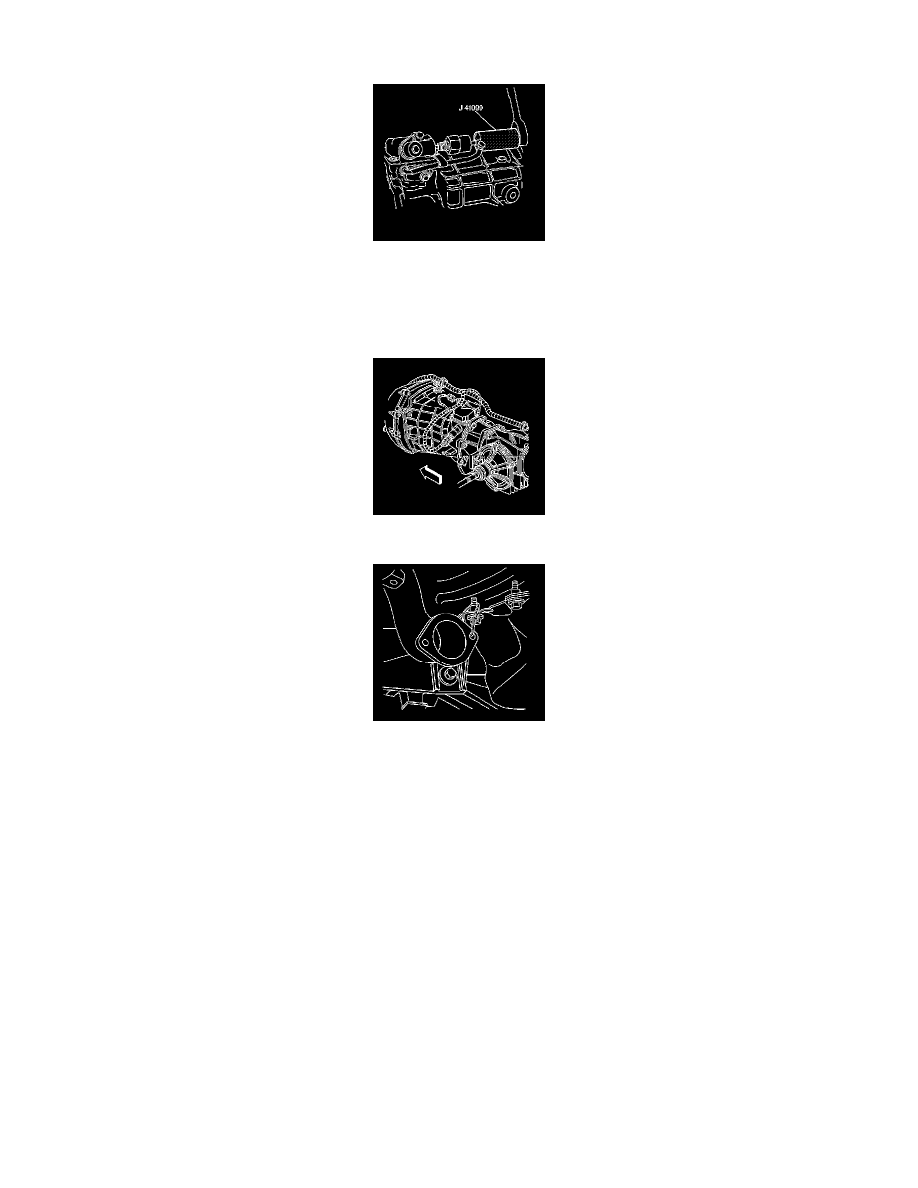
1. Using the J 41099 , install the reverse lockout solenoid.
Tighten the reverse lockout solenoid to 40 N.m (30 lb ft).
2. Connect the reverse lockout solenoid electrical connector.
3. Slowly raise the rear suspension crossmember to seat to the vehicle frame rails.
4. Using ONLY HAND TOOLS, install NEW rear suspension crossmember mounting nuts.
Tighten the rear suspension crossmember mounting nuts to 110 N.m (81 lb ft).
5. Remove the transmission jack from the rear suspension crossmember.
6. Connect the wiring harness and brake pipe clip retainers to the rear suspension crossmember.
7. Install the rear transverse spring. Refer to Rear Transverse Spring Replacement (See: Steering and Suspension/Suspension/Suspension Spring (
Coil / Leaf )/Service and Repair/Rear Suspension Leaf Spring) .
8. Remove the tie-off retainers from the muffler assemblies.
9. Install the intermediate exhaust pipe to muffler bolts.
Tighten the intermediate exhaust pipe to muffler bolts to 50 N.m (37 lb ft).
10. Install the rear tire and wheel assemblies. Refer to Tire and Wheel Removal and Installation (See: Maintenance/Wheels and Tires/Service and
Repair) .
11. Lower the vehicle.
12. Connect the negative battery cable.
Tighten the negative battery cable bolt to 15 N.m (11 lb ft).
13. Program the transmitters. Refer to Transmitter Programming (N. America and Japan, except Canada) (See: Testing and Inspection/Programming
and Relearning)Transmitter Programming (Canada and Europe) (See: Testing and Inspection/Programming and Relearning) .