Corvette V8-6.2L SC (2009)

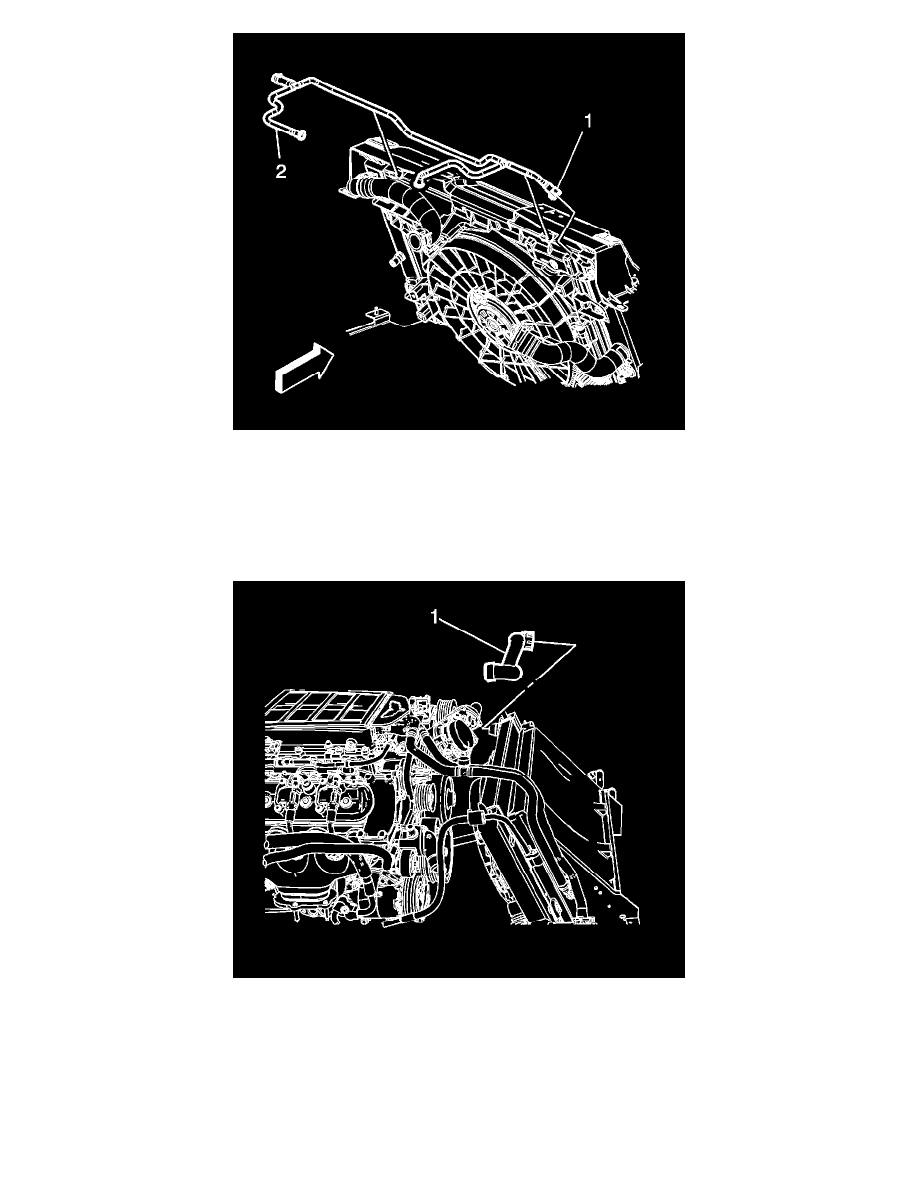
10. Connect the surge tank inlet hose (2) to the radiator.
11. Connect the surge tank inlet hose quick connect fitting (1) from the radiator.
Note: Lift up on the cooling fan and shroud assembly and engage the tabs to the radiator slots.
12. Install the cooling fan and shroud assembly to the radiator. Refer to Cooling Fan and Shroud Replacement (LS3, LS7) (See: Fan Shroud/Service
and Repair)Cooling Fan and Shroud Replacement (LS9) (See: Fan Shroud/Service and Repair).
13. Connect the radiator inlet hose to the radiator.
14. Connect the radiator inlet hose quick connect fitting (1) at the radiator.
15. Install the condenser. Refer to Air Conditioning Condenser Replacement (See: Heating and Air Conditioning/Condenser HVAC/Service and
Repair).
16. Fill the cooling system. Refer to Cooling System Draining and Filling (Static Fill) (See: Service and Repair)Cooling System Draining and Filling
(GE 47716) (See: Service and Repair).
17. Evacuate and recharge the A/C system. Refer to Refrigerant Recovery and Recharging (See: Heating and Air Conditioning/Service and
Repair/Procedures/Refrigerant Recovery and Recharging).
18. Leak test the fittings of the component using J 39400-A - Halogen Leak Detector.
