
Corvette V8-6.2L SC (2009)
8. Remove cap or tape from the front evaporator line and A/C compressor line.
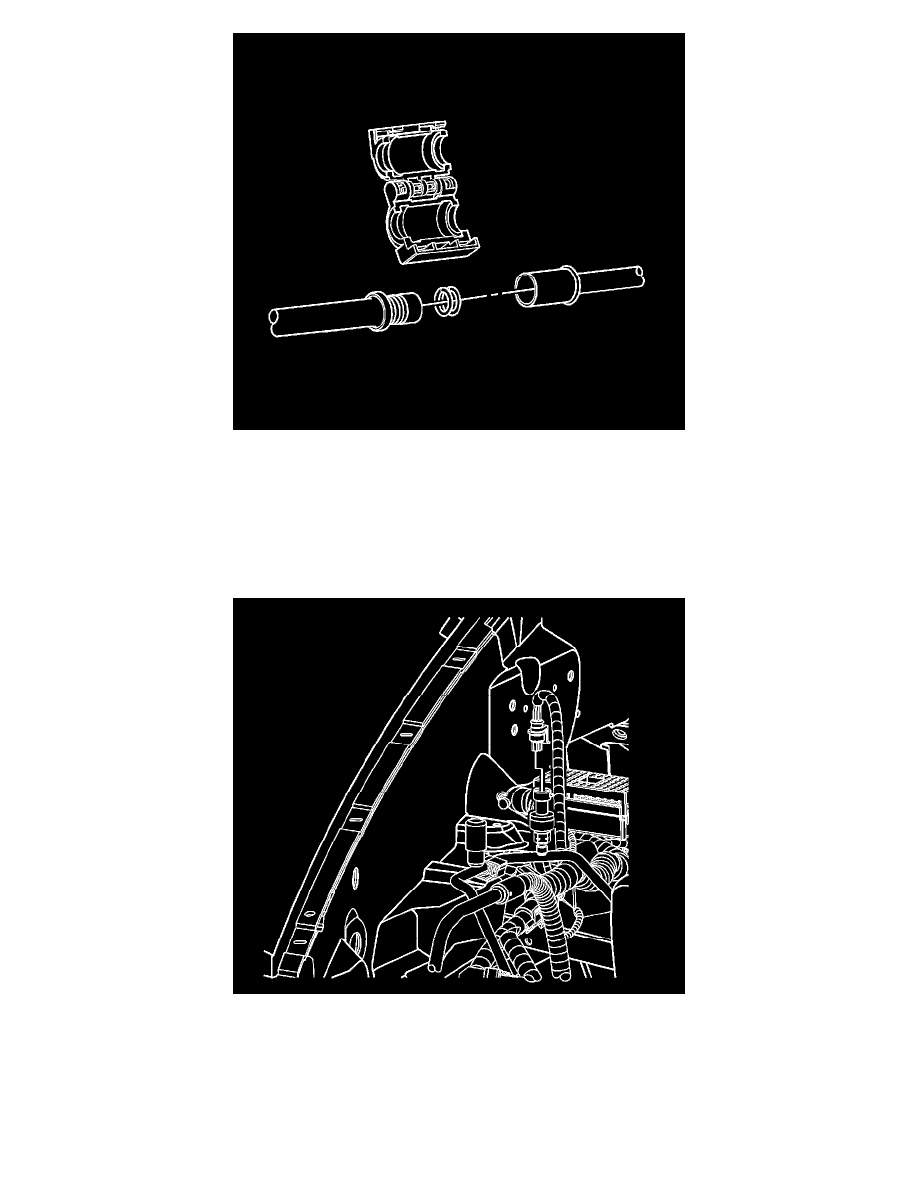
9. Install new O-rings to the rear evaporator line assembly. Refer to O-Ring Replacement (See: Coupler HVAC/A/C Coupler O-ring/Service and
Repair/O-Ring Replacement).
10. Connect the A/C compressor line to the evaporator rear line assembly.
11. Connect the front evaporator line to the evaporator rear line assembly.
12. Connect the A/C tube connectors onto the evaporator rear line assembly. Refer to Air Conditioning Line/Tube Connector Removal/Replacement
(See: Air Conditioning Line/Tube Connector Removal/Replacement).
13. Connect the refrigerant pressure sensor electrical connector.
14. Connect the front evaporator inlet line to the body retaining clip.
15. Install the intake manifold. Refer to Intake Manifold Replacement (See: Engine, Cooling and Exhaust/Engine/Intake Manifold/Service and
Repair).
16. Install the battery. Refer to Battery Replacement (LS7 or LS9) (See: Starting and Charging/Battery/Service and Repair)Battery Replacement
(LS3) (See: Starting and Charging/Battery/Service and Repair).
17. Evacuate and recharge the A/C system. Refer to Refrigerant Recovery and Recharging (See: Service and Repair/Procedures/Refrigerant
Recovery and Recharging).
18. Leak test the fittings of the component using J 39400-A - Halogen Leak Detector.