Corvette V8-6.2L SC (2009)

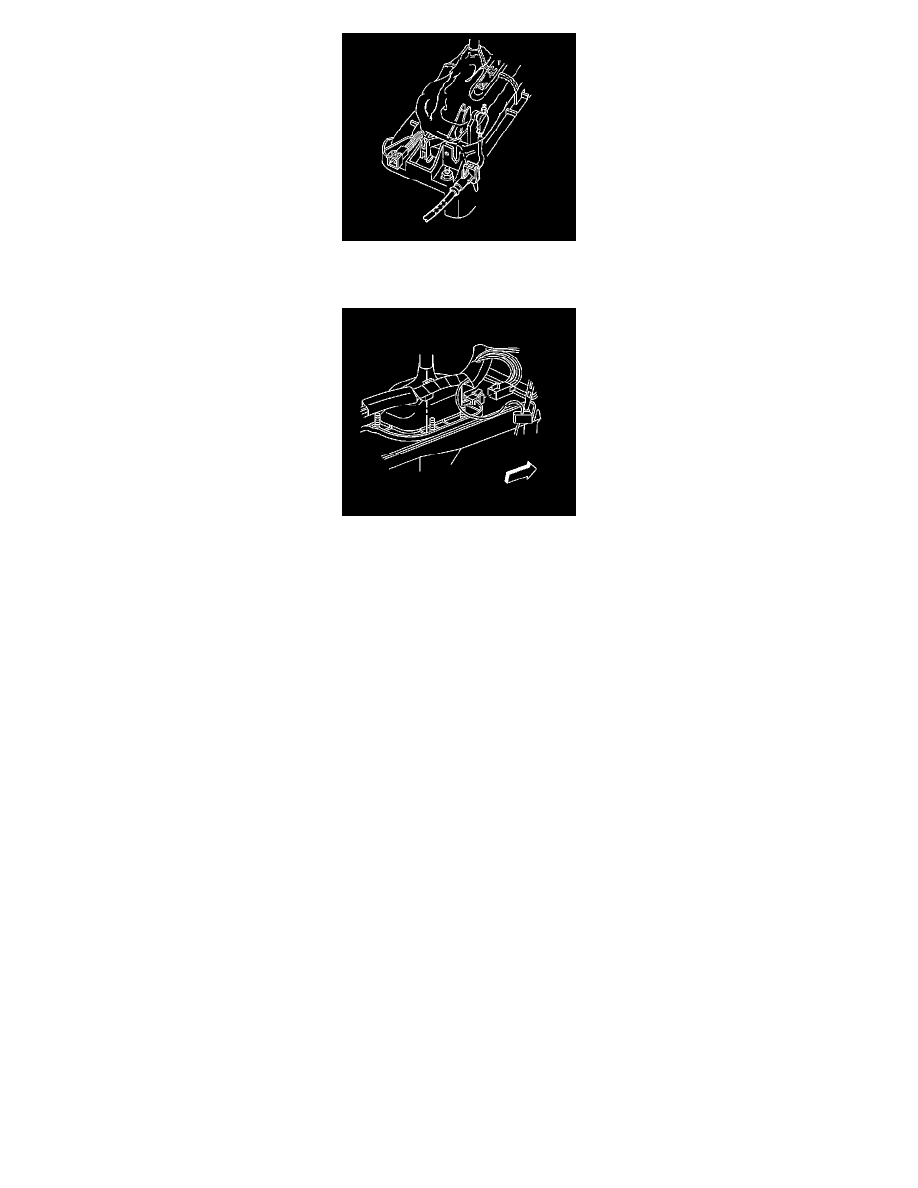
10. Insert the park/lock cable into the slot on the floor shift control.
Be sure the cable retaining tab locks into place.
11. Connect the I/P wiring harness retaining clip to the shift control.
12. Connect the shift control electrical connector.
13. Install the I/P accessory trim plate. Refer to Instrument Panel Accessory Trim Plate Replacement (See: Body and Frame/Interior Moulding /
Trim/Dashboard / Instrument Panel/Service and Repair).
14. Install the console. Refer to Console Replacement (See: Body and Frame/Interior Moulding / Trim/Console/Service and Repair).
Note: Prior to restoring battery power, check to be certain that the ignition key is removed from the ignition switch.
15. Connect the negative battery cable.
Tighten the negative battery cable bolt to 15 Nm (11 lb ft).
16. Program the transmitters.
17. Unblock the wheels.
18. Release the parking brake.
Warning: Refer to Road Test Warning (See: Service Precautions/Technician Safety Information/Road Test Warning).
19. Test drive the vehicle in an area with little traffic; ensure that the transmission will shift smoothly into, and maintain each detent position.
