
Corvette V8-7.0L (2007)
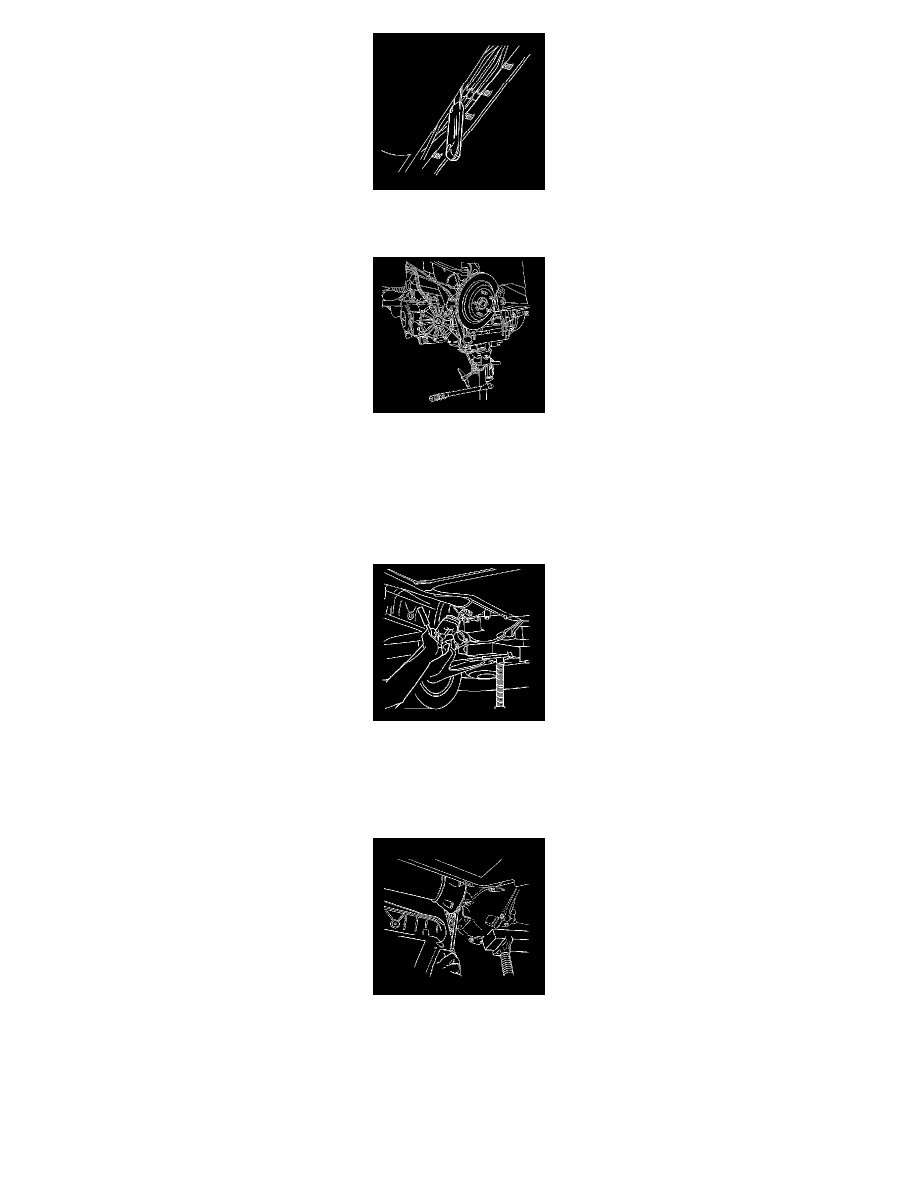
51. Insert a putty knife, or similar tool, between the edge of the shifter bracket on the side of the driveline support assembly and the brake pipe retainer
on the wall of the driveline tunnel.
52. SLOWLY lower the driveline, while simultaneously adjusting the angle of tilt, and observe the relationship between the top rear of the differential
and the lowest part of the rear compartment panel floor (the center storage compartment between the frame rails). The differential should not be
lowered more than approximately EVEN with the specified body point of reference.
The engine positive crankcase ventilation (PCV) pipes which route along the rear of the engine intake manifold (LS1 only) will likely contact the
dash panel.
53. Release the wiring harness from the harness retainer along the top of the transmission.
54. Ensure the wiring harness is free from the driveline being removed.
55. Using a block of wood to protect the engine oil pan, place a straight jack under the rear of the engine oil pan to support the engine from stressing
the composite dash panel.
56. Remove the 5 driveline support assembly to engine flywheel housing bolts.
57. Carefully bend the wiring harness bracket away from the driveline toward the driveline tunnel wall in order to make a clear removal path for the
driveline.
Important: The aid of an assistant will be necessary for the remaining steps.
58. Have an assistant insert a flat-bladed screwdriver, or similar tool, between the edge of the driveline support assembly and the engine flywheel
housing, then begin to pry the driveline loose from the engine.