
Corvette V8-7.0L (2007)
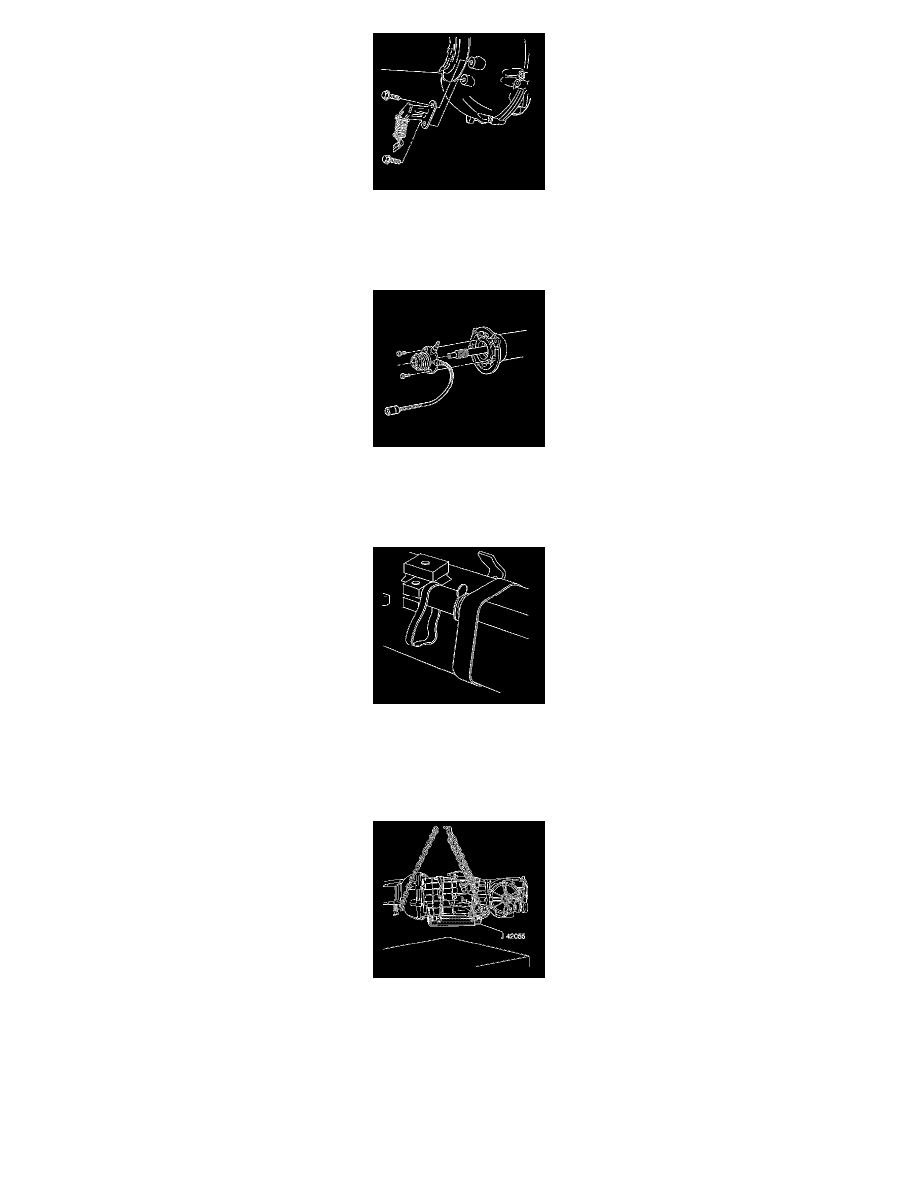
3. Install the rear exhaust hangers to the driveline support assembly.
4. Install the rear exhaust hanger mounting bolts.
Tighten the rear exhaust hanger mounting bolts to 50 N.m (37 lb ft).
5. Install the clutch actuator cylinder to the driveline support assembly.
6. Install the clutch actuator cylinder mounting bolts.
Tighten the clutch actuator cylinder mounting bolts to 12 N.m (106 lb in).
7. Loosely install a rubber band onto the transmission shift rod and position just behind the shift rod clamp.
The rubber band will be used to aid in installing the shift control rod after the driveline has been installed.
8. Using a piece of masking tape, or similar tape which can be easily broken, affix the transmission shift rod to the driveline support assembly and
position the rod just to the outside of the mounting boss used for the shift control.
The tape is intended to keep the shift control rod in position, and to aid in shift control rod installation.
9. Position the chainfall, or equivalent lifting device, in a way which will protect the rear exhaust hangers located on the driveline support assembly.
Important: The aid of an assistant will be necessary for the following steps until the driveline is installed into the vehicle.
10. Using the lifting device, raise the driveline off the workbench and position the driveline with the J 42055 onto a transmission jack.
11. Connect the J 42055 to the transmission jack.