
Corvette V8-7.0L (2007)
12. Remove the lifting device from the driveline.
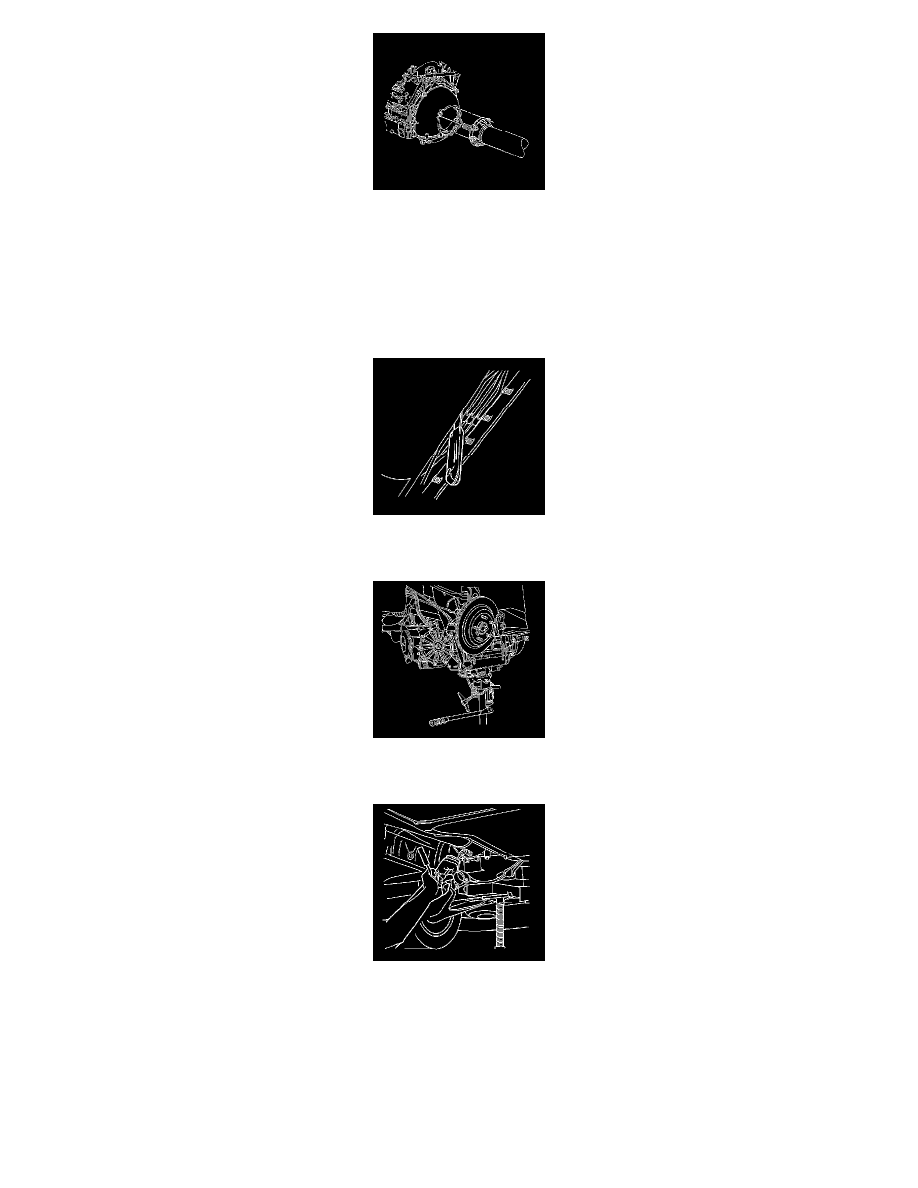
13. Position the driveline under the vehicle.
14. Begin to raise the driveline at the approximate angle used during removal.
15. Position the wiring harness along the driveline support assembly and LOOSELY install the harness into the harness retaining slots.
16. Have an assistant guide the front of the driveline so the propeller input shaft is just to the rear of the engine flywheel housing, then raise the
driveline to the PROPER HEIGHT and the PROPER ANGLE to install to the engine.
17. Have an assistant begin to insert the propeller input shaft into the clutch driven plate hub while maintaining the proper angle of the driveline; if
necessary, use a screwdriver to rotate the shaft slightly to bring the splines into alignment.
18. Insert a putty knife, or similar tool, between the edge of the shifter bracket on the side of the driveline support assembly and the brake pipe retainer
on the wall of the driveline tunnel.
19. SLOWLY seat the driveline to the engine flywheel housing while maintaining the proper angle of the driveline.
20. Reposition the wiring harness bracket from near the driveline tunnel wall to align with the appropriate driveline support assembly bolt hole.
21. Install the 5 driveline support assembly to engine flywheel housing bolts.
Tighten the driveline support assembly to engine flywheel housing bolts to 50 N.m (37 lb ft).
22. Install the wiring harness to the wiring harness retainer along the top of the transmission.
23. SLOWLY raise the driveline to approximately 51 mm (2 in) BELOW the final installed height.