
Corvette V8-7.0L VIN E (2006)
Important
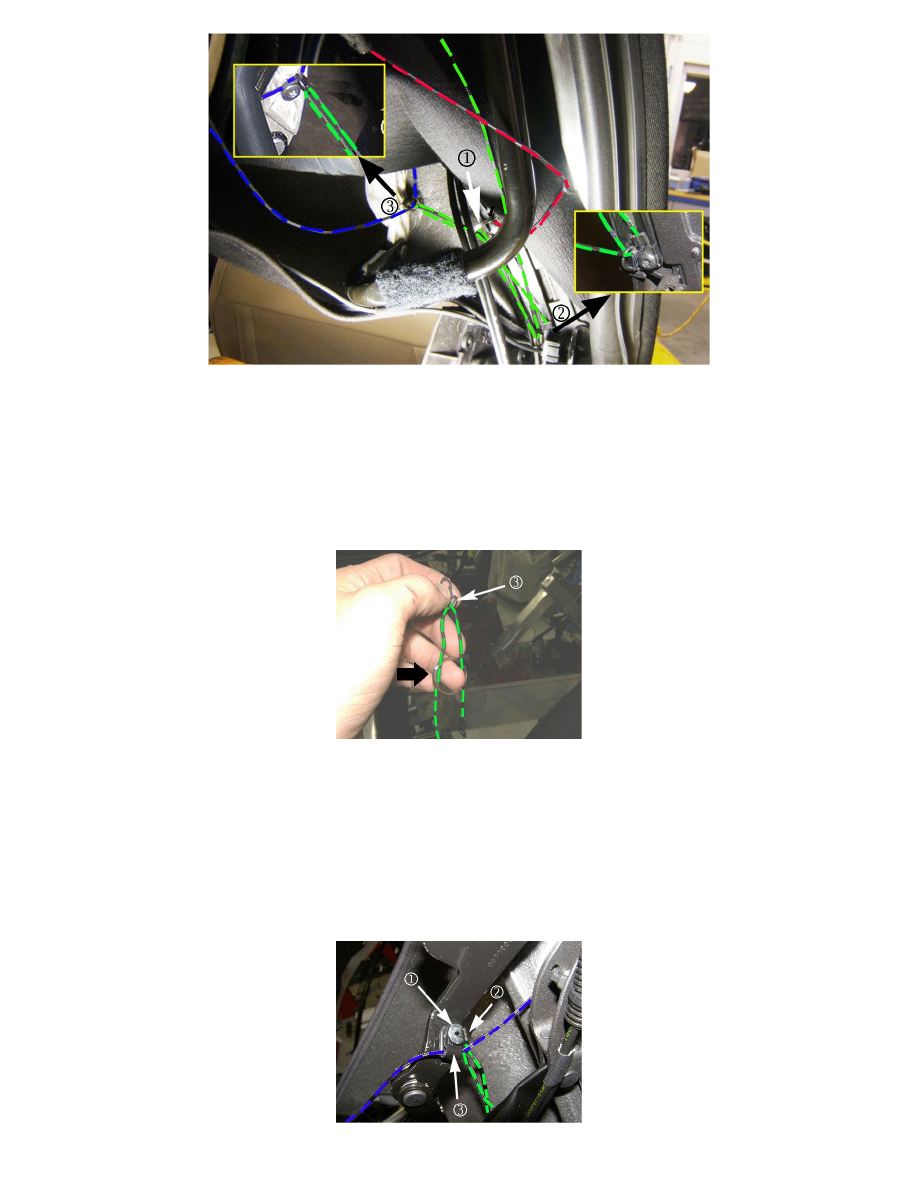
Ensure that the orientation of the D-ring and eyelet are as shown above and that the string is routed on the outboard side of the rear
counterbalance link, as shown earlier in Figure 2.
21. Attach the second D-ring and the end eyelet of the string to the bottom screw location of the headliner retainer bracket (position 2 shown above),
on the right and left side.
Tighten
Tighten to 2 Nm (18 lb in).
Note
For illustration purposes, the third D-ring and metal key ring are shown outside the vehicle. When actually doing this step, the end eyelet (hanging
down in the above graphic) and the second D-ring will already be attached.
Important
Whether first or second design, when attaching the third D-ring, ensure that the string is routed underneath the rear counterbalance link,
as shown earlier in Figure 2.
22. On the right and left side, grab the third D-ring (3), slide the metal ring (black arrow) over the string, and attach the D-ring to the side rail link
using the appropriate procedure below. For first design vehicles, complete step 23.1; for second design vehicles, begin with step 23.2.