
Corvette V8-7.0L VIN E (2006)
8. Remove cap or tape from the front evaporator line and A/C compressor line.
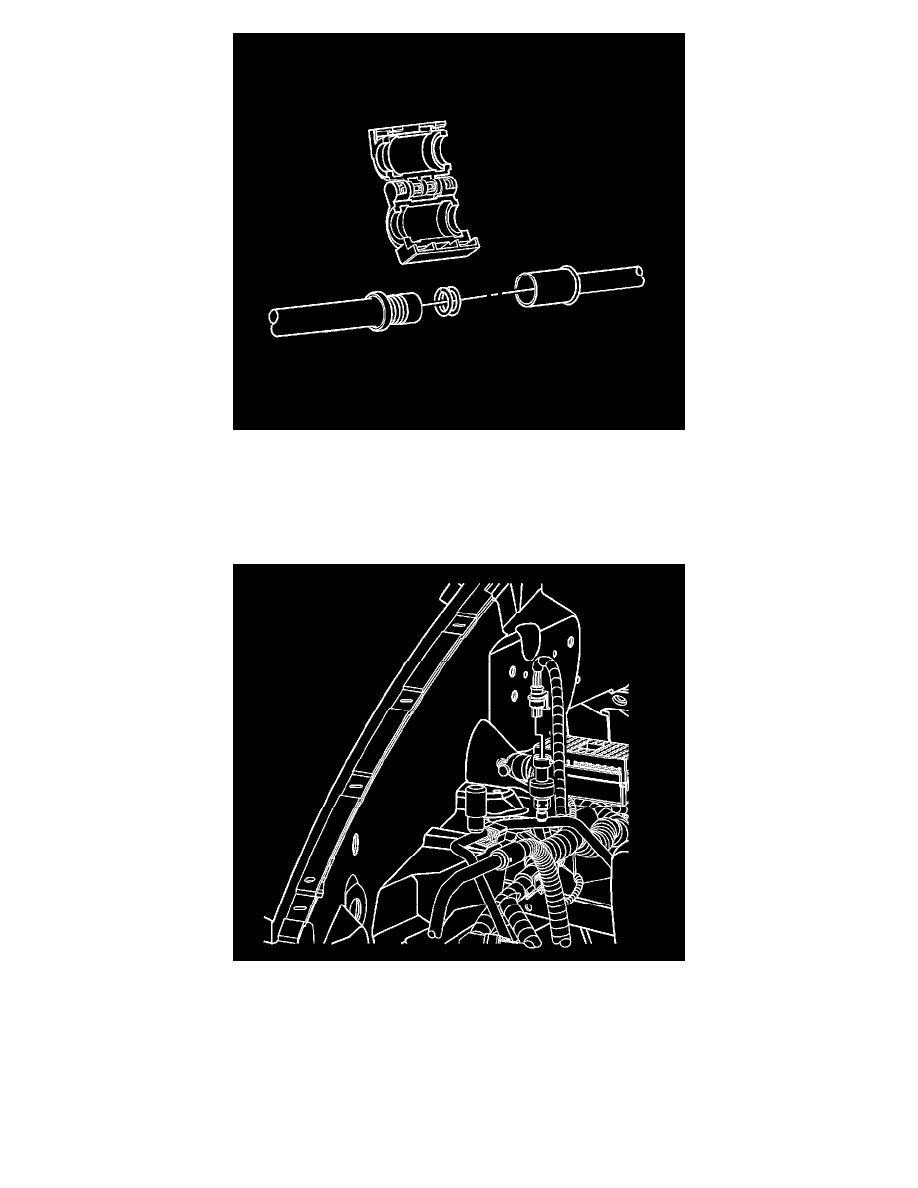
9. Install new O-rings to the rear evaporator line assembly.
10. Connect the A/C compressor line to the evaporator rear line assembly.
11. Connect the front evaporator line to the evaporator rear line assembly.
12. Connect the A/C tube connectors onto the evaporator rear line assembly.
13. Connect the refrigerant pressure sensor electrical connector (2).
14. Connect the front evaporator inlet line to the body retaining clip.
15. Install the intake manifold.
16. Install the battery.
17. Evacuate and recharge the A/C system. Refer to Refrigerant Recovery and Recharging.
18. Leak test the fittings of the component using J 39400-A.