
Corvette V8-7.0L VIN E (2006)
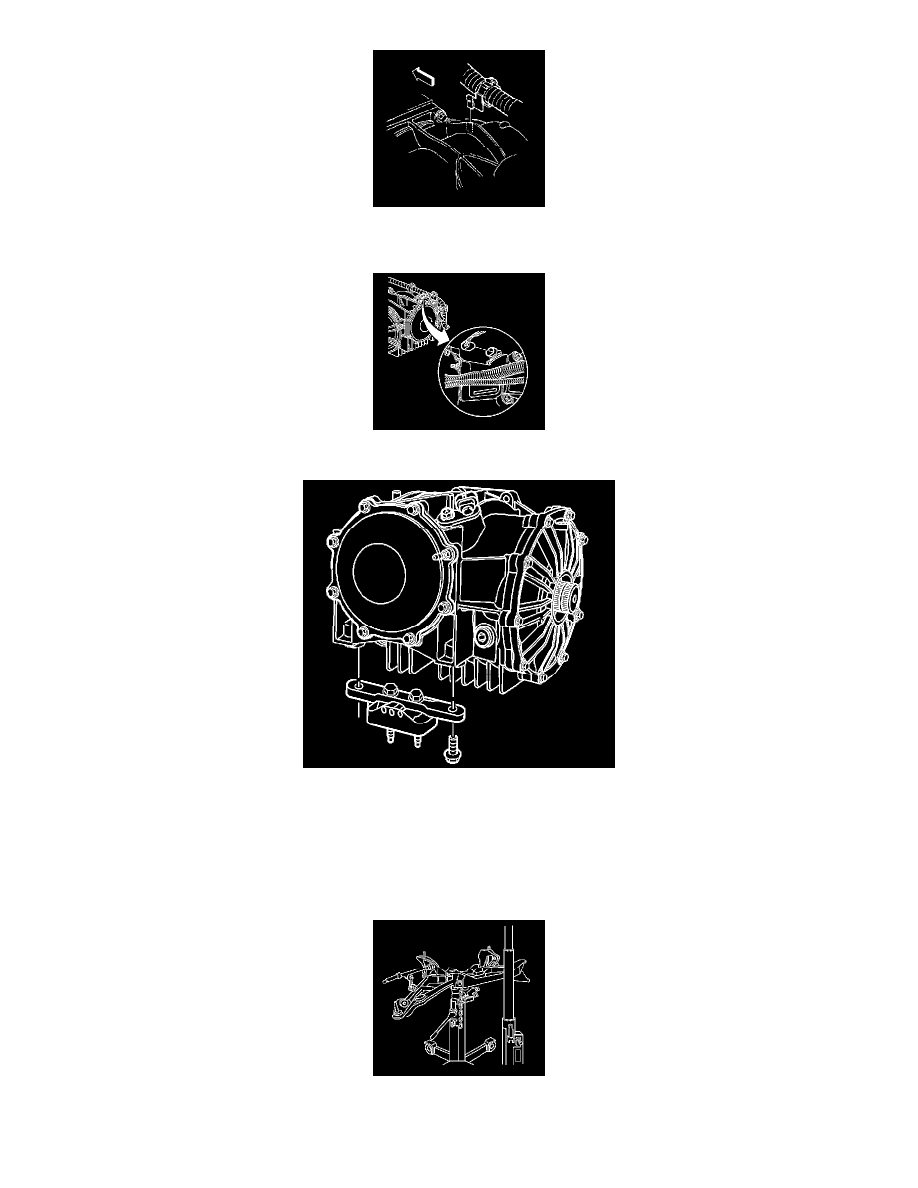
31. Connect the wiring harness clip to the top of the differential.
32. Connect the wiring harness retainer to the stud at the differential rear cover.
33. Connect the vehicle speed sensor (VSS) electrical connector.
34. Slowly raise the driveline to final installation height.
35. Remove the jack which supported the engine.
36. Remove the tie-off retainers from the axle shafts.
37. CAREFULLY align and seat the wheel drive shafts to the differential.
38. Install the transaxle mount and bracket to the differential.
39. Install the transaxle mount bracket to differential bolts.
^
Tighten the transaxle mount bracket to differential bolts to 50 Nm (37 ft. lbs.).
40. With the aid of an assistant, begin to raise the rear suspension crossmember (still firmly attached to a transmission jack), to the vehicle frame rails.
41. Guide the rear suspension crossmember alignment pins into the alignment holes in the vehicle frame rails, and guide the transaxle mount studs into
the mounting holes in the crossmember, then raise the crossmember until it contacts the frame rails.