
Corvette V8-7.0L VIN E (2006)
16. Raise and support the vehicle. Refer to Vehicle Lifting.
17. Remove the clutch actuator cylinder hose from the hose retaining clip, at the rear of the engine.
18. Using the J 36221, depress the white circular release ring on the actuator cylinder hose and simultaneously pull lightly on the master cylinder hose
to disconnect.
19. Protect both hose coupling ends from dirt and damage.
20. Remove the rear tire and wheel assemblies.
21. Remove the catalytic converters.
22. Tie off the muffler assemblies to the underbody to support out of the way.
23. Remove the driveline tunnel closeout panel.
24. Remove the rear transverse spring.
25. Support the lower control arm with a straight jack.
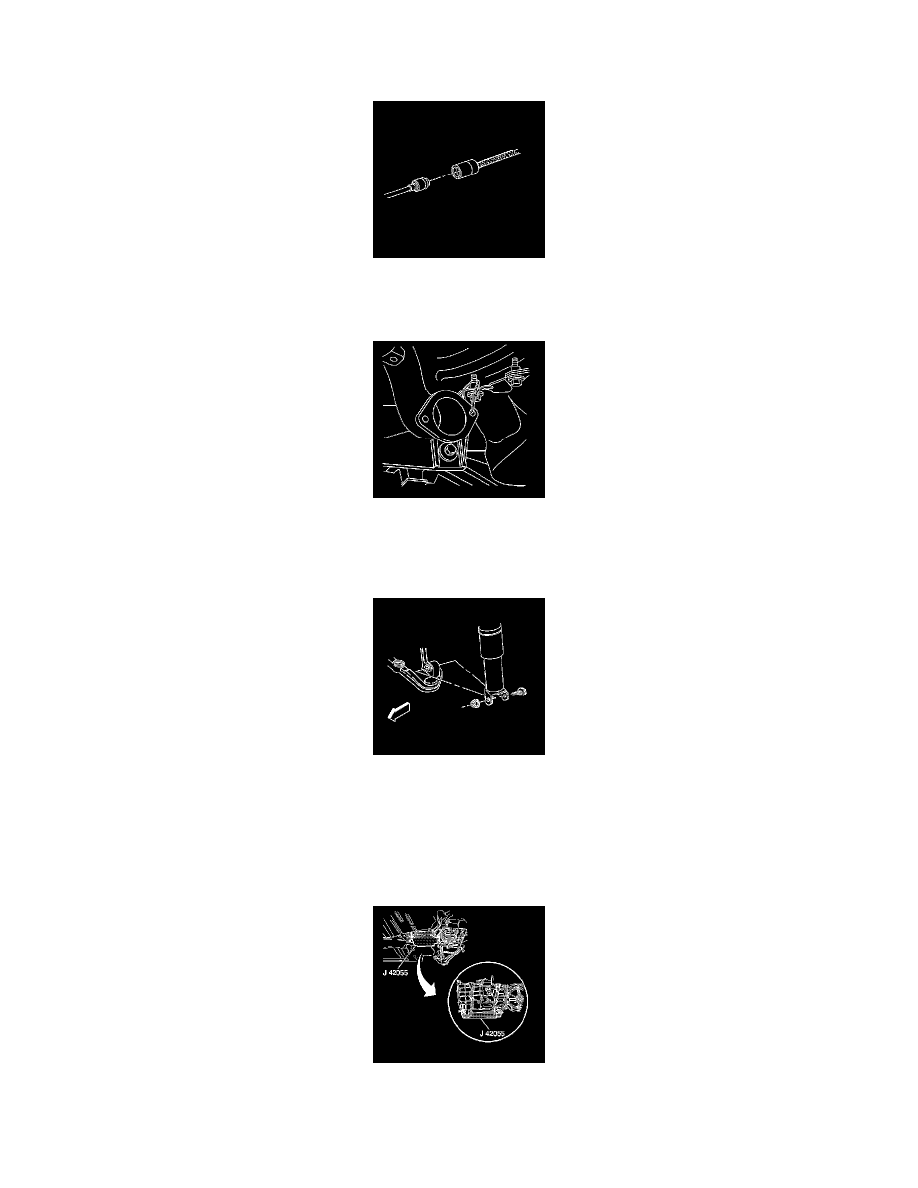
26. Disconnect the outer tie rod end from the suspension knuckle.
27. Remove the shock absorber lower mounting bolt.
28. Disconnect the lower ball joint from the suspension knuckle.
29. Remove the straight jack from the control arm.
30. Repeat steps 25 through 29 for the other side of the vehicle.
31. Assemble the J 42055.
32. Install the J 42055 to a transmission jack.
33. Position and firmly secure the J 42055 with the transmission jack to the transmission.