Cruze L4-1.4L Turbo (2011)

tubing will not interfere with the splice procedure.
5. Select the proper DuraSeal splice sleeve according to the wire size. Refer to the above table at the beginning of the repair procedure for the color
coding of the DuraSeal splice sleeves and the crimp tool nests.
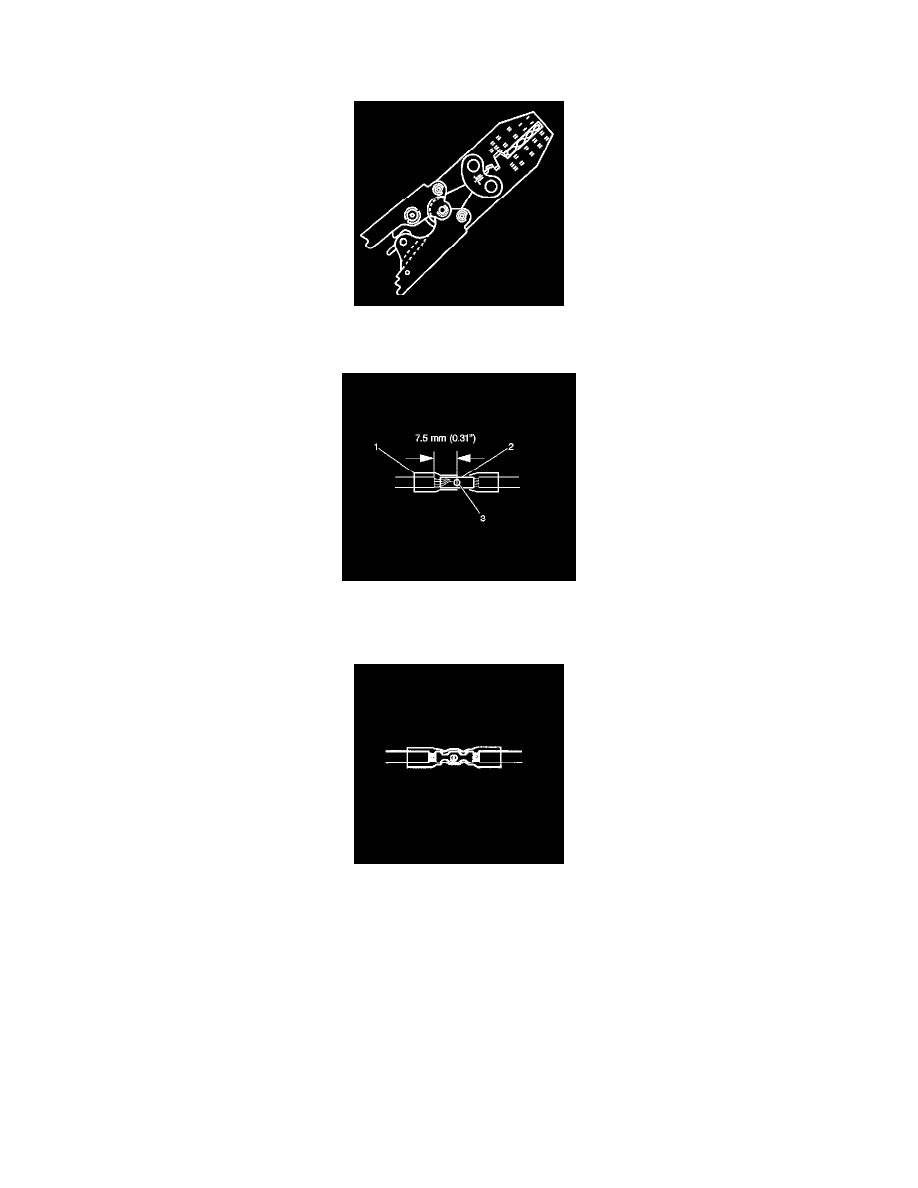
6. Use the splice sleeve crimp tool in order to position the DuraSeal splice sleeve in the proper color nest of the splice sleeve crimp tool. The crimp
tool has four nests, one for each color.
7. Place the DuraSeal splice sleeve in the nest. Ensure that the crimp falls midway between the end of the barrel and the stop. The sleeve has a stop
(3) in the middle of the barrel (2) in order to prevent the wire (1) from going further. Close the hand crimper handles slightly in order to firmly
hold the DuraSeal splice sleeve in the proper nest.
8. Insert the wire into the splice sleeve barrel until the wire hits the barrel stop.
9. Tightly close the handles of the crimp tool until the crimper handles open when released.
The crimper handles will not open until you apply the proper amount of pressure to the DuraSeal splice sleeve. Repeat steps 4, 6 and 15 for the
opposite end of the splice.
