
Equinox AWD V6-3.4L (2008)
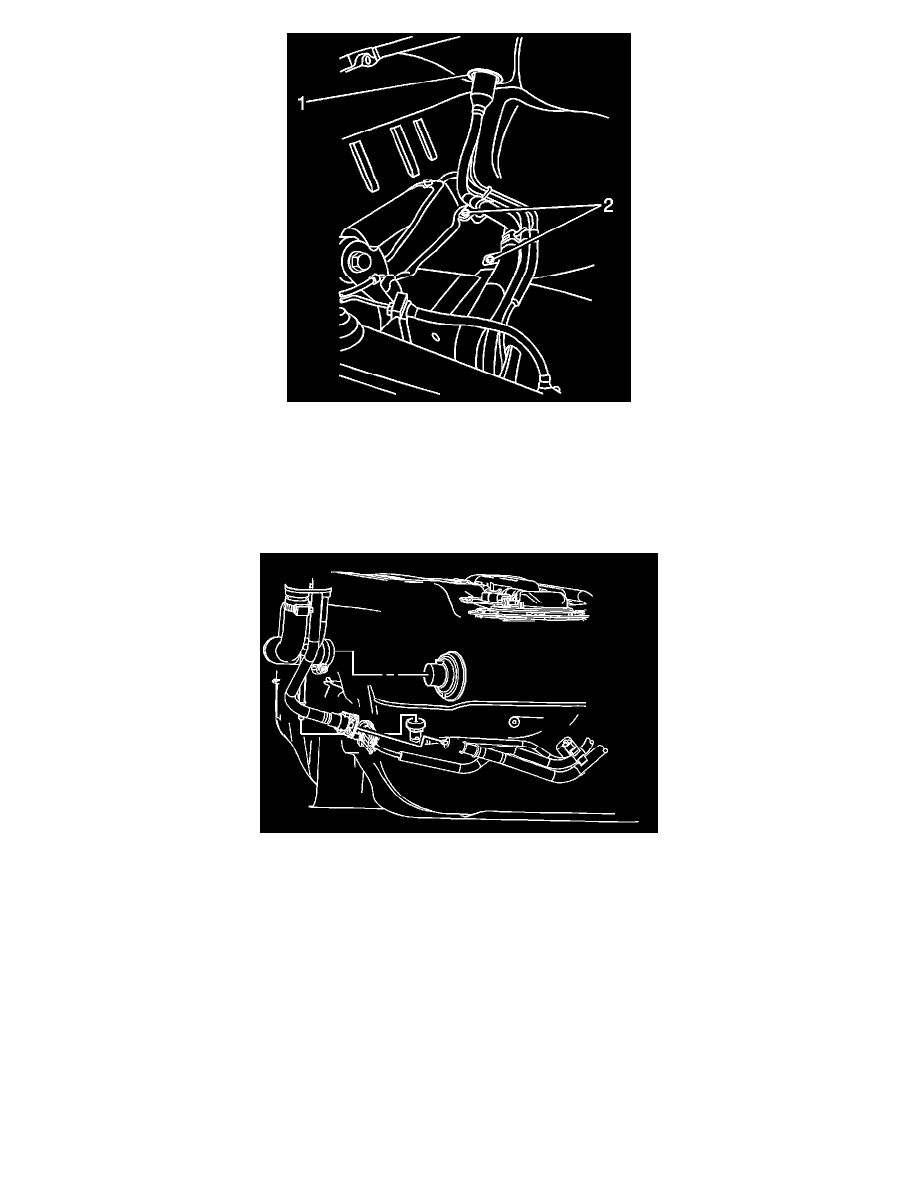
4. Position the fuel filler tube to the closeout grommet (1).
Notice: Refer to Fastener Notice.
5. Install the fuel filler tube bracket bolts (2).
Tighten the bolt to 12 N.m (106 lb in).
Important: Ensure that the fuel filler tube connecting hose is installed until it touches the fuel tank body. The hose clamp should be
located within 13 mm (1/2 in) of the end of the connecting hose.
6. Position the filler tube-to-fuel tank connecting hose and hose clamp.
Tighten the clamp to 5 N.m (44 lb in).
7. Connect the fuel filler vent tube and fresh air hose.
8. Install the inner wheelhouse liner.
9. Install the wheel and tire.
10. Lower the vehicle from the hoist.
11. Install the fuel filler cap.
12. Perform the Service Bay Diagnostic Test for the EVAP emission system using the scan tool. This test will verify the integrity of the vapor handling
areas of the fuel system. See: Computers and Control Systems/Testing and Inspection/Monitors, Trips, Drive Cycles and Readiness Codes/Service
Bay Test