
Equinox AWD V6-3.4L (2008)
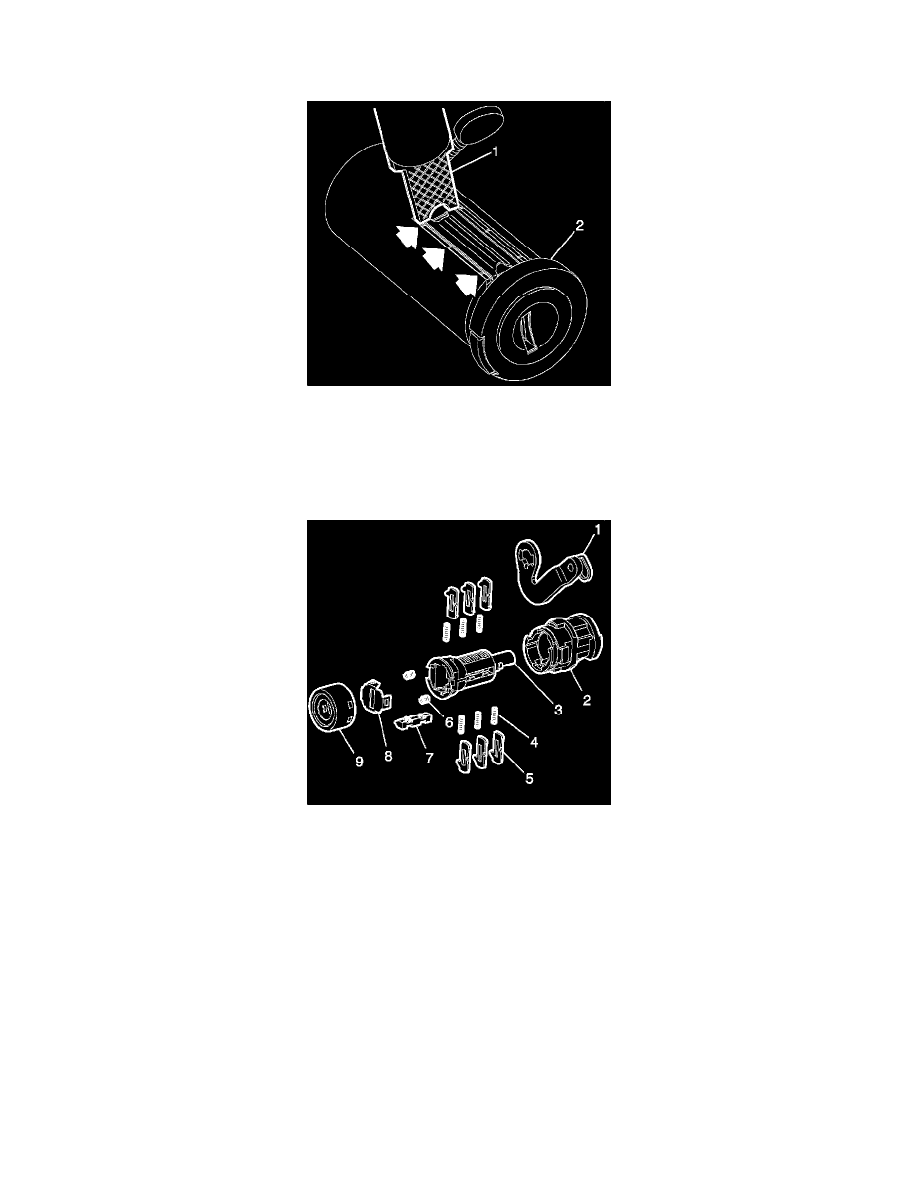
6. While holding the seal plate in position with the thumb, insert the key into the cylinder and watch for the side bar to drop flush. If the side bar does
not drop flush, the lock is tumbled wrong and you need to start over.
7. Ensure that the side bar does not drop on an angle. The side bar must be completely flush to the cylinder diameter.
8. Stake (1) the two metal areas of the cylinder (2) directly over the seal plate legs with a hammer and punch or chisel.
9. Repeat this stake on the areas of the cylinder directly opposite of the first to stakes.
Door Lock Cylinder Coding
1. Handing is determined by color of pawl. Orange is left hand and green is right hand.
Important: The door lock cylinder reads key cut position 4 through 9.
2. Insert the appropriate tumbler (5) according to the key code into the corresponding tumbler ward.
3. The tumblers will not immediately seat into position because the sidebar has been pre-assembled. The tumblers will have to be pushed past the
sidebar with a small flat screwdriver or pocket knife.
4. The tumbler springs (4) should then be inserted into the spring wells in the cylinder (3) where they will sit on top of the tumblers.
Balance of Assembly