
Equinox AWD V6-3.4L (2008)
Important: Do not remove the upper and lower transaxle oil cooler fittings from the radiator at the same time other wise the transaxle oil
cooler will fall inside the radiator end tank.
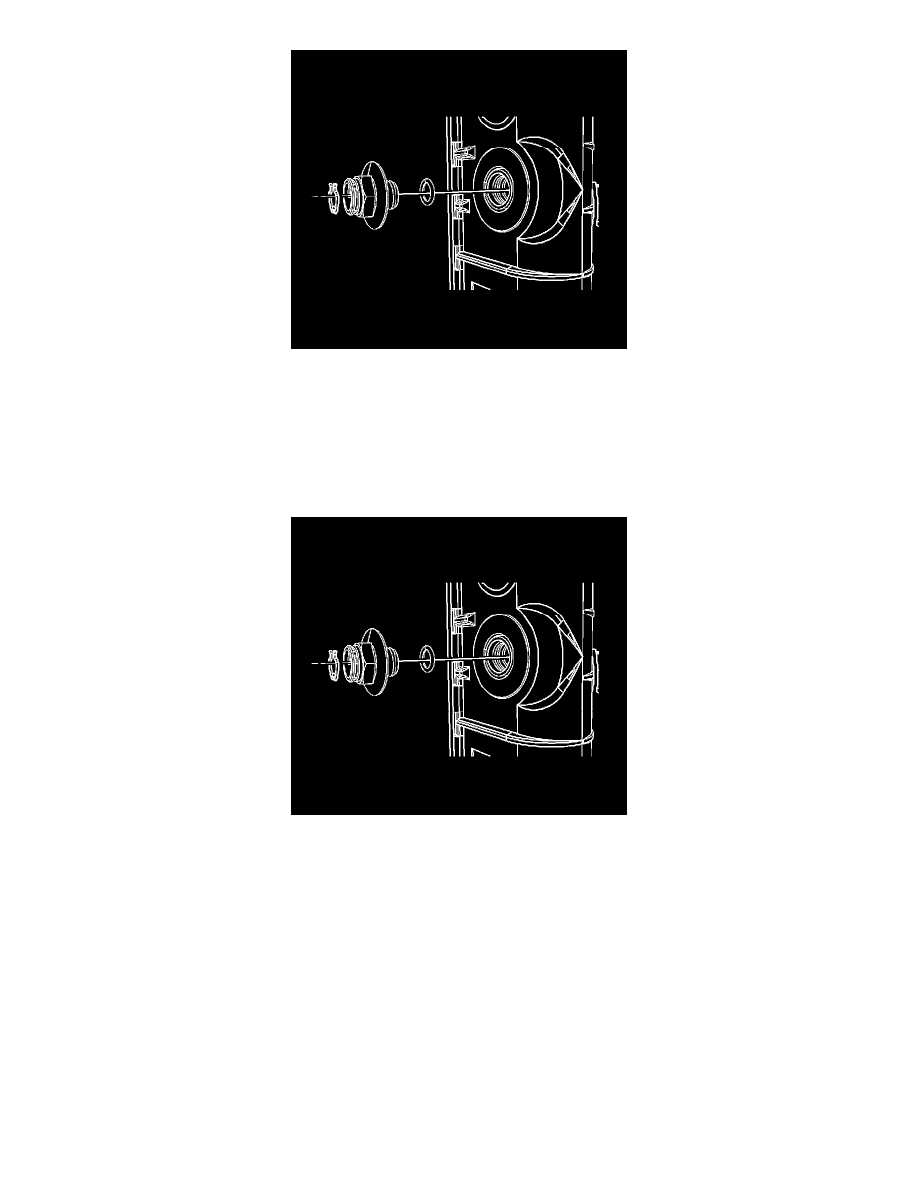
3. Remove the oil cooler fitting from the radiator.
Installation Procedure
1. Inspect the new O-ring seals for cracks, cuts or damage. Replace if necessary.
Notice: Refer to Fastener Notice .
Important: The correct thread engagement is critical. Cross-threaded fittings can achieve proper tightness and still leak.
2. Install the oil cooler fitting to the radiator.
Tighten the fittings to 38 N.m (28 lb ft).
3. Install the transaxle oil cooler hoses to the oil cooler fittings on the radiator. Refer to Transmission Fluid Cooler Hose/Pipe Quick-Connect Fitting
Disconnection and Connection (See: ) .
4. Fill the cooling system. Refer to Cooling System Draining and Filling (LNJ Static Fill) Cooling System Draining and Filling (LNJ GE 47716 Fill)
Cooling System Draining and Filling (LY7 Static Fill) Cooling System Draining and Filling (LY7 GE 47716 Fill) .
5. Adjust the transmission fluid level.
6. Inspect for fluid leaks.
Transmission Fluid Cooler Hose/Pipe Quick-Connect Fitting Disconnection and Connection
Transmission Fluid Cooler Hose/Pipe Quick-Connect Fitting Disconnection and Connection