Equinox AWD V6-3.4L VIN F (2006)

2. Install, but do not tighten, the support bearing mounting bolts.
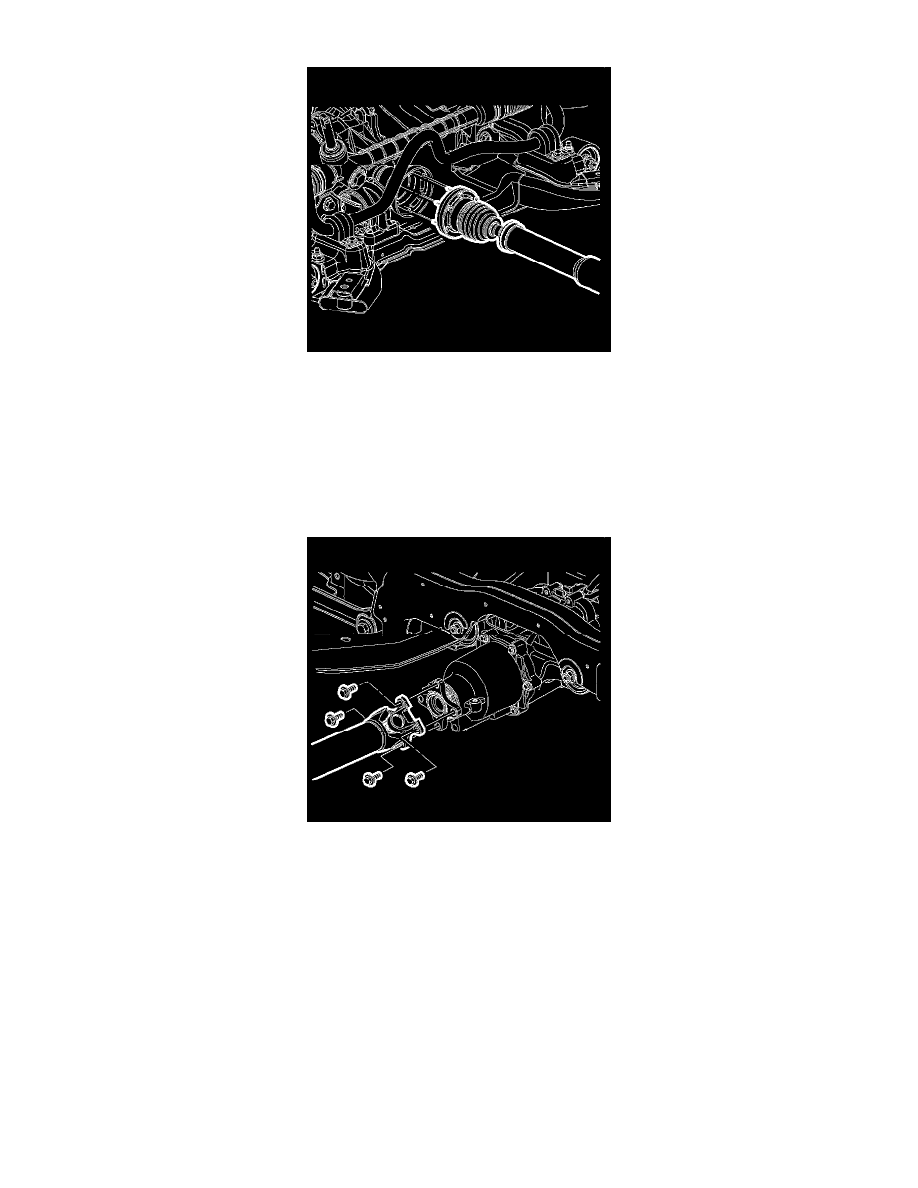
3. Pull the forward section of the propeller shaft rearward and install the propeller shaft to the PTU flange.
4. Align the index marks on the propeller shaft constant velocity joint and the PTU flange.
5. Thoroughly clean the propeller shaft flange mounting bolts and apply threadlocker, GM P/N 89021297 (Canadian P/N 10953488), to the bolt
threads.
6. Notice: Refer to Fastener Notice in Service Precautions.
Install the front propeller shaft mounting bolts.
^
Tighten the bolts to 25 Nm (19 ft. lbs.).
7. Align the index marks on the propeller shaft yoke flange and the rear drive module flange and install the propeller .
8. Thoroughly clean the yoke mounting bolts and apply threadlocker, GM P/N 89021297 (Canadian P/N 10953488), to the bolt threads.
9. Install the bolts to the propeller shaft yoke and rear drive module flange.
^
Tighten the bolts to 50 Nm (37 ft. lbs.).
10. Tighten the support bearing mounting bolts.
^
Tighten the bolts to 25 Nm (19 ft. lbs.).
