Equinox FWD V6-3.0L (2010)

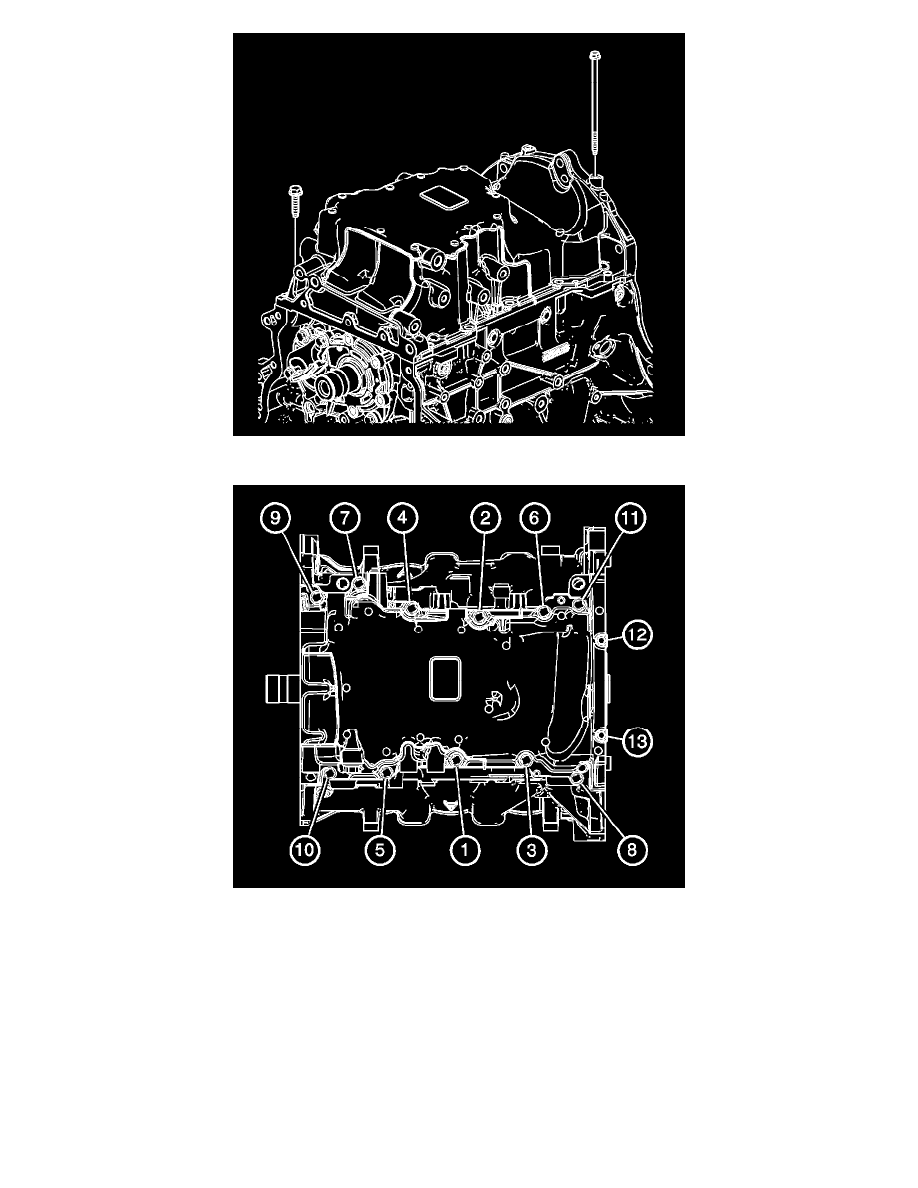
5. Loosely install the oil pan bolts.
Caution: Refer to Fastener Caution (See: Service Precautions/Vehicle Damage Warnings/Fastener Caution).
6. Tighten the oil pan bolts in sequence.
*
The 8 mm bolts (1-11) to 23 Nm (17 lb ft).
*
The 6 mm bolts (12, 13) to 10 Nm (89 lb in).
7. Install engine front cover. Refer to Engine Front Cover Replacement (See: Timing Components/Timing Cover/Service and Repair).
8. Install the air conditioning (A/C) compressor. Refer to Air Conditioning Compressor Replacement (LAF) (See: Heating and Air
Conditioning/Compressor HVAC/Service and Repair/Removal and Replacement)Air Conditioning Compressor Replacement (LF1) (See: Heating
and Air Conditioning/Compressor HVAC/Service and Repair/Removal and Replacement).
9. Install the catalytic converter. Refer to Catalytic Converter Replacement - Left Side (LF1) (See: Exhaust System/Catalytic Converter/Service and
Repair/Catalytic Converter Replacement - Left Side).
10. Lower the vehicle. Refer to Lifting and Jacking the Vehicle (See: Maintenance/Vehicle Lifting/Service and Repair).
