
Equinox FWD V6-3.0L (2010)
Control Arm Bushing: Service and Repair
Front Lower Control Arm Bushing Replacement (Rear Bushing)
Removal Procedure
1. Raise and support the vehicle. Refer to Lifting and Jacking the Vehicle (See: Wheels and Tires/Vehicle Lifting/Service and Repair).
2. Remove the front tire and wheel assembly. Refer to Tire and Wheel Removal and Installation (See: Wheels and Tires/Service and Repair).
3. Remove the lower control arm. Refer to Lower Control Arm Replacement (See: Service and Repair/Front Suspension).
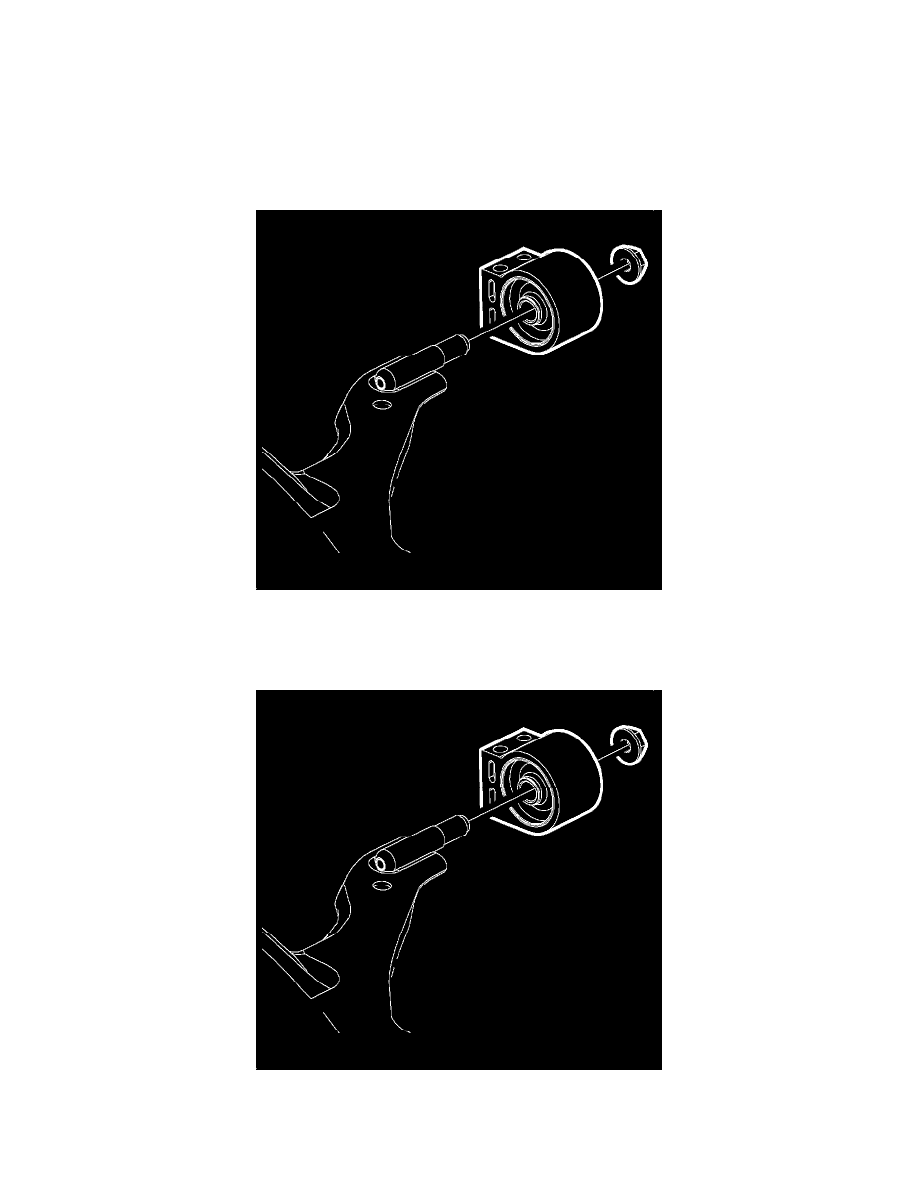
4. Remove the rear bushing nut.
5. Remove the rear bushing.
Installation Procedure
Caution: Refer to Fastener Caution (See: Service Precautions/Vehicle Damage Warnings/Fastener Caution).
1. Install the rear bushing to the lower control arm and tighten the nut to 150 Nm (110 lb ft).