
Equinox FWD V6-3.0L (2010)
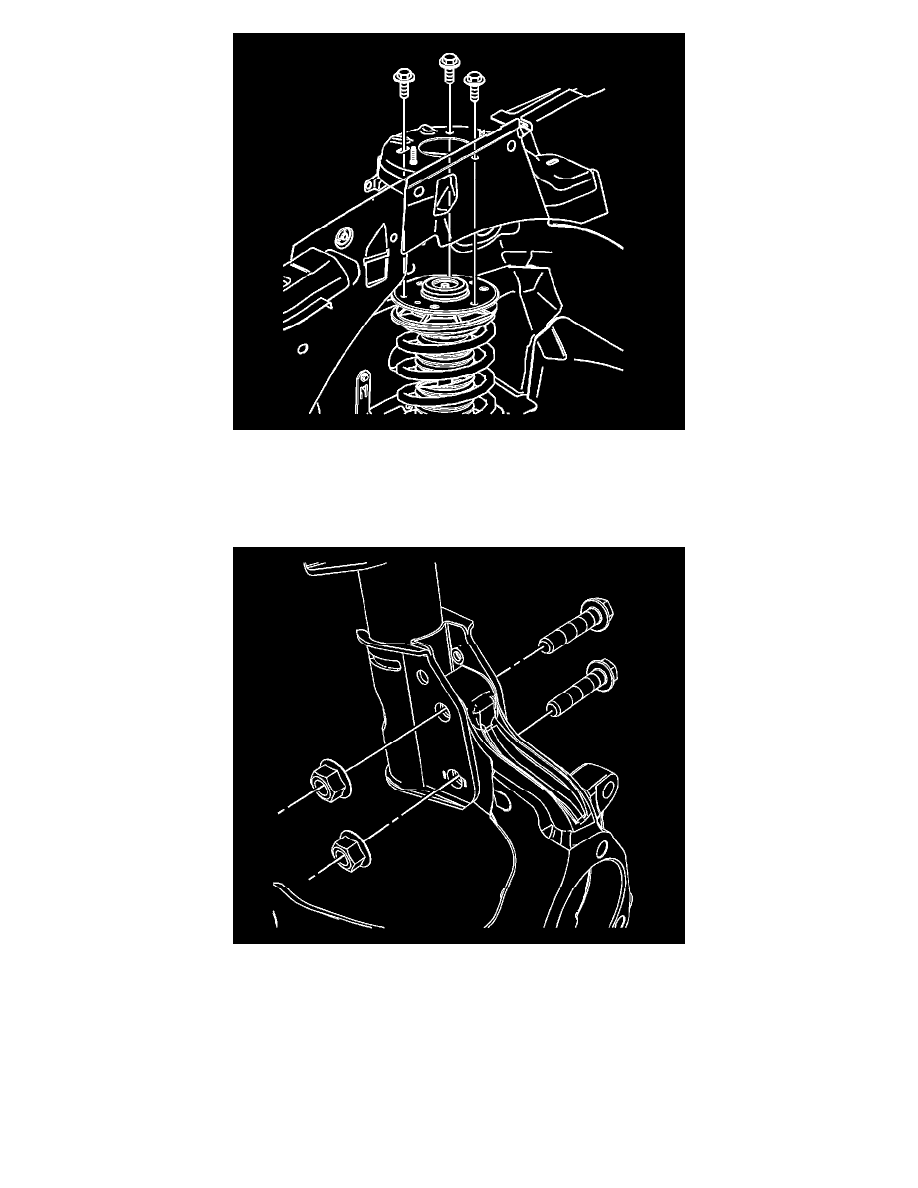
1. Position the strut assembly to the vehicle.
Caution: Refer to Fastener Caution (See: Service Precautions/Vehicle Damage Warnings/Fastener Caution).
2. Install the 3 upper strut mount bolts and tighten to 25 Nm (18 lb ft).
3. Install the lower strut bolts and nuts and tighten to 200 Nm (148 lb ft).
Note: Inspect the stabilizer link seals for damage prior to installation. Replace as required.
Note: Do not allow the stabilizer link ball stud to rotate while installing the link nut.
4. Install the stabilizer link to the front strut. Refer to Stabilizer Shaft Link Replacement (See: Stabilizer Bar/Stabilizer Link/Service and
Repair/Front Suspension).
5. Install the brake hose bracket to the front strut. Refer to Front Brake Hose Replacement (See: Brakes and Traction Control/Hydraulic
System/Brake Hose/Line/Service and Repair/Front Brake Hose Replacement).
6. Install the wheel and tire. Refer to Tire and Wheel Removal and Installation (See: Wheels and Tires/Service and Repair).