
Equinox FWD V6-3.4L (2007)
Important: When removing the valve rocker arm cover, ensure the gasket stays in place attached to the cylinder head.
7. Remove the valve rocker arm cover.
Bump the end of the valve rocker arm cover with the palm of your hand or a soft rubber mallet if the cover adheres to the cylinder head.
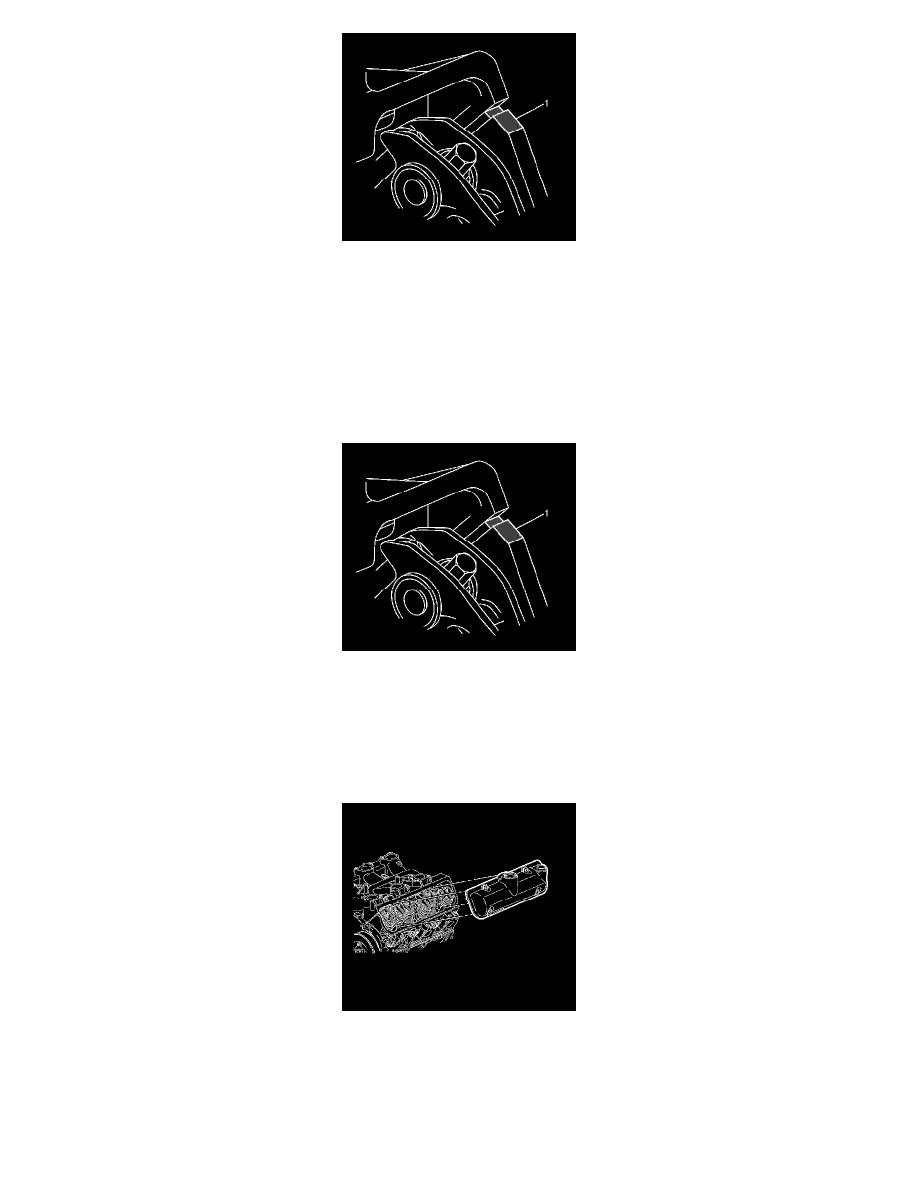
8. Trim the valve cover gasket and sealant away from the lower intake manifold gasket at the cylinder head to the lower intake manifold joints (1).
9. Remove the rocker arm cover gasket.
10. Clean the sealing surface on the cylinder head with degreaser.
11. Clean the valve rocker arm cover.
Installation Procedure
Important: All gasket mating surfaces need to be free of oil and foreign material. Refer to Sealers, Adhesives, and Lubricants for the
correct part number to use to clean surfaces.
Important: Apply sealant at the cylinder head to lower intake manifold joint. Refer to Sealers, Adhesives, and Lubricants for the correct
part number.
1. Apply sealant at the cylinder head to lower intake manifold joints (1).
2. Install a new gasket to the valve rocker arm cover. Ensure the gasket is properly seated in the groove of the valve rocker arm cover.
Notice: Refer to Fastener Notice .
3. Install the valve rocker arm cover.
Tighten the bolts to 10 N.m (89 lb in).