
Equinox FWD V6-3.4L (2007)
9. Place a support under the propeller shaft at the support bearing.
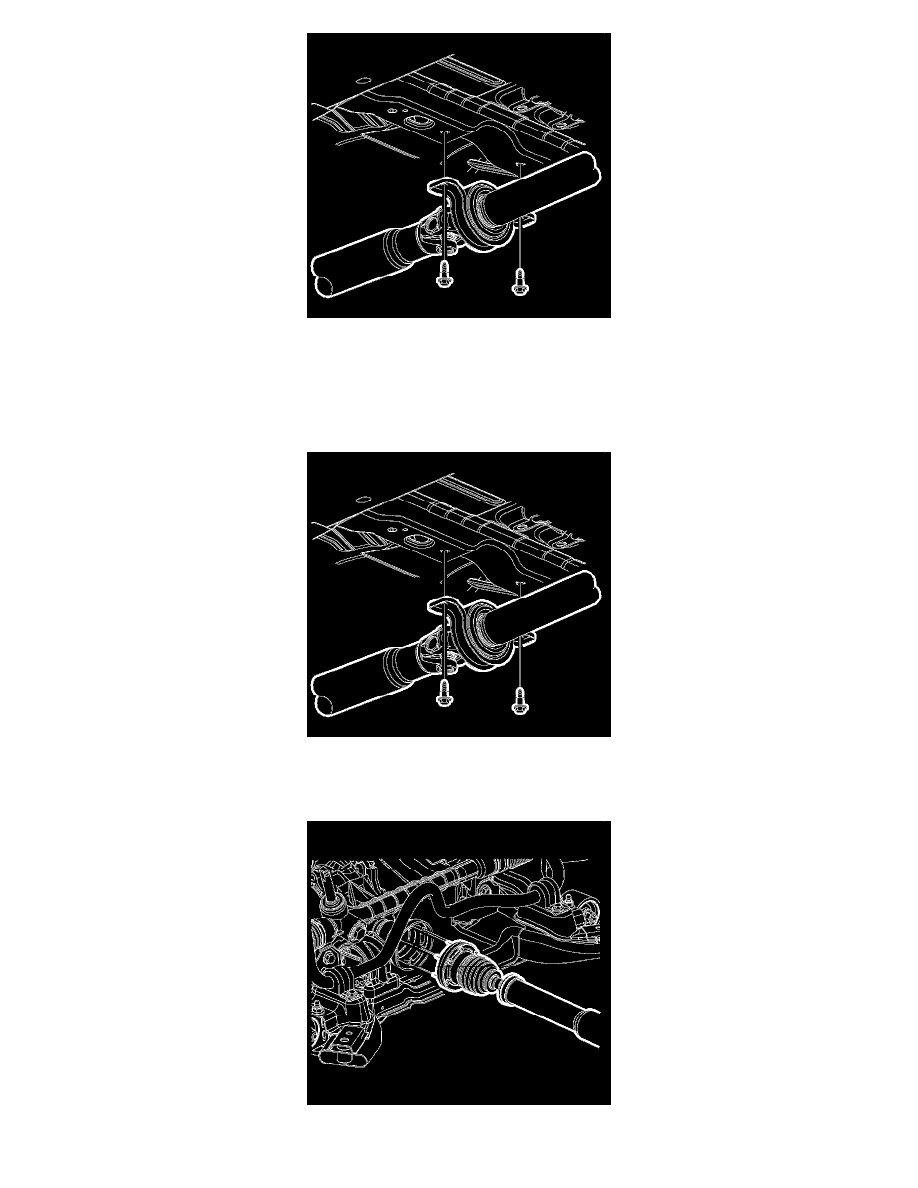
10. Remove the bolts securing the propeller shaft support bearing to the vehicle underbody.
11. While supporting the propeller shaft, move the propeller shaft rearward to disengage the constant velocity joint from the PTU flange.
12. Remove the propeller shaft from the vehicle.
Installation Procedure
1. While supporting the front, center, and rear of the propeller shaft, install the propeller shaft to the vehicle.
2. Thoroughly clean the center bearing to vehicle mounting bolts and apply thread locker, Canadian P/N 10953488, to the bolt threads.
3. Install, but do not tighten, the support bearing mounting bolts.
4. Pull the forward section of the propeller shaft rearward and install the propeller shaft to the PTU flange.