
Equinox FWD V6-3.4L VIN F (2005)
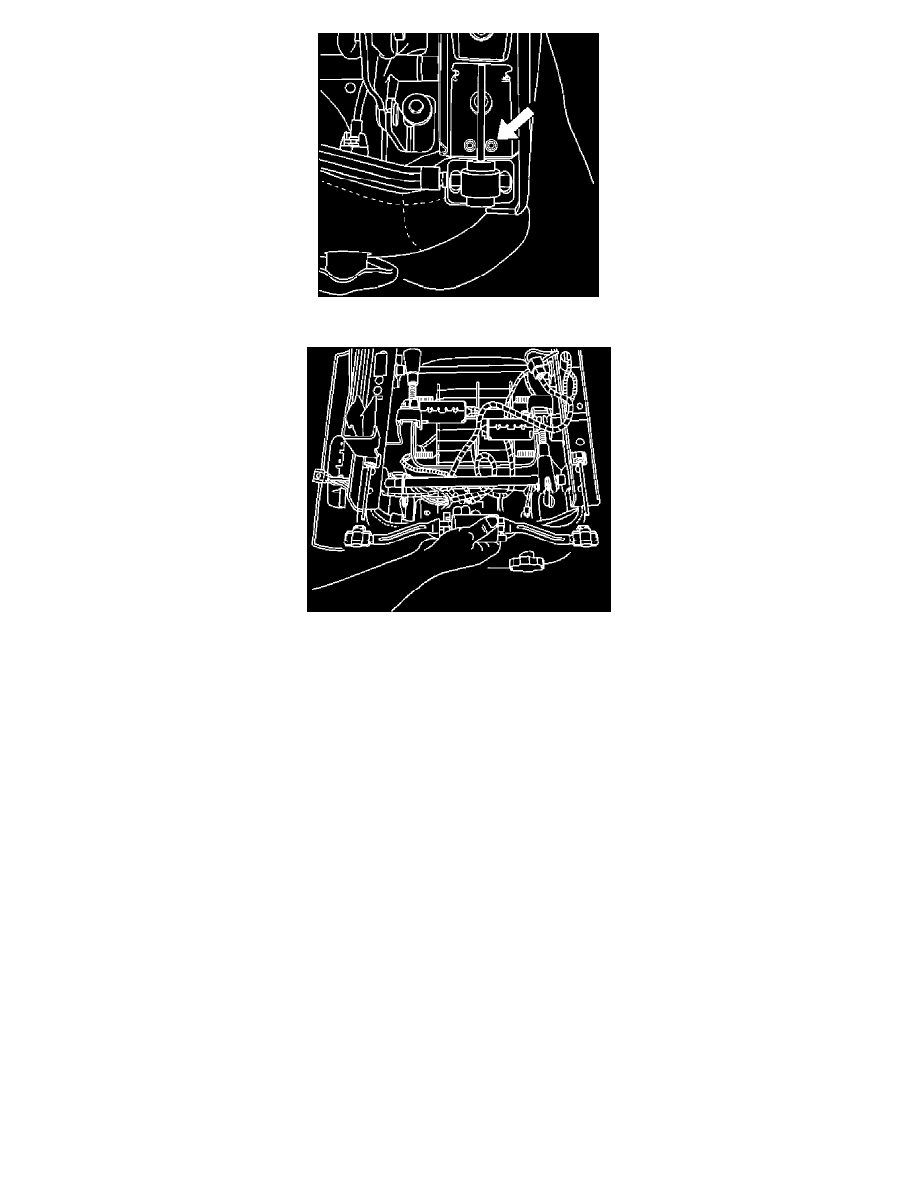
8.
Remove the four T-20 TORX screws at the actuators and cables.
9.
Remove the lock from the wire harness connector.
10.
With a small pick or screwdriver, remove the red wire from cavity C and the black wire from cavity F. Remove the motor assembly.
11.
Install the red wire into cavity C and the black wire into cavity F and install the lock. Install the motor assembly.
12.
Install the motor assembly and tighten the four T-20 TORX screws. If the motor works but is noisy, proceed to step 13.
Tighten
Tighten the T-20 TORX Screws to 3 Nm (19 lb-in).
13.
Slide both tracks back in line with the worm gear and install the two bolts.
Tighten
Tighten the bolts to 17 Nm (13 lb-ft).
14.
Install the left side outer seat trim panel and switch connector.
15.
Install the recliner handle.
16.
Install the seat assembly into vehicle. Connect the electrical connector and install the seat track bolts.
Tighten
Tighten the seat bolts to 50 Nm (37 lb-ft).
17.
Install the seat bolt.